Audi S3 GT3582R stroker Build (previously GT3071r)

Feel

Veedubya 'velle
Jun 12, 2003
4,918
2
Midlands
Phil LOL, it was only last week I finally fitted my Feel Charge pipe only been on the shelf for 7 years and I have to say its great...... I gained 3g/sec in airmass flow. :funk:
The stock chargepipe silencer is super restrictive.

lol. I could've made a fortune if only you'd posted that yeas ago :D
 

tufftybloke

Badger 5 Edition
Feb 28, 2009
657
0
Gloucestershire, UK
Awesome work. Really awesome.

Just one thing - the stock charge pipe has a little spigot/stub underneath that sits in one of the grooves on the bracket. I'm 95% positive that leaving this off some custom charge pipes I did a while back is what helped them to blow the silicon off the charge pipe, because the whole charge pipe moves north west in the mountings.

Sorry if it's a bit late, just thought I'd mention it.

Edit: Mind you, the ends of ours weren't swaged, but I would still think about it.

Your edit pretty much says it all dude lol...

Have made quite a few of these for customer cars including Bill's Lupo with no issue... the Lupo doesn't even run brackets...

Bead roll/swaged ends (or the lack of them in your case) will pretty much result in pipes popping off... never had a pipe come off once bead rolled and no need to use any other type of clip than the JCS hi-grips for the boost levels run on road setups...

I know the spigot you mean... I removed this on my modded OE pipe on the GT30 setup ages ago... the top pipe is pretty much solidly held in place by the brackets...

Biggest issue I will have tbh is if I have compromised the welds integrity by flushing them... Bill got good penetration when he did it but there is always a chance it could have a weak spot where I have got a little happy with the grinder...

<tuffty/>
 

tufftybloke

Badger 5 Edition
Feb 28, 2009
657
0
Gloucestershire, UK
Small update... a few parts turned up this week...

20140118_105404.jpg


...made a start on the back box...
20140118_165431.jpg


...and roughly mocked up some tail pipe options in photoshop... these use tactically cut 3" stainless bends..
tailpipe.jpg


tailpipe2.jpg


Slash cut and cutting to follow the bumper profile may be a bit more of a challenge...

hope to get a bit more done tomorrow... ideally the oil drain mocked up ready for welding and coolant lines... need to get this lot done so the welding of the manifold can be finished and I can get it off for ceramic coating...

Still waiting on a few other parts but hoping to have the engine in for the end of the month so I can get the DP and exhaust etc finished ready for first start!!...

<tuffty/>
 

tufftybloke

Badger 5 Edition
Feb 28, 2009
657
0
Gloucestershire, UK
Little more done today...

Coolant lines...
20140119_170710.jpg


20140119_170716.jpg


Oil feed...
20140119_170728.jpg


Oil drain...
20140119_171441.jpg


There are of course a couple of gaps to fill lol... these will be filled with PTFE lined flexi's...

Now that the lines are essentially done the mani can go off for the final welding and then off to be ceramic coated..

Getting there :D

<tuffty/>
 

tufftybloke

Badger 5 Edition
Feb 28, 2009
657
0
Gloucestershire, UK
Day off to day to go a do some more... the build is at the loads of silly little jobs stage...

First job, tailpipe... had a go using two 90deg 1.5D bends...
20140124_132013.jpg


20140124_132038.jpg


20140124_135620.jpg


20140124_135802.jpg


...put the back box in place to get a better idea of where things were likely to end up...
20140124_143023.jpg


Next I knocked up one of the hangers...
20140124_164120.jpg


20140124_164347.jpg


20140124_164428.jpg


Bit more to do but parts of the box needs final welding now before I can do the rest and the DP needs fabricating before I can see what else needs doing to mate the back box to the centre section
20140124_165941.jpg


Last job of the day... using a section from one of the tailpipe offcuts I made a bracket for the coolant lines...
20140124_182759.jpg


20140124_181950.jpg


20140124_182602.jpg


20140124_182556.jpg


Just need to make a little clamping bar to hold them in place and job done...

Getting there :D

<tuffty/>
 

tufftybloke

Badger 5 Edition
Feb 28, 2009
657
0
Gloucestershire, UK
Thanks all for your kind words :D

soooo... I slash cut the pipes... look a bit better I think..

20140125_121606.jpg


...outside tailpipe slightly set back to follow curve of bumper
20140125_124636.jpg


....done...
20140125_130152.jpg


20140125_130200.jpg


20140125_130415.jpg


20140125_130431.jpg


<tuffty/>
 

tufftybloke

Badger 5 Edition
Feb 28, 2009
657
0
Gloucestershire, UK
That is very well done. Tasty and beautifully precise.

Thanks dude :)

Little more today...

I had already replaced the exhaust lifters as there was a little bit of odd wear on the cyl 4 ones... when I rebuilt the head I had an inlet lifter drop its centre when I took it from the box... put it together hoping it would be fine then read about the issues Scullies had with a missfire having found a similar lifter issue... this of course bothered me so bought a new set of inlet lifters too

So stripped off the manifolds and cam cover (needed to anyway as the manifold goes off this week to be finished)
20140126_105734.jpg


20140126_112411.jpg


20140126_115506.jpg


Good job I decided to do this as when I lifted out the 11th lifter the centre kinda stayed there :/
20140126_113227.jpg


20140126_113424.jpg


The culprit for whatever reason is a little clip that had come off and stayed inside the bucket... clearly no good would come of this...
20140126_113644.jpg


Nice new ones ready to go back in...
20140126_113731.jpg


...as I was in the mood for working on heads I stripped another one that was lying about and fitted super tech valve train to it :D
20140126_134729.jpg


20140126_162214.jpg


Loaded my wheels and tyres into the racing Golf ready for a trip to the powder coaters tomorrow...

<tuffty/>
 

tufftybloke

Badger 5 Edition
Feb 28, 2009
657
0
Gloucestershire, UK
Another day off to get stuff done... loaded the Racing Golf up with my wheels to take to City Powder Coaters...
20140127_094719.jpg


At £20 a wheel plus £5 to fit and balance the tyres I couldn't really be bothered to pursue painting them as it would end up costing me more in paint to get the finish I want... went for the plain silver rather than the sparkly silver as the sparkly effect was very sparkly and a little ott for me

Bumped into JoJo (a fellow ASN member and S3 owner) at Maccy D's too (crap selfie pic alert!)
20140127_103342.jpg


The Golf was faultless on the journey (some 130 odd miles round trip)... not too shabby for a 22 yr old little 1.3 :)

Back at Bills around midday and cracked on with pulling the mock up engine/box from the car...
20140127_142515.jpg


After my initial selfie fail with JoJo, I gave it another go with the lesser quattro'd Mark...
20140127_142558.jpg


Then Mr Wellings of Wellycooler fame popped in...
Messenger_5833569861989382076_13908314376531384.jpg


Slightly failed selfie in empty engine bay pic...
20140127_150401.jpg


...and thats it until the weekend... more stuff on order and a couple more days off next week to pick up wheels and see if I can get a little closer to getting the engine in the car...
20140127_183325.jpg


...and I finished off fitting the supertech valves to the customers head too ;P
20140127_183239.jpg


<tuffty/>
 

tufftybloke

Badger 5 Edition
Feb 28, 2009
657
0
Gloucestershire, UK
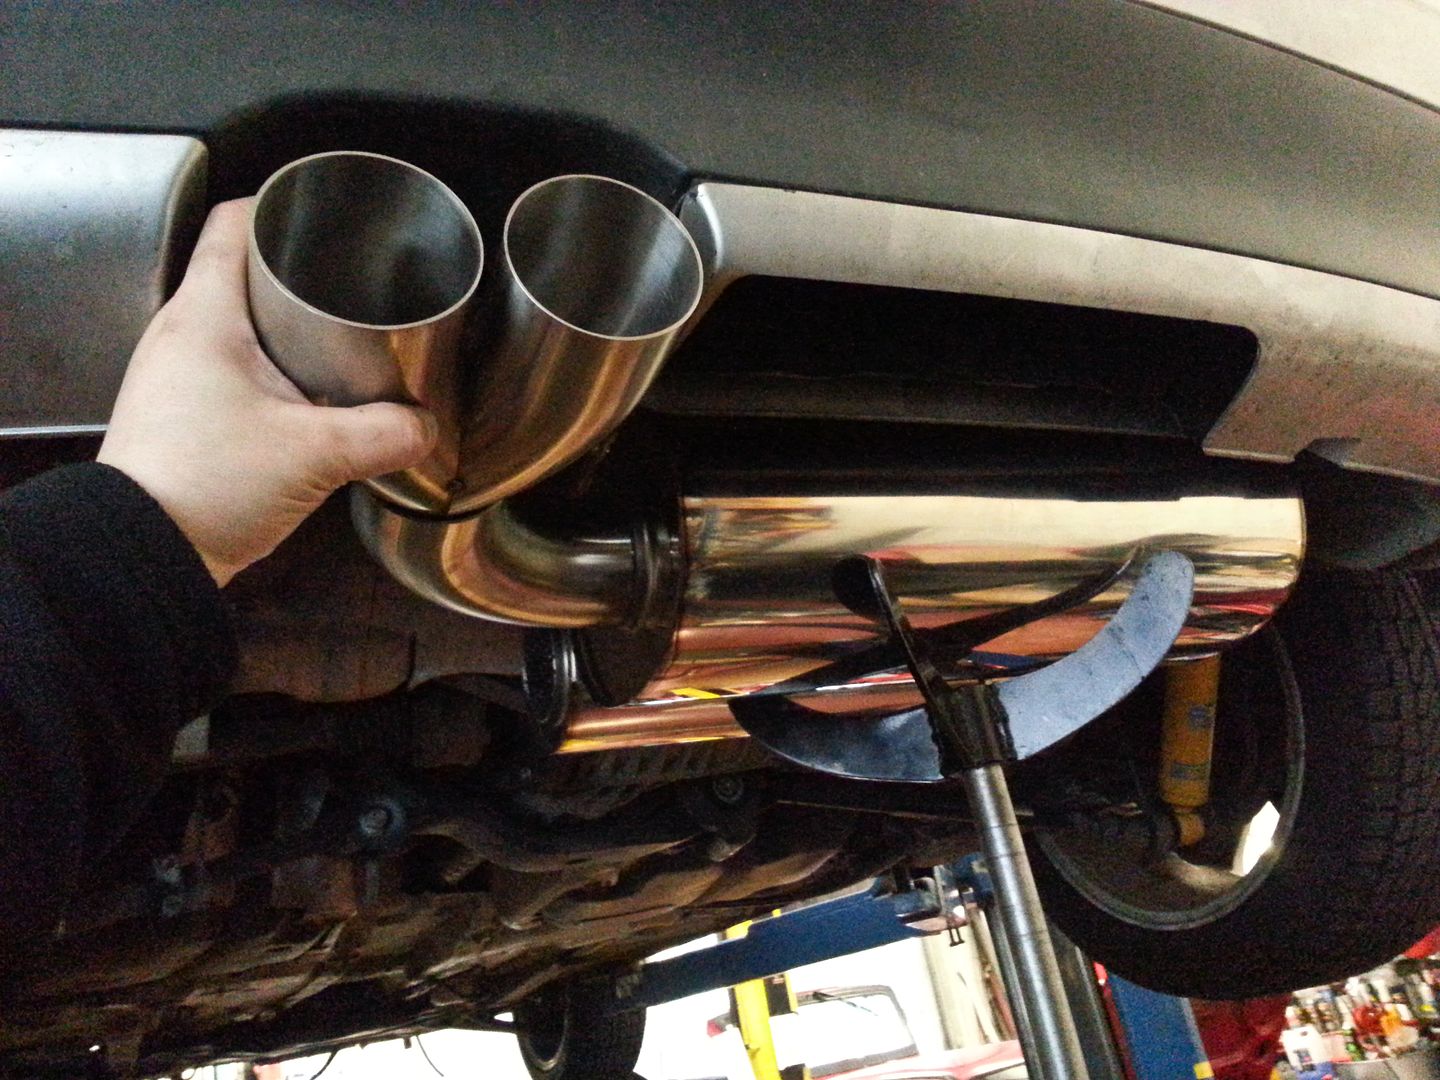
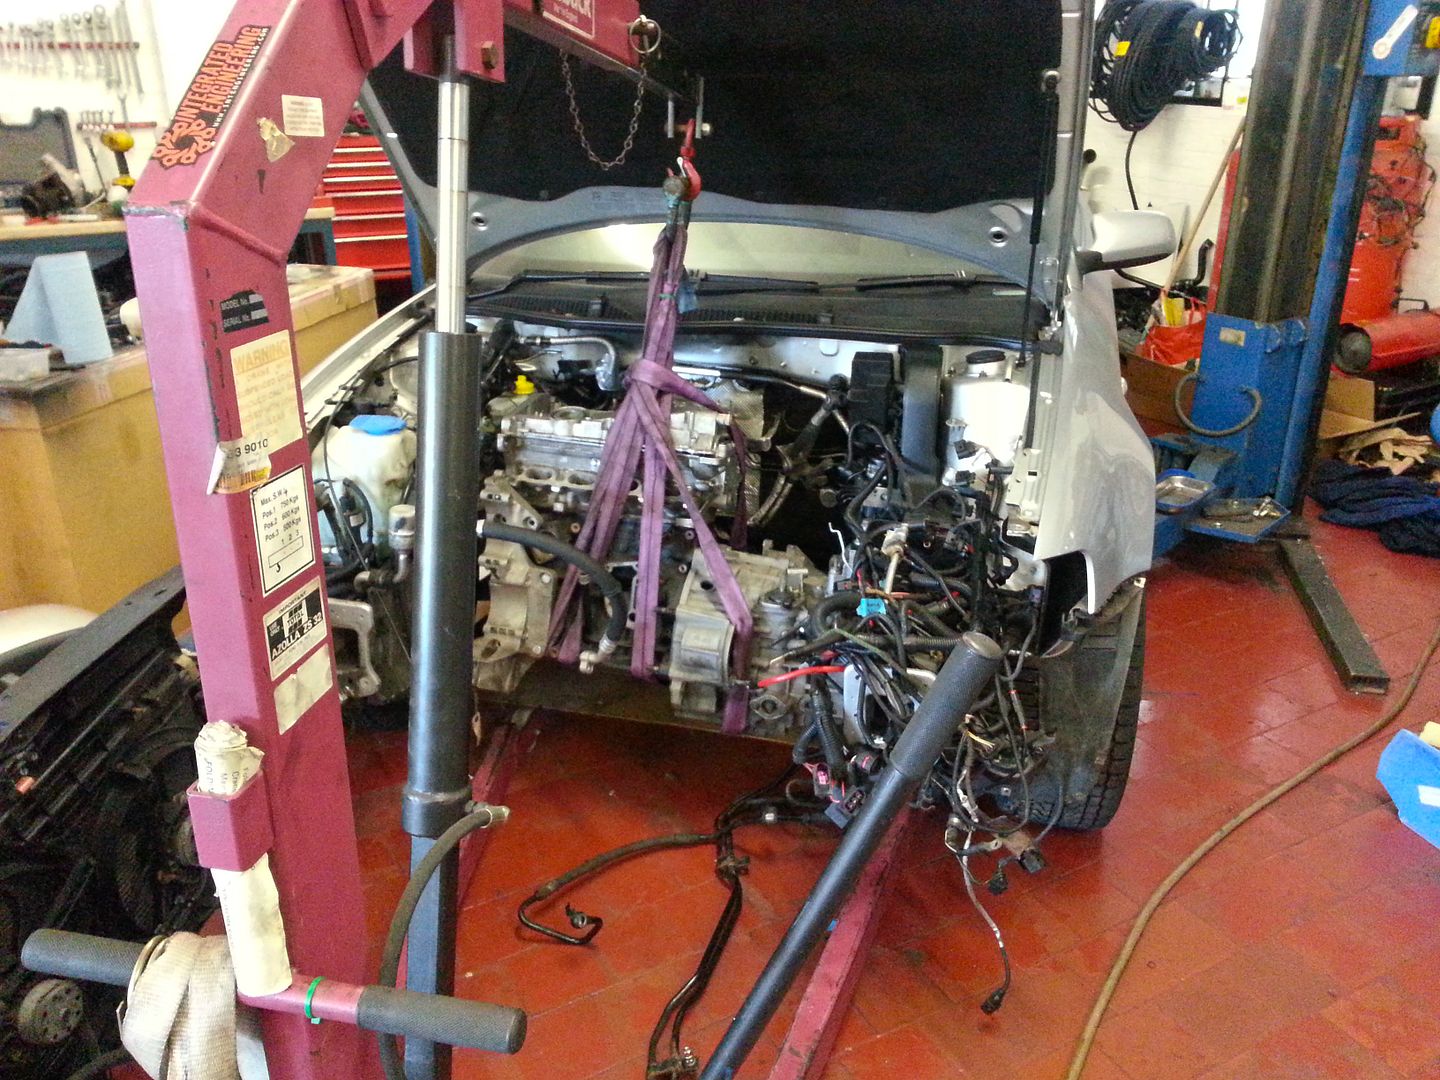
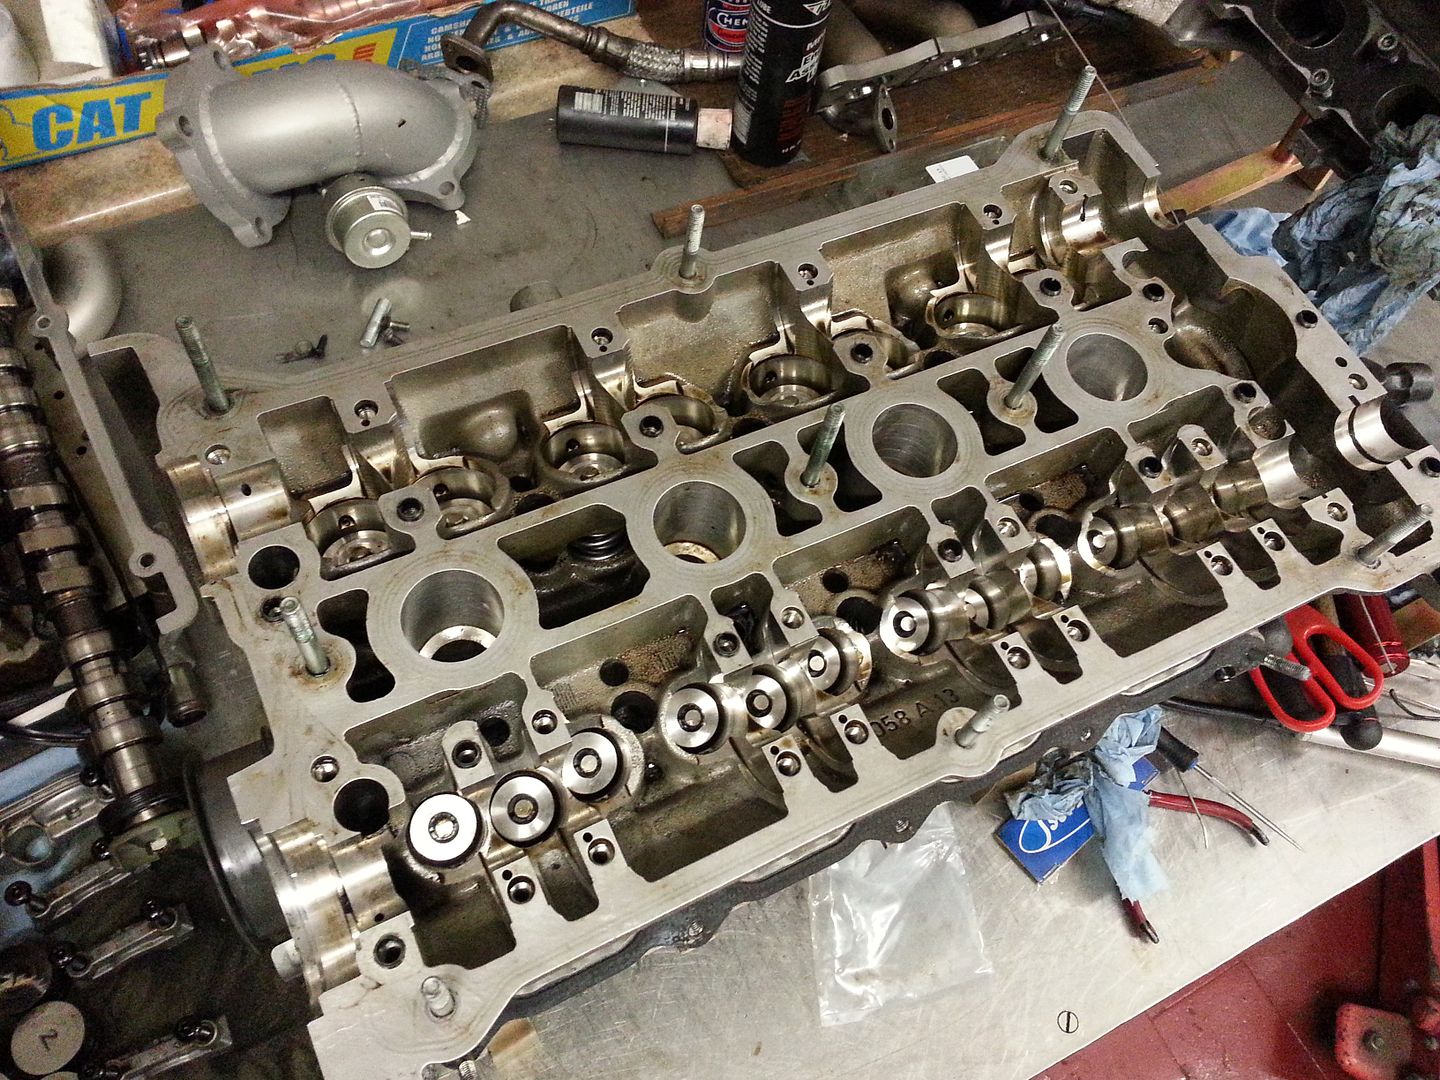
More of the little jobs done this weekend..

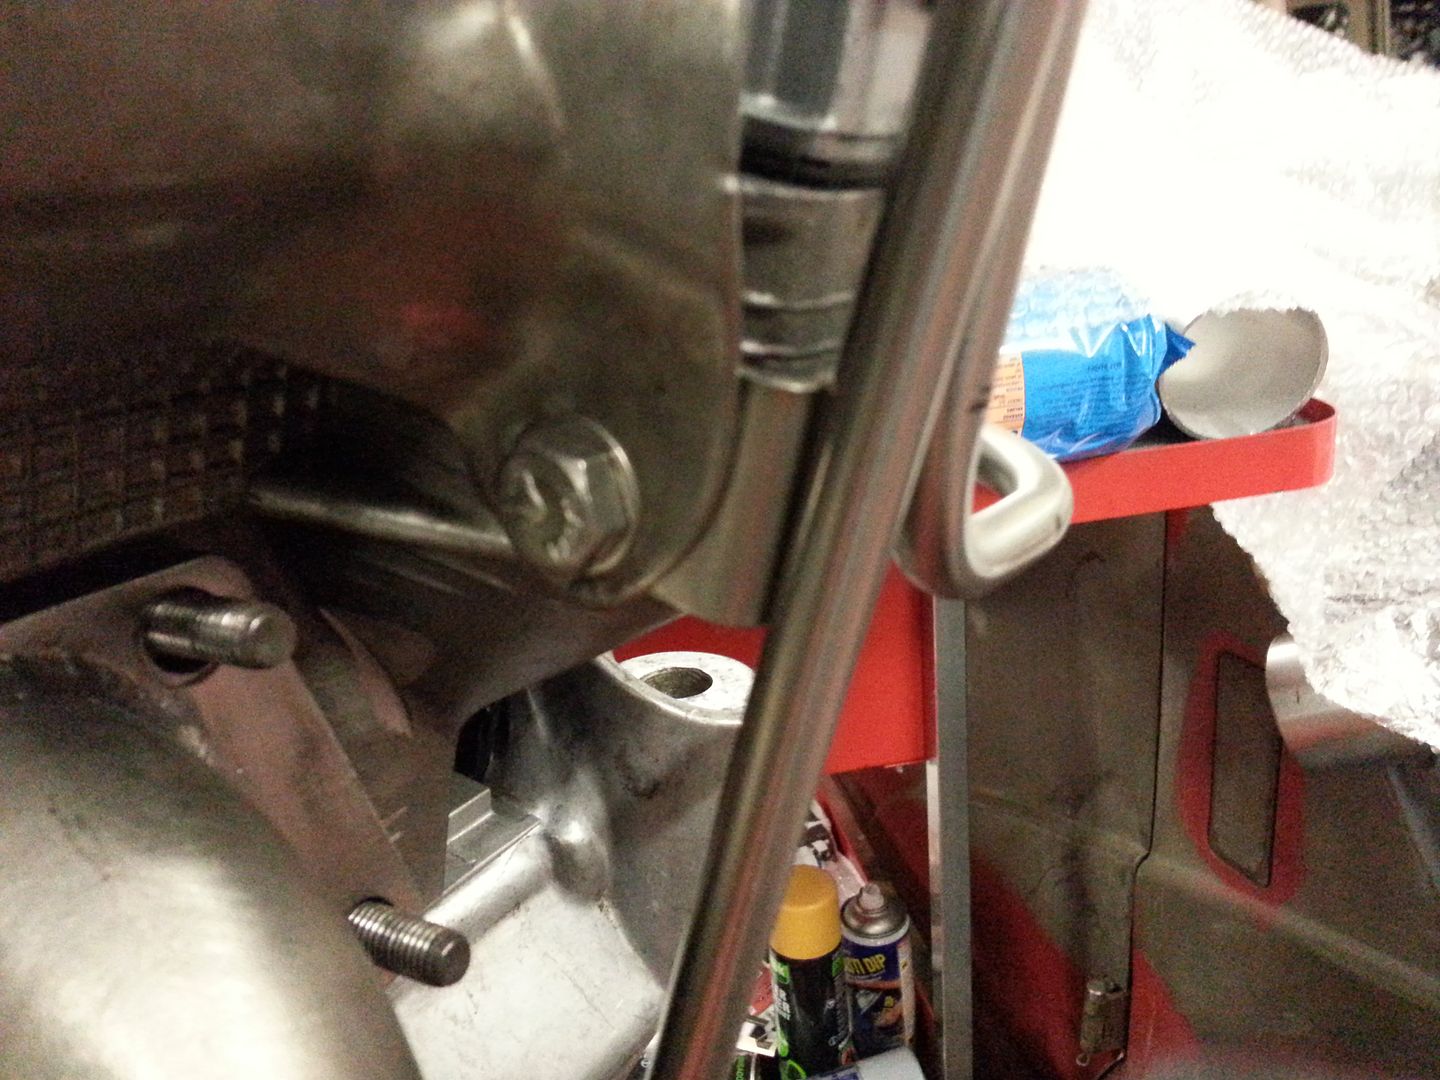
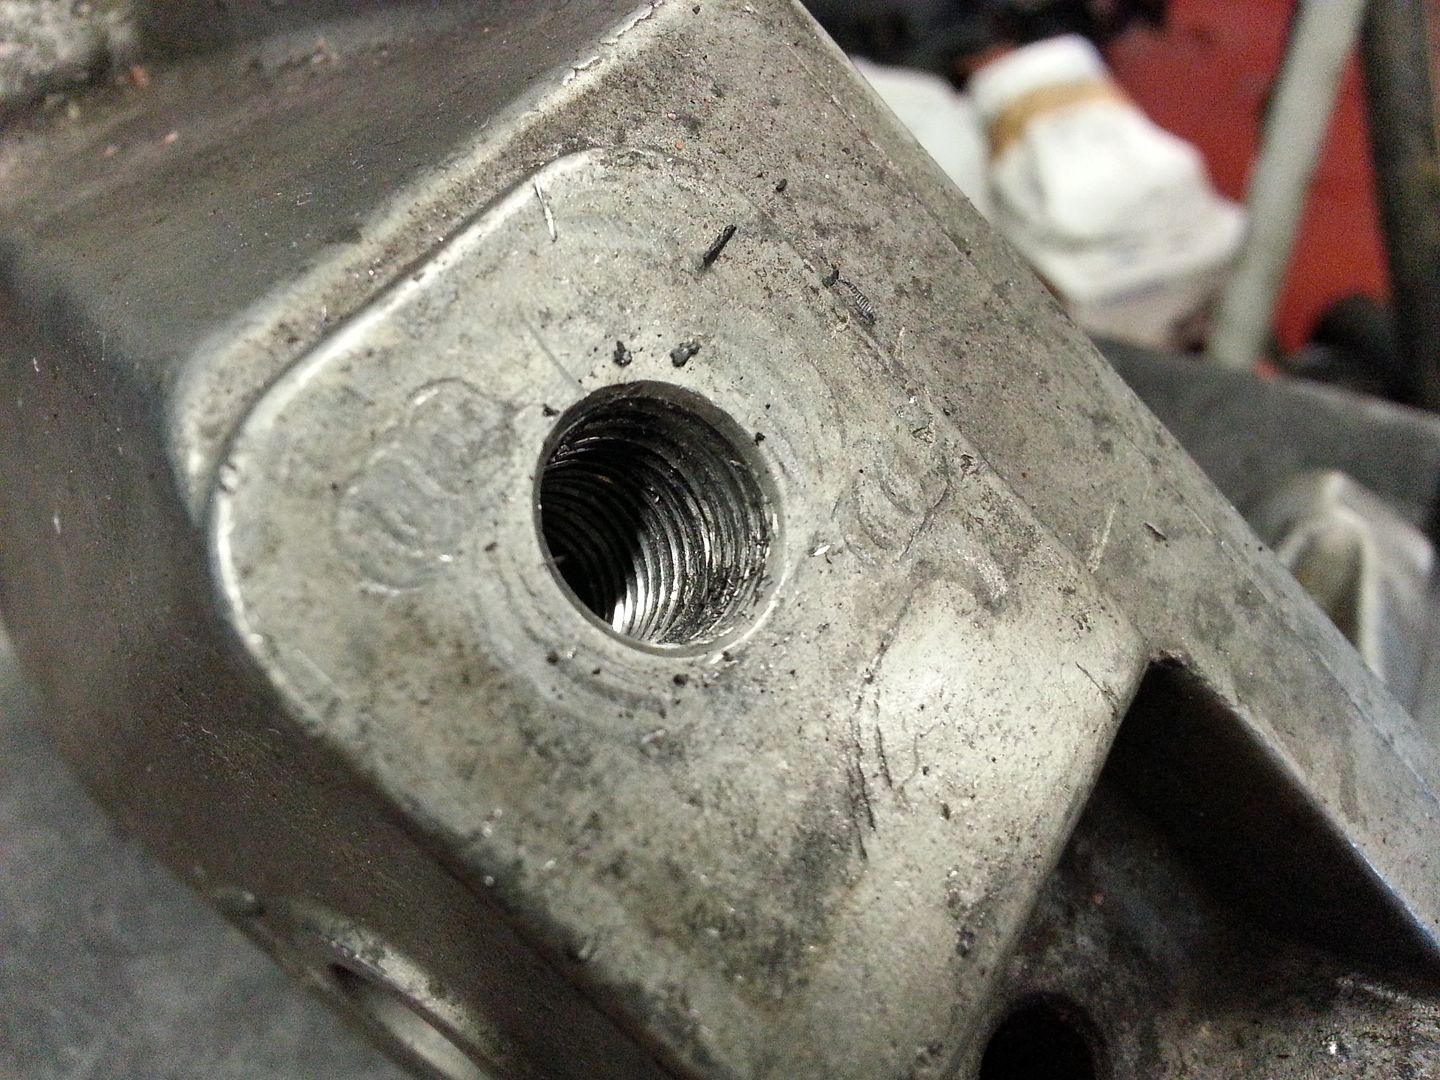
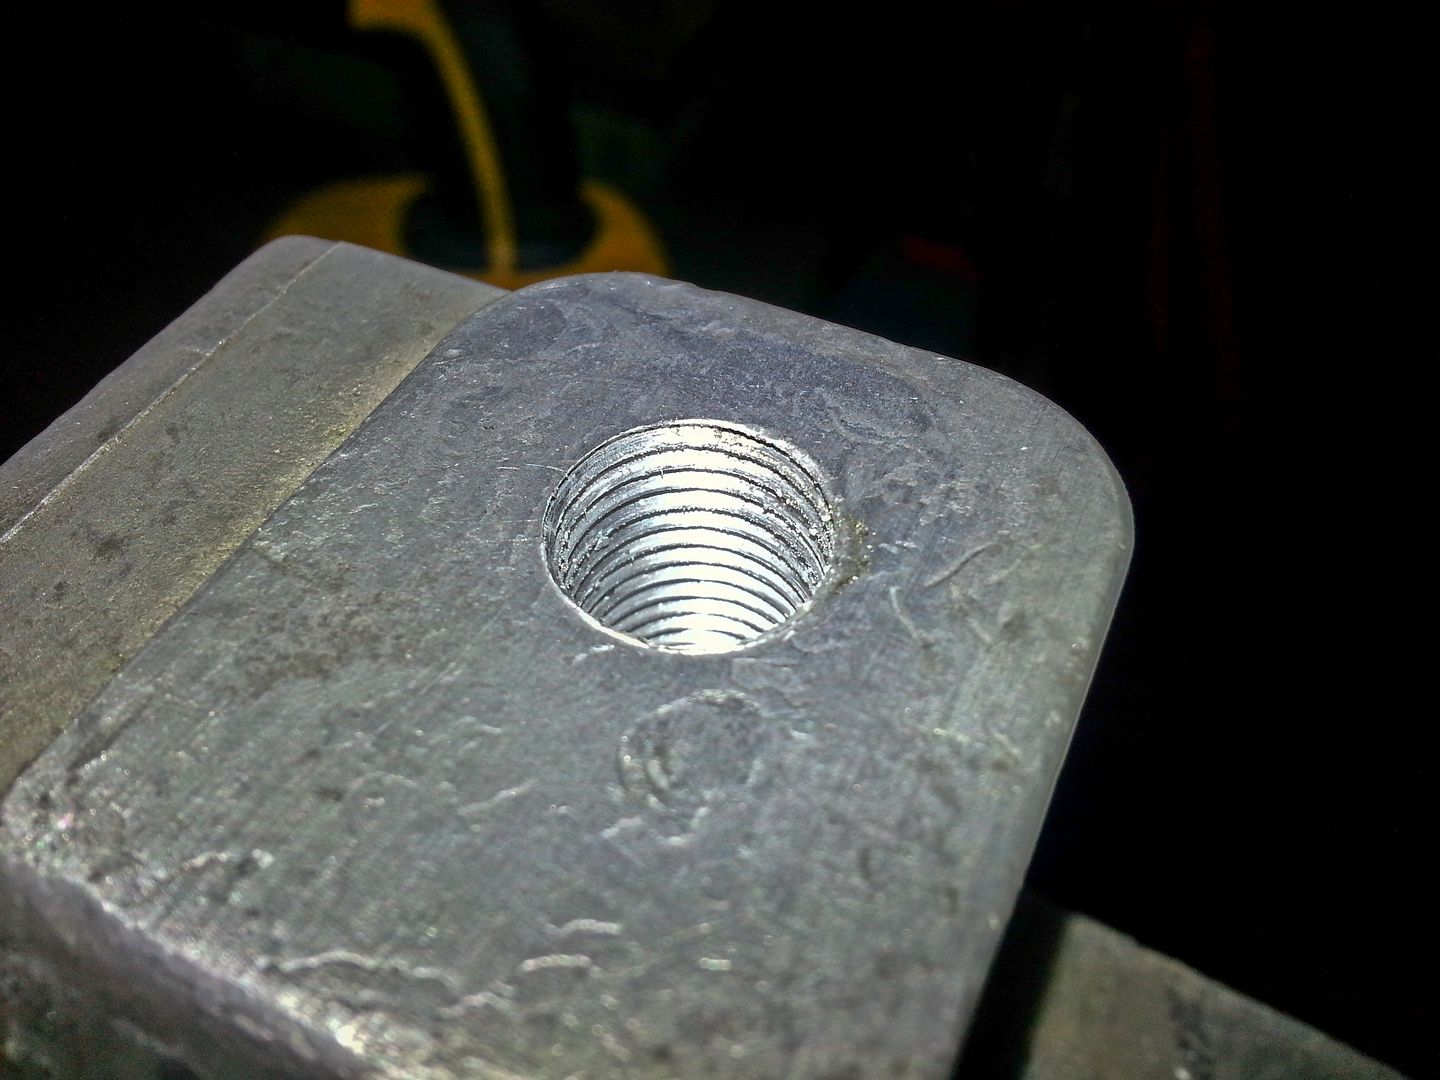
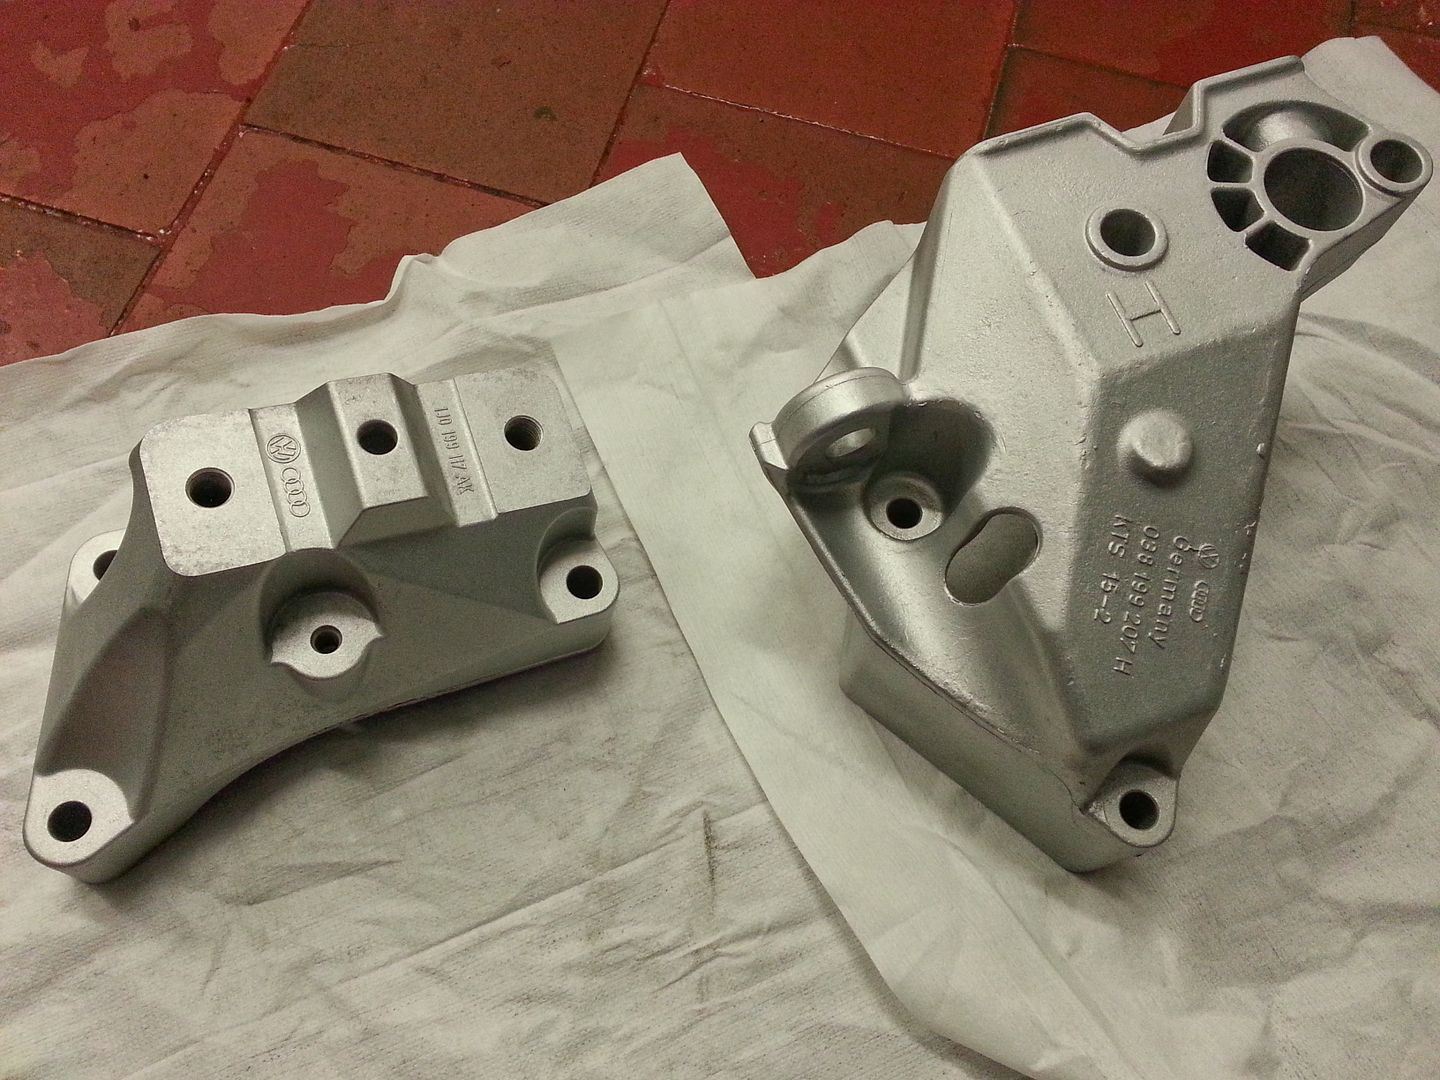
The threads in the engine mount (the crappy one that gets in the way of cam belt changes) were pretty much non existent... in fairness its been off a few times and the threads don't seem to last more than a couple of belt changes before showing signs of failing...
20140201_102101.jpg


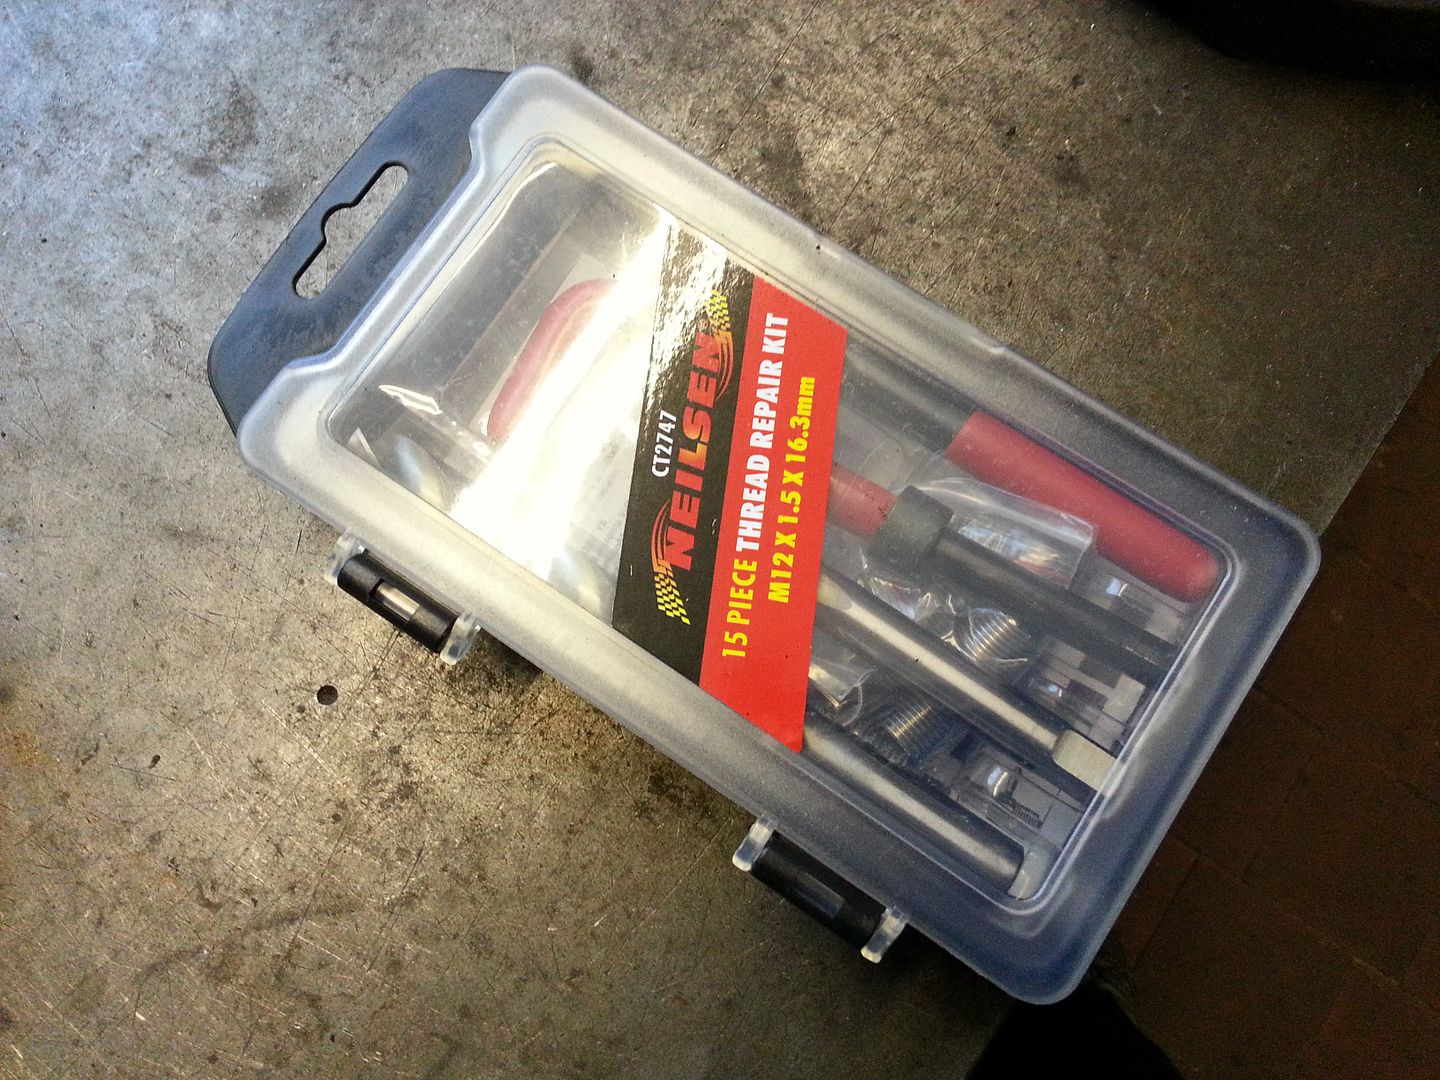
So bought a helicoil kit and set about sorting it...
20140201_102510.jpg


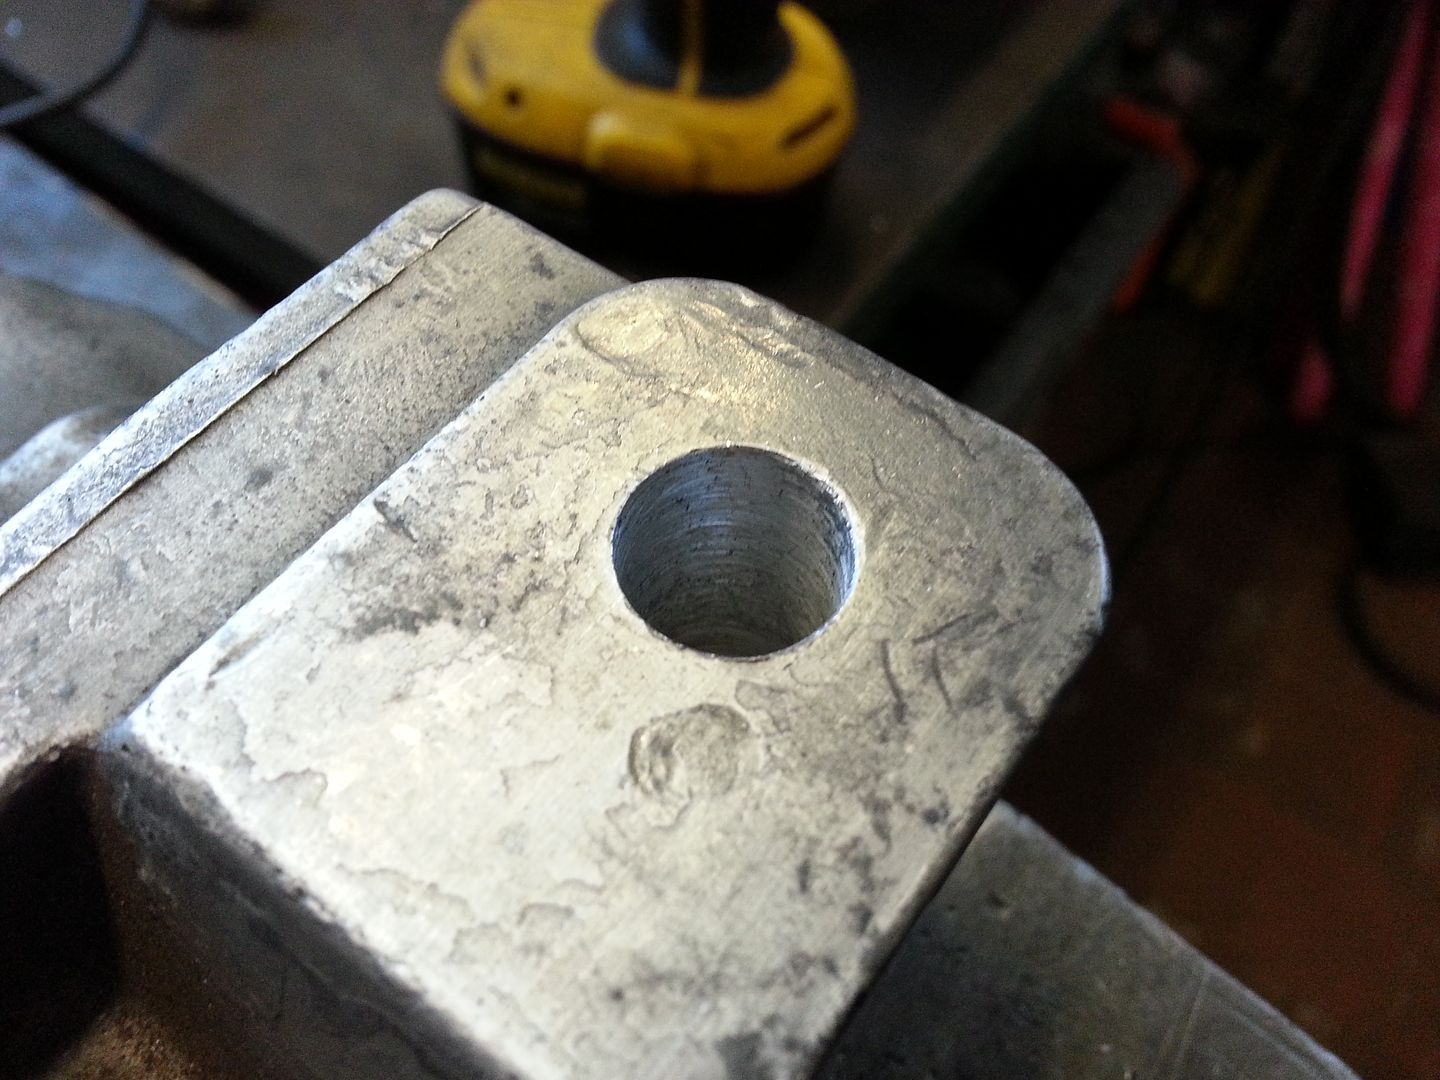
Drilled out the holes
20140201_103605.jpg


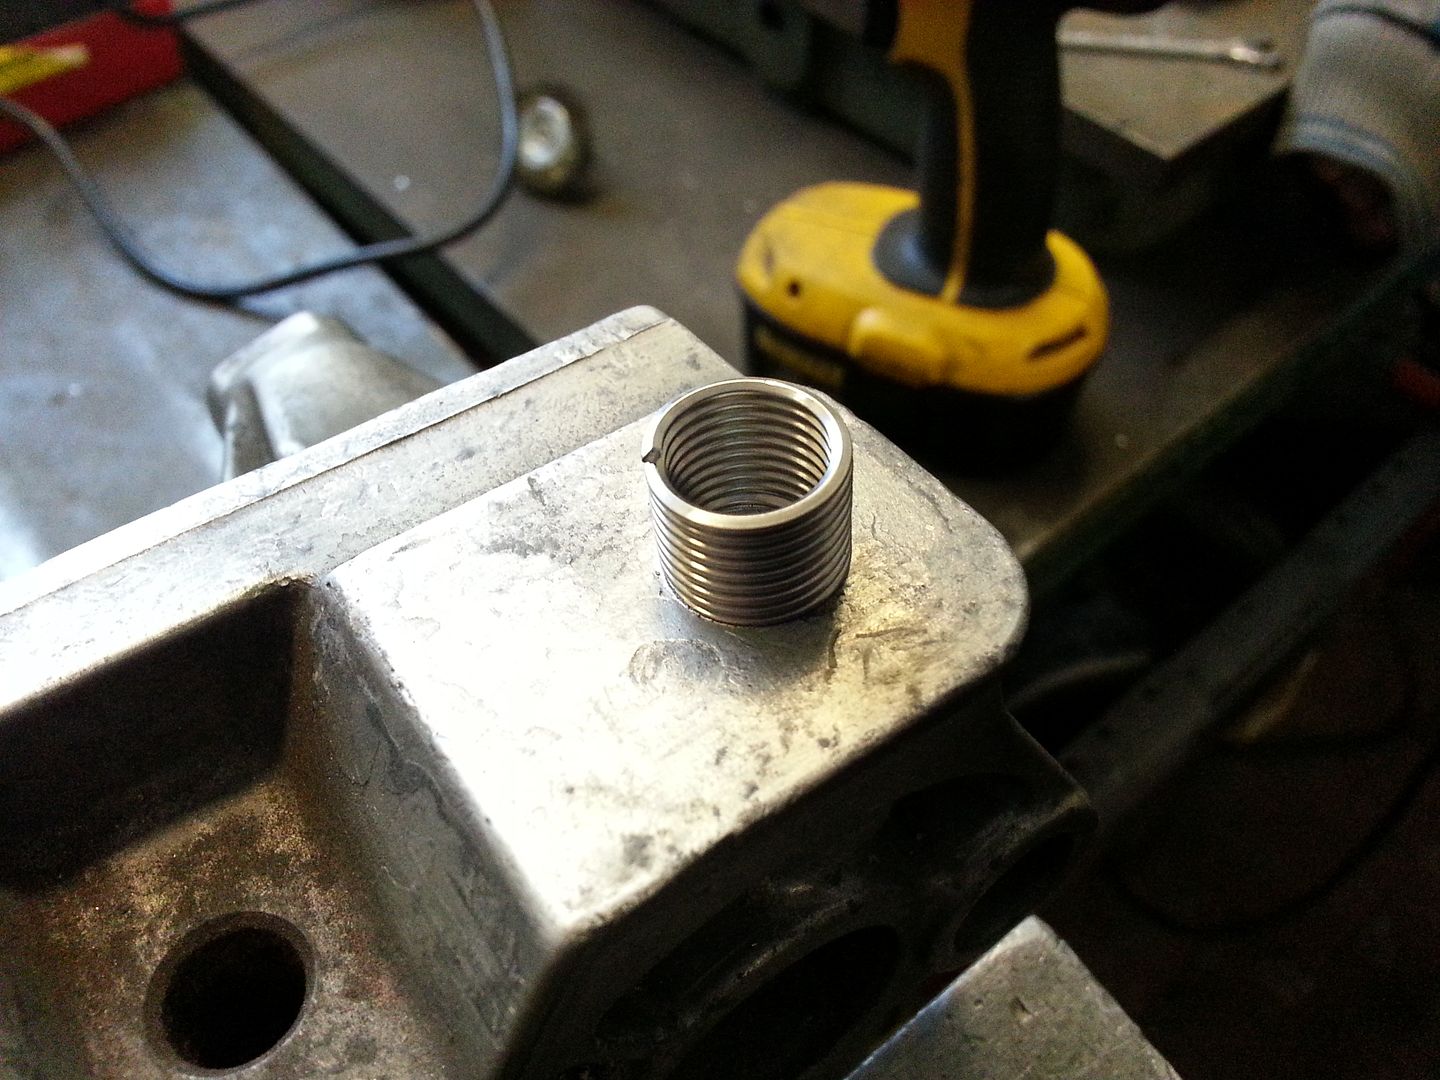
Tapped then with the supplied tap...
20140201_104311.jpg


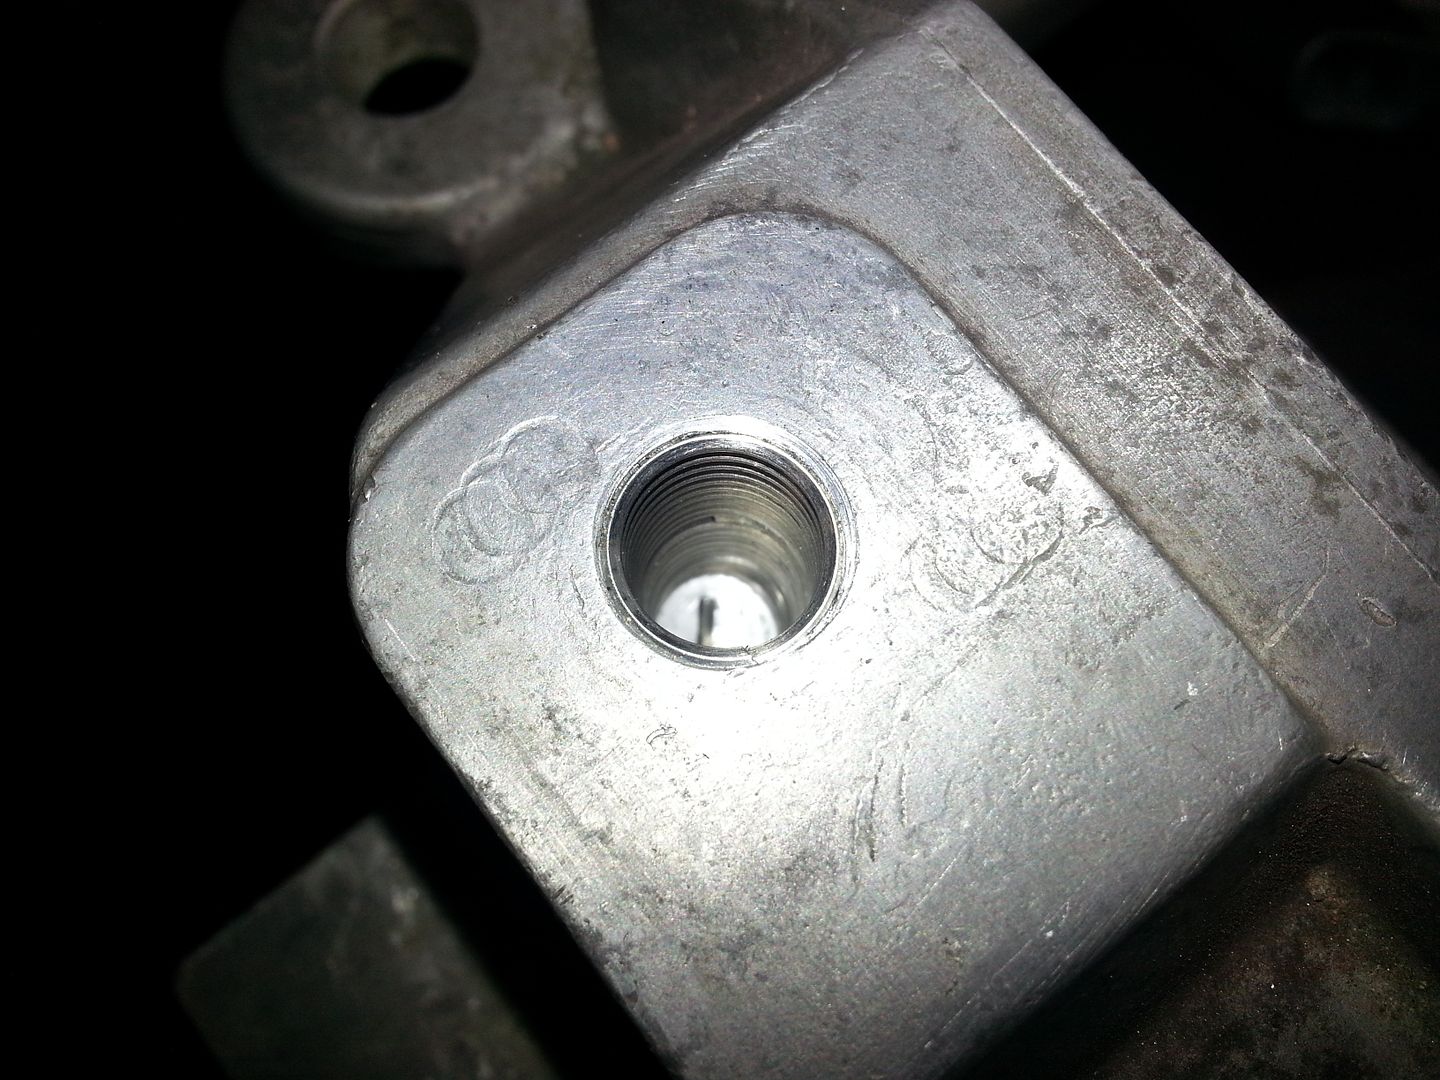
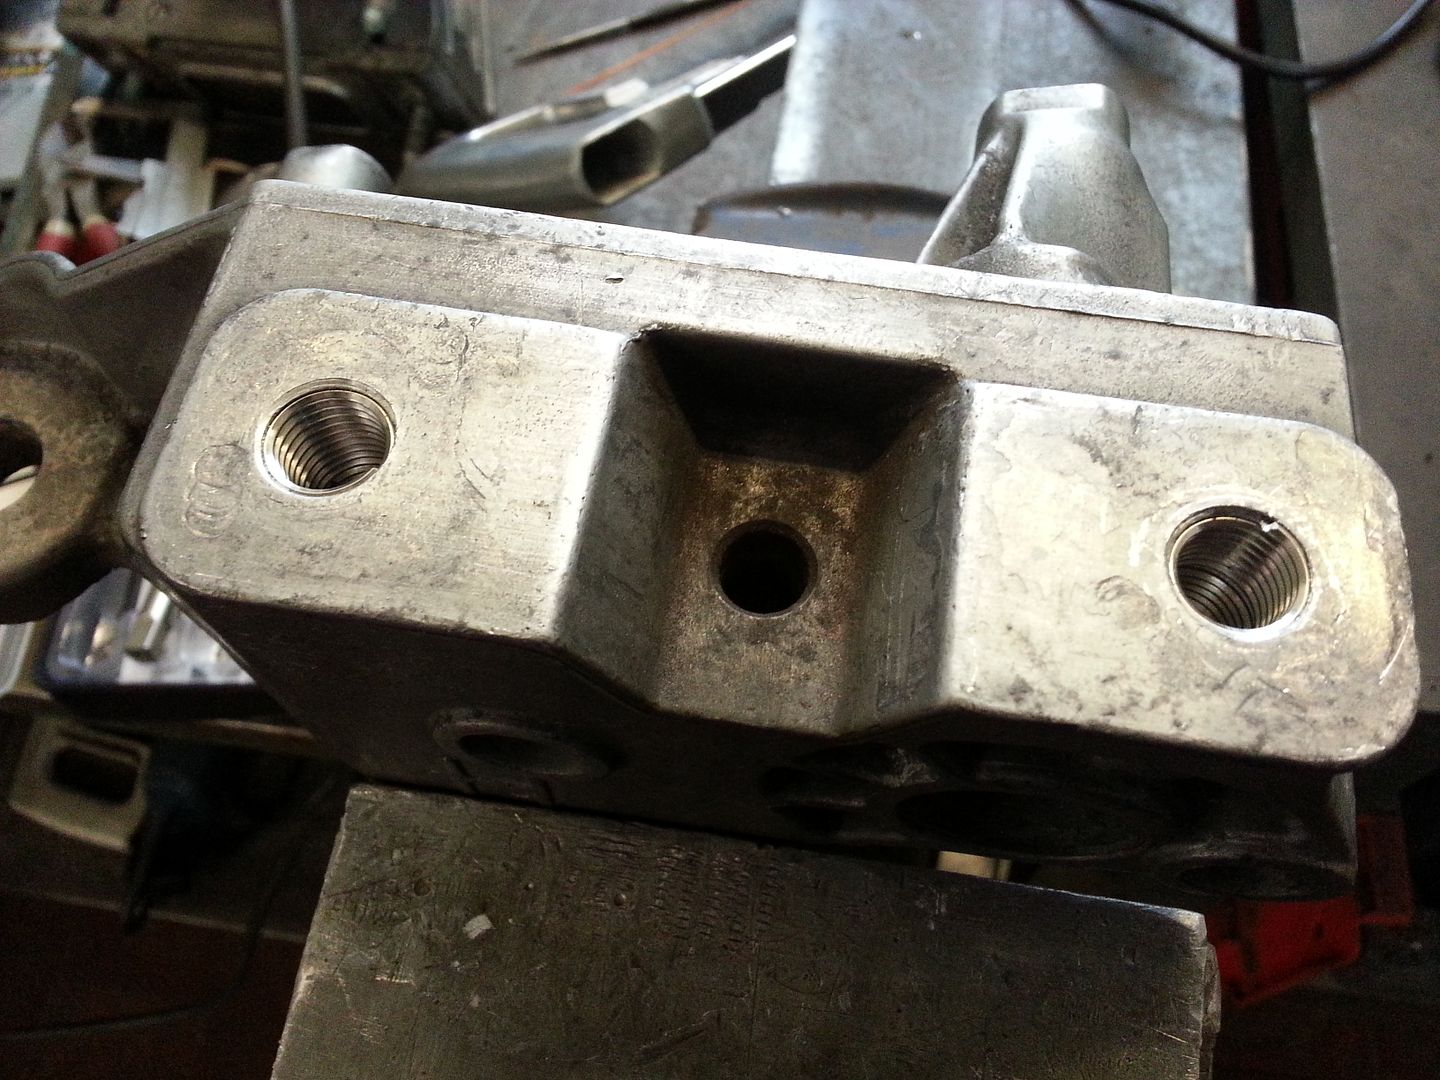
...and screwed in a couple of helicoils (they were 16.5mmm deep so used two for better thread contact on bolt)
20140201_104646.jpg


20140201_112404.jpg


20140201_112416.jpg


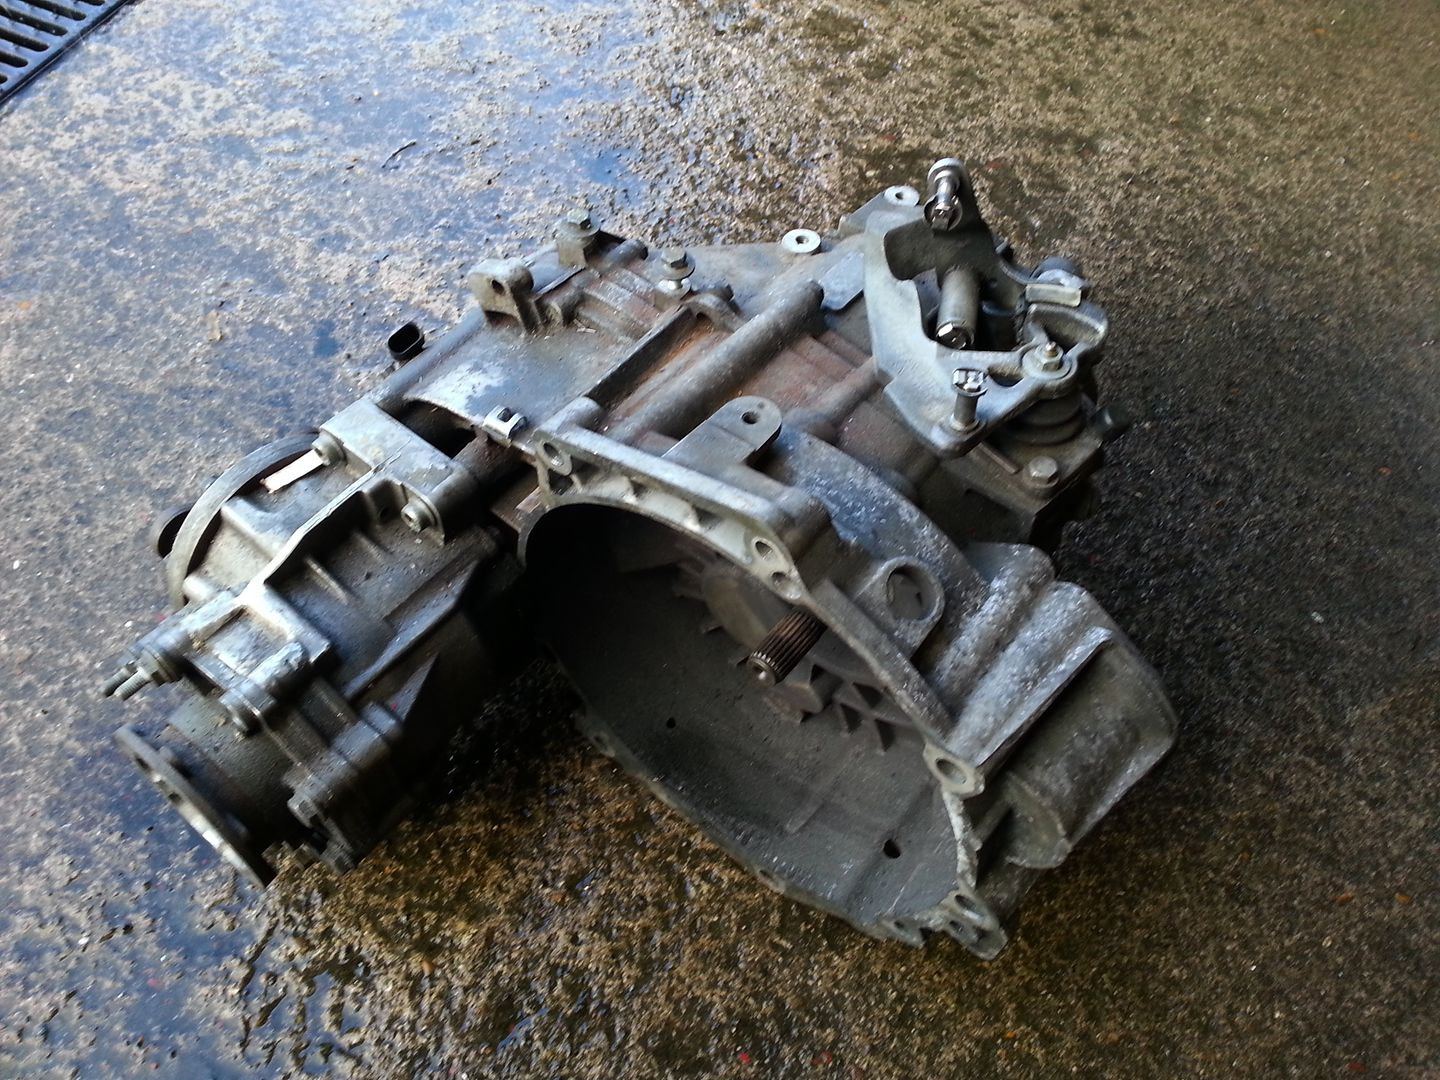
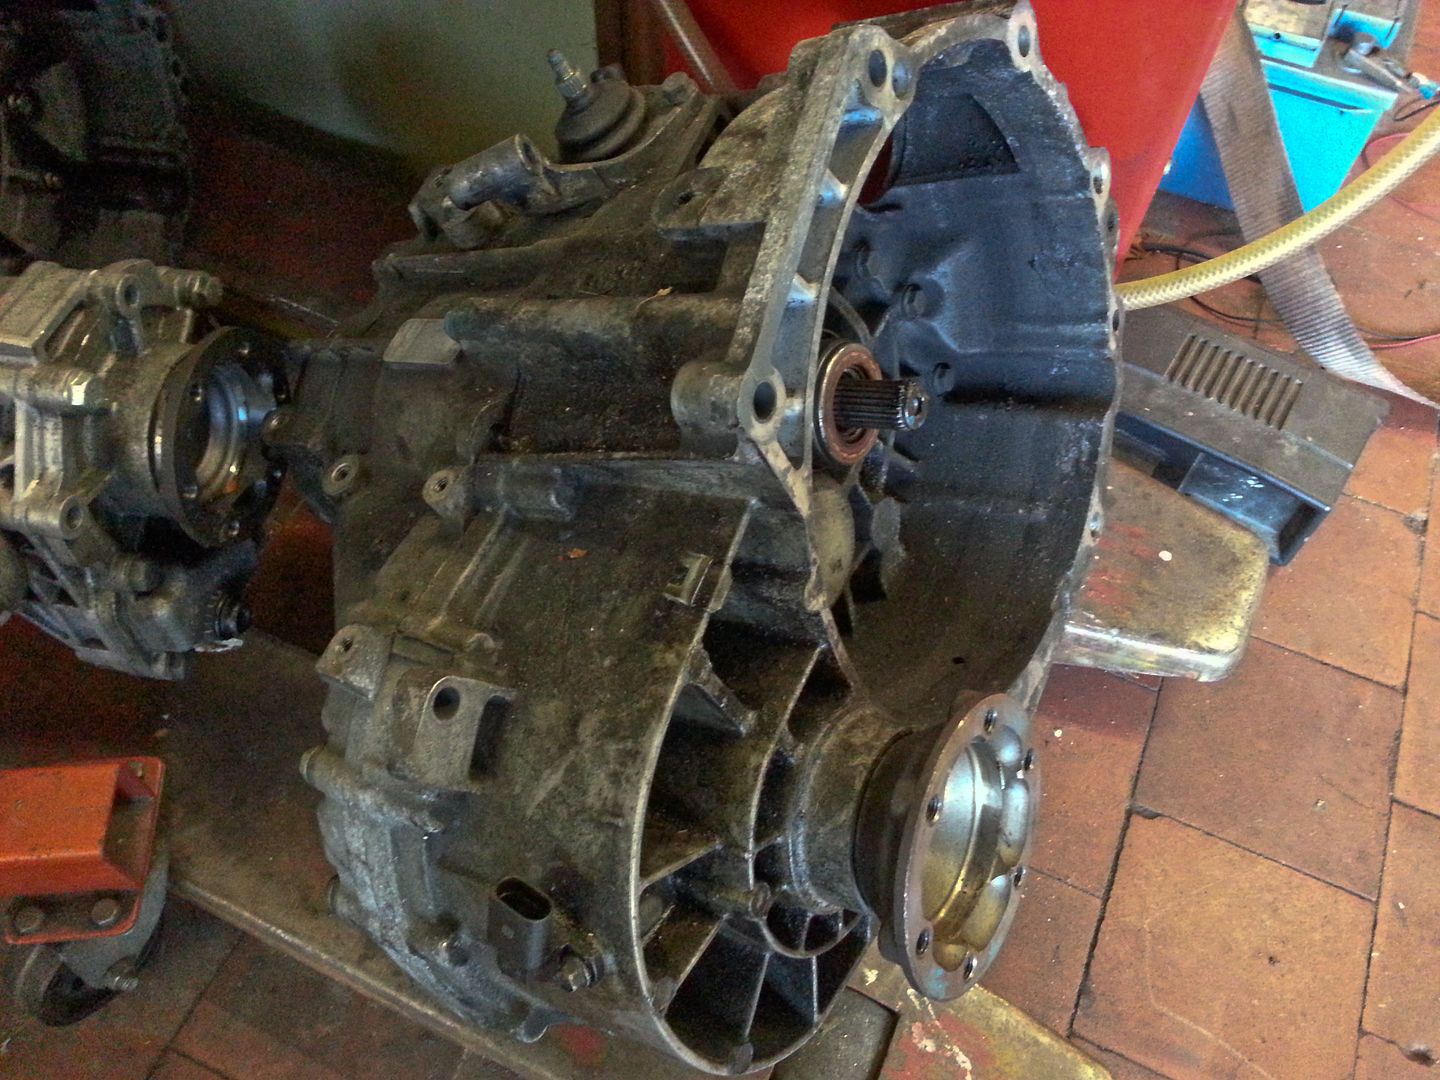
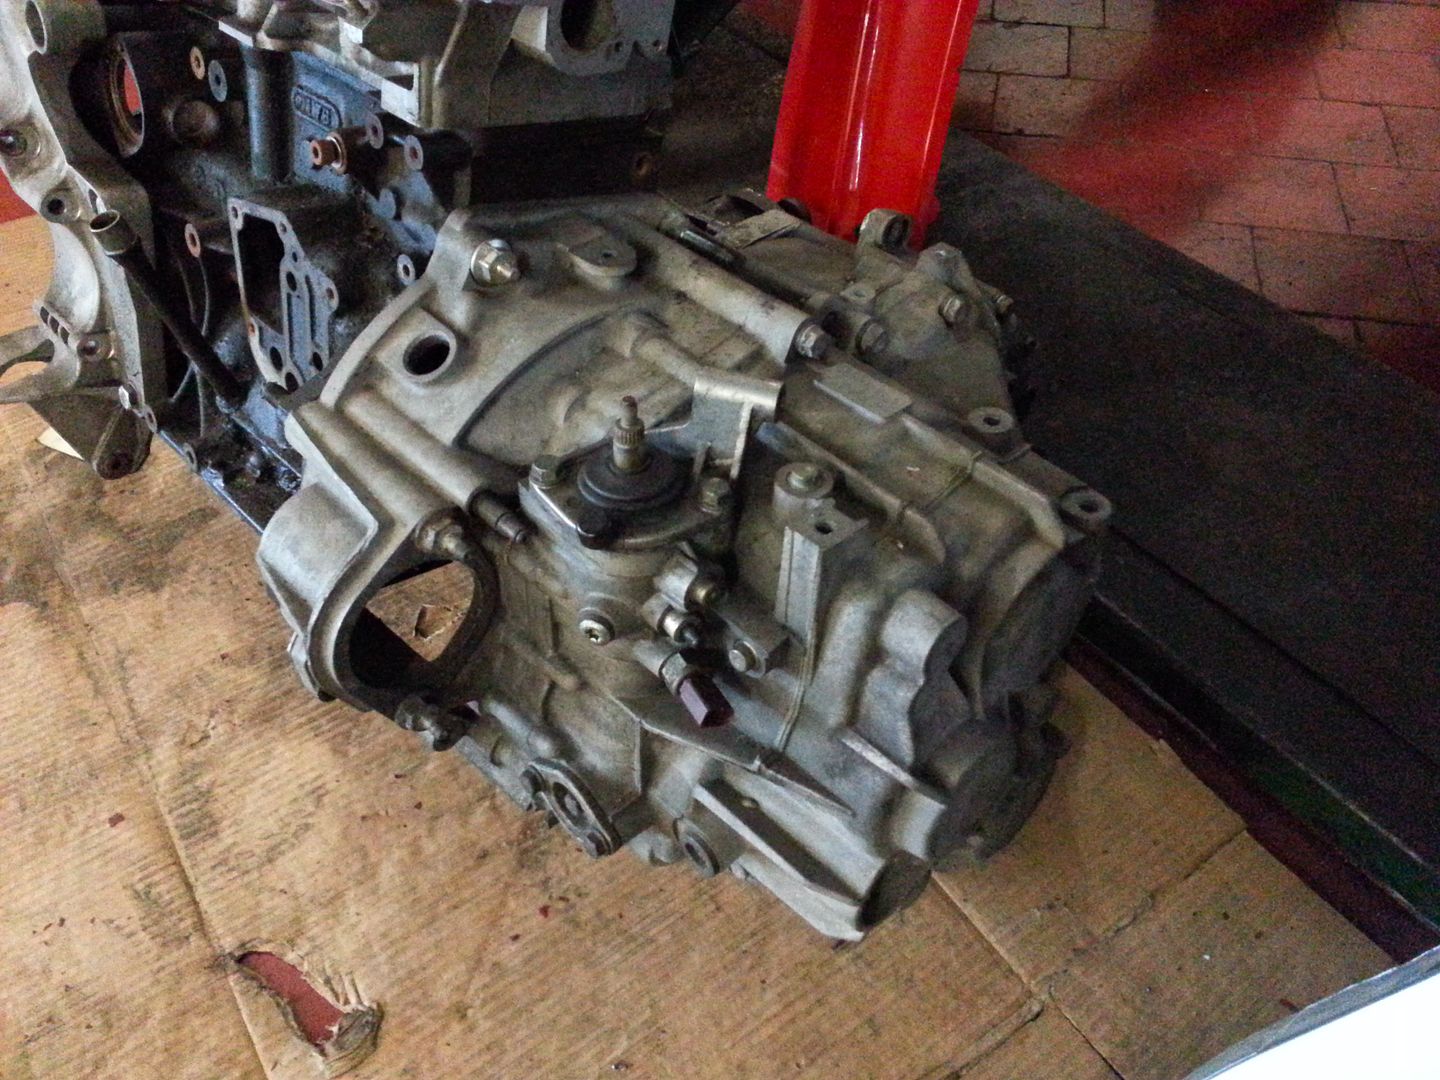
Next I removed my gearbox from the the build engine for cleaning...
20140202_135059.jpg


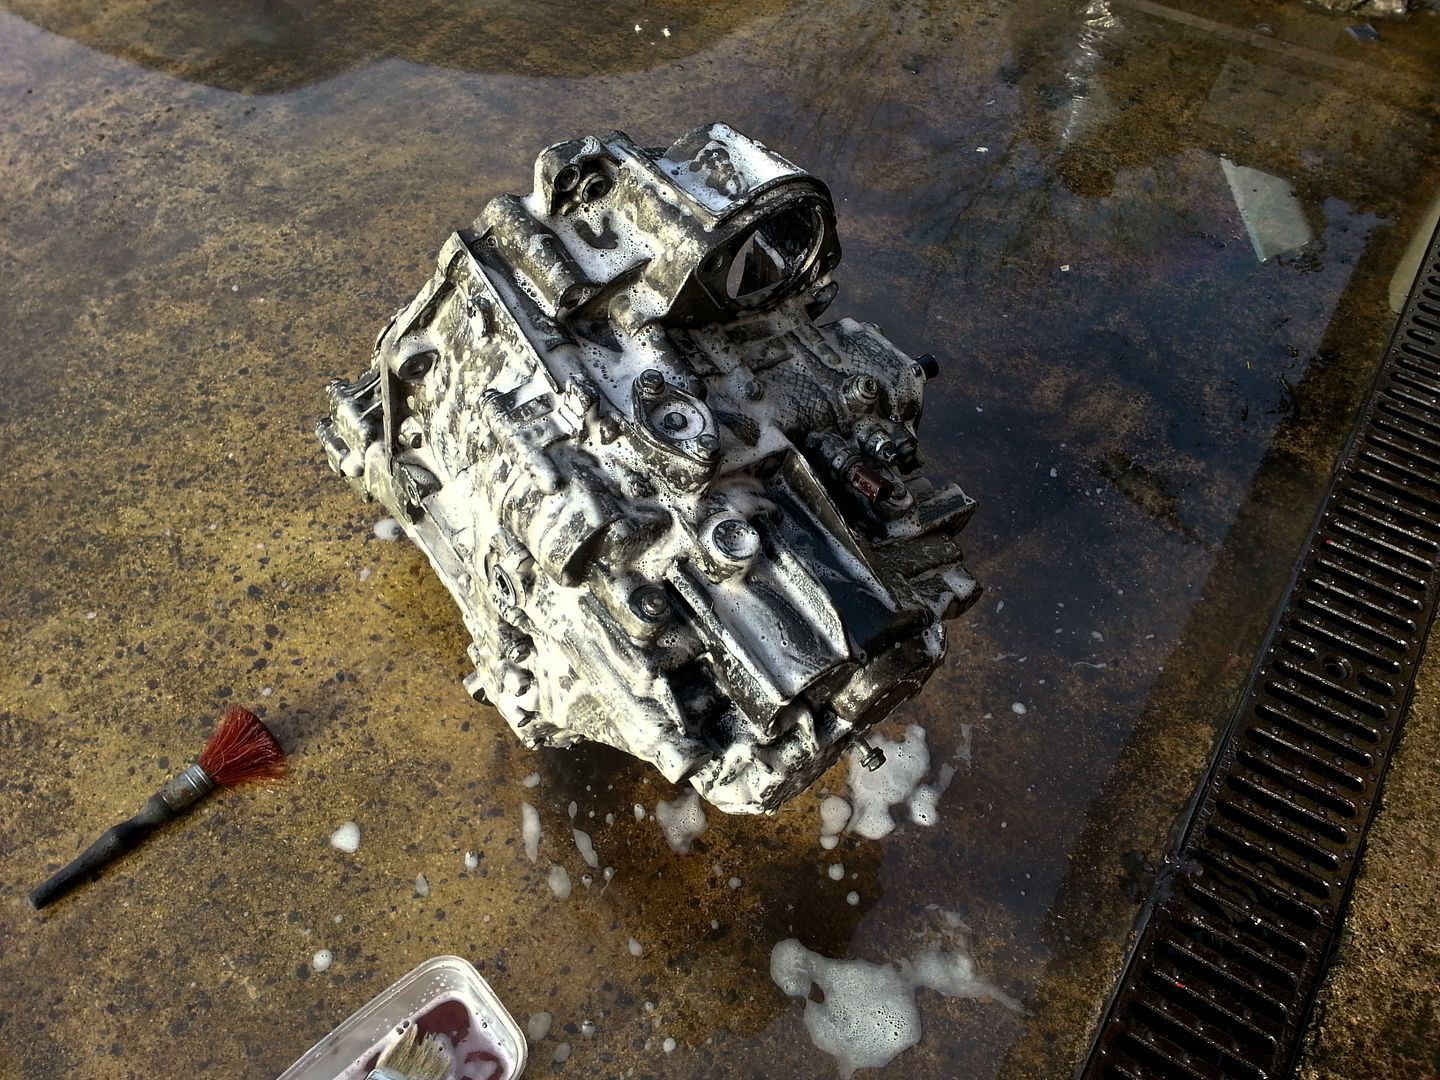
Gave it a good going over with a water based detergent, stiff brush and a scotch brite pad then power washed it...
20140202_144943.jpg


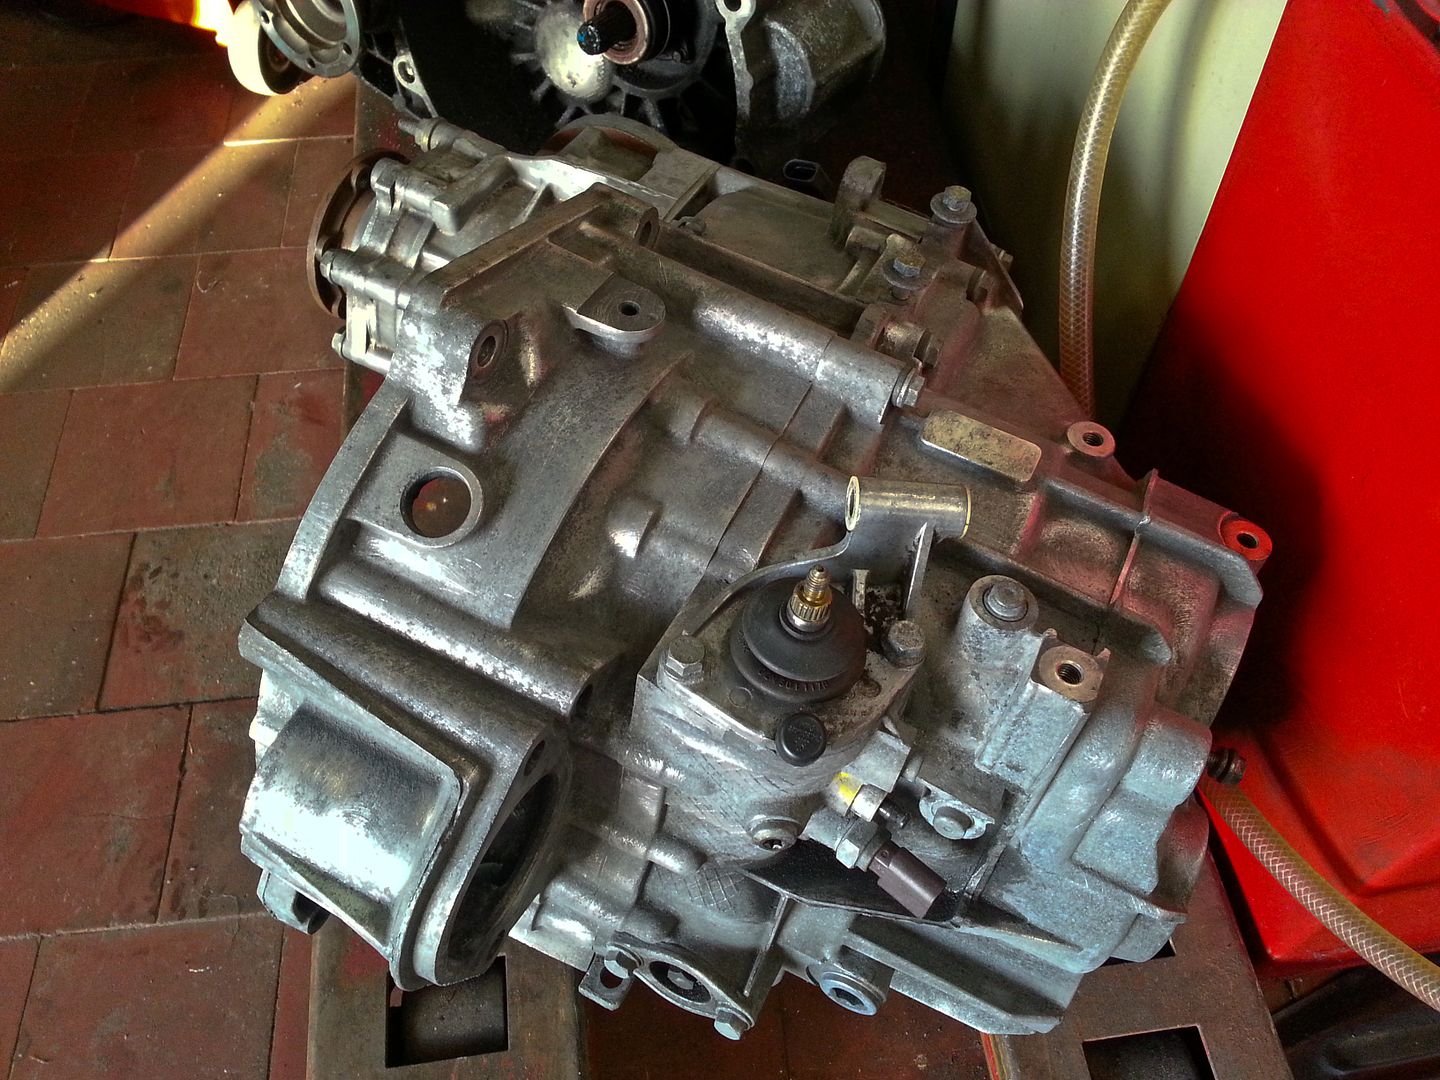
Finished off with a wire brush... not 'clean' but paintable at least...
20140202_160517.jpg


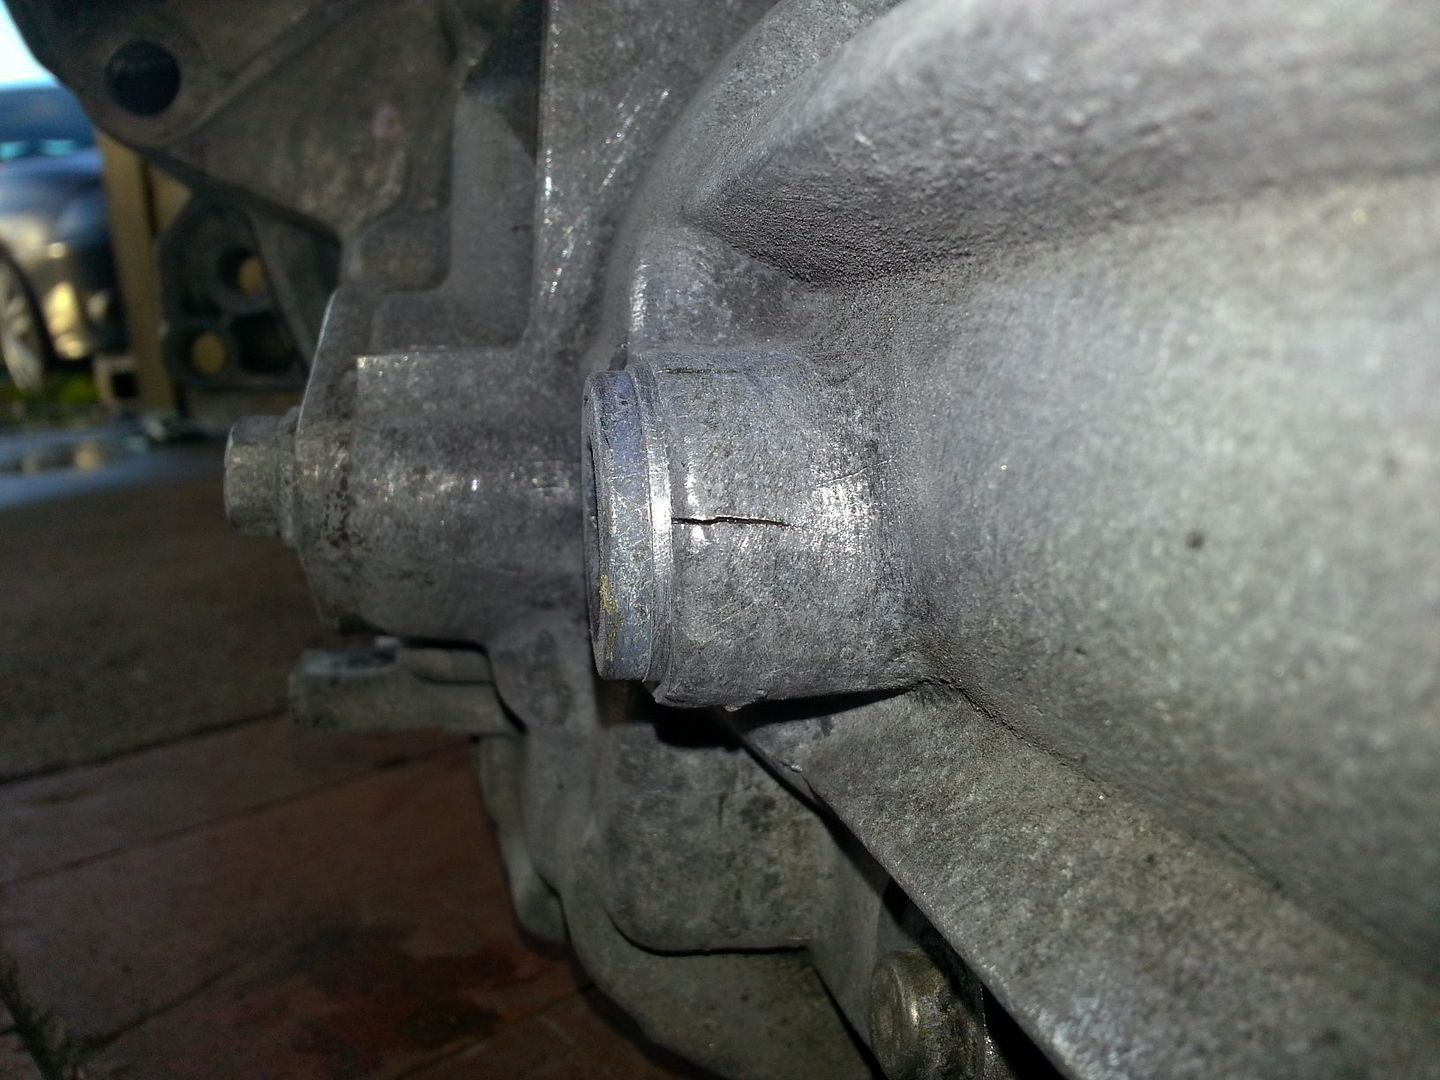
Unfortunately I spotted a small issue... there were a couple of small cracks on the oil filler boss :(
5835772753224377905_13913566478149829.jpg


I think this could be due to the filler plugs being metal rather than the later ones which are plastic and there has been some sort of reaction or expansion that has caused this damage to occur... just as well I am planning on rebuilding another box then really... I have a low mileage (40k) 02m FWD box from a Leon that I will use the internals of to build a quatty box...
20140202_135116.jpg


Bill has a broken 02M quatty box (selector fork and a dodgy syncro)... Hoping this might be available as a donor for the build...
20140202_162647.jpg


That won't be for a little while yet though as I want the car up and running first...

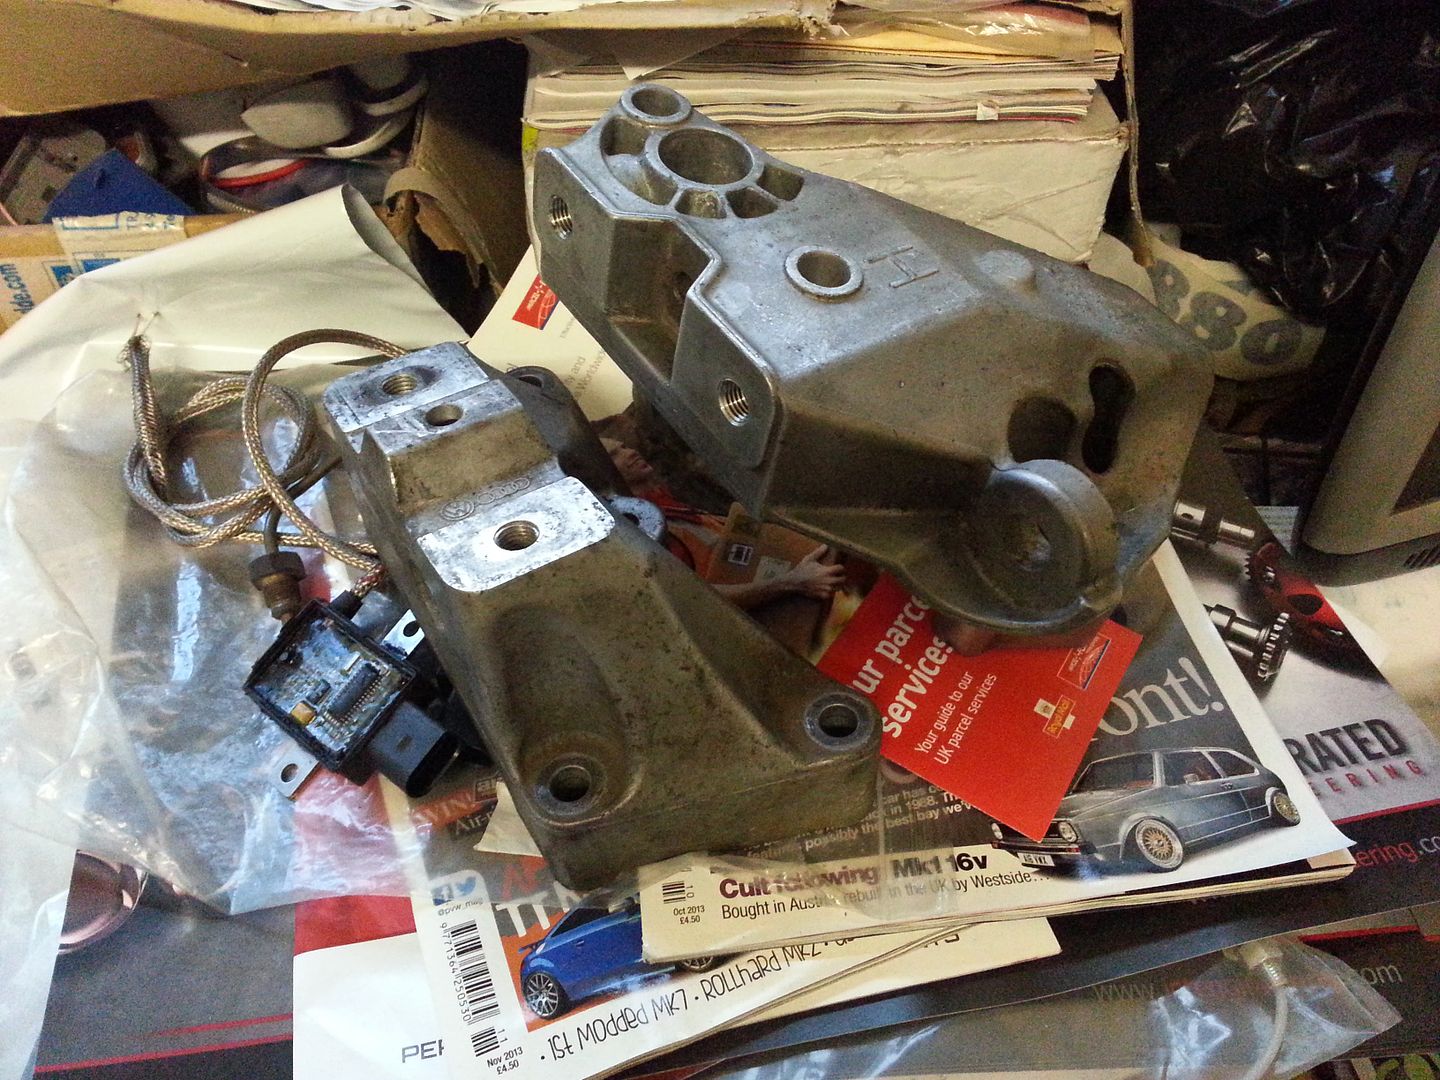
I also decided to replace all the engine mount bolts as they are supposed to be a one use affair but I am still on the originals so all things considered they are being retired...
20140202_163407.jpg


Mounts waiting to be blasted for painting :p
20140202_163420.jpg


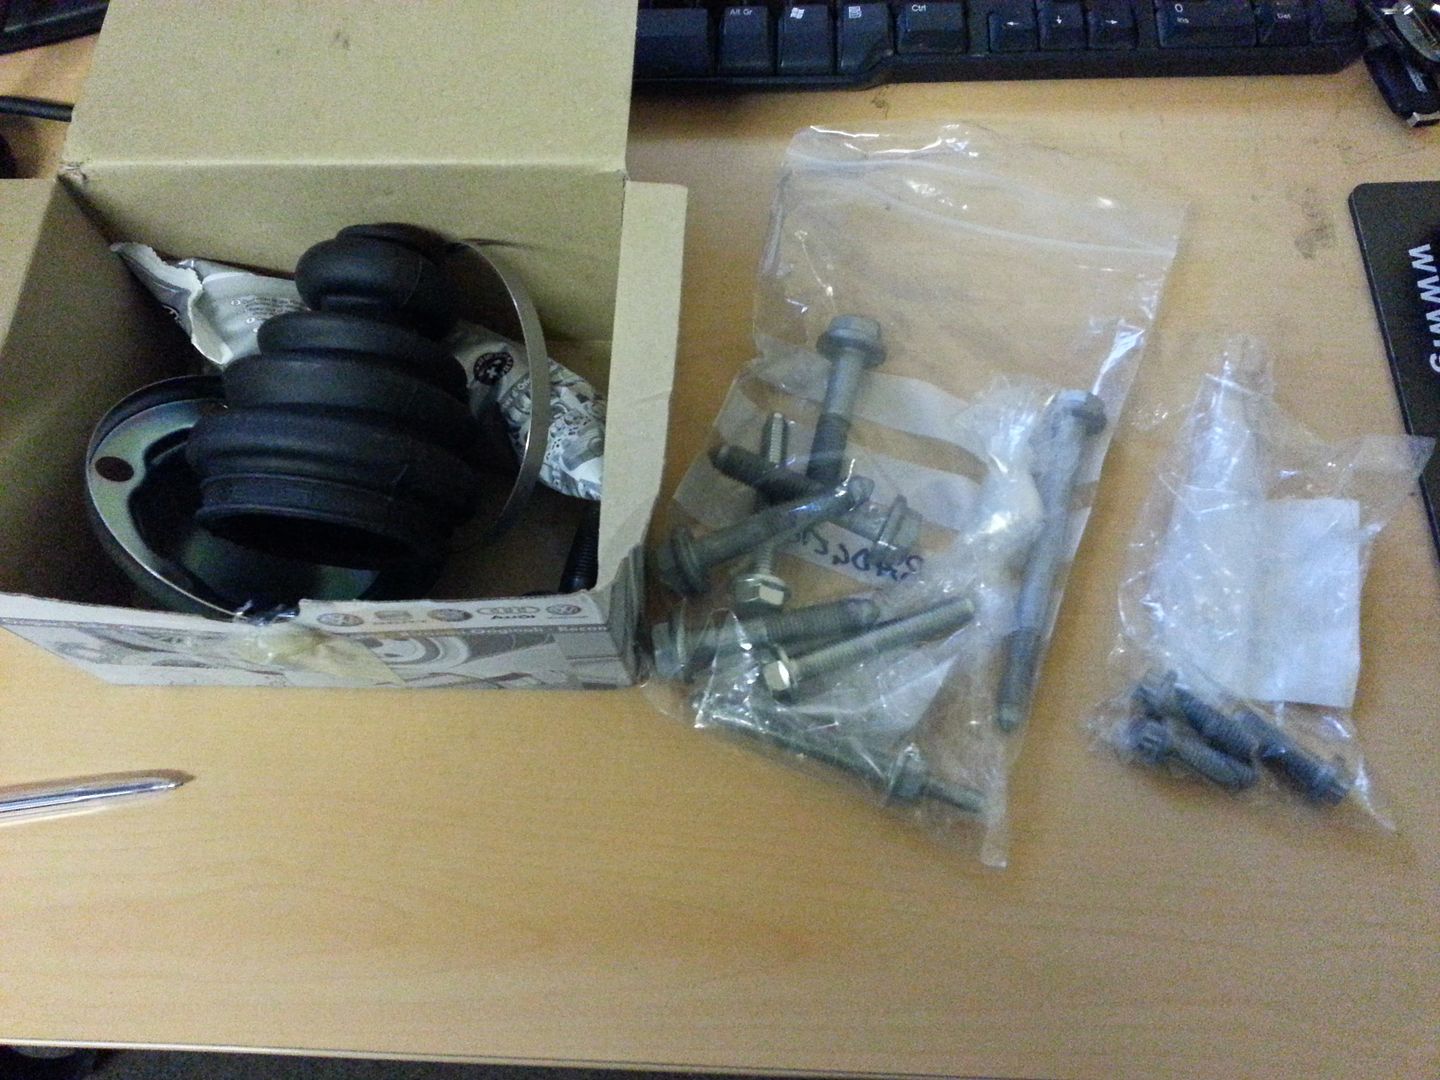
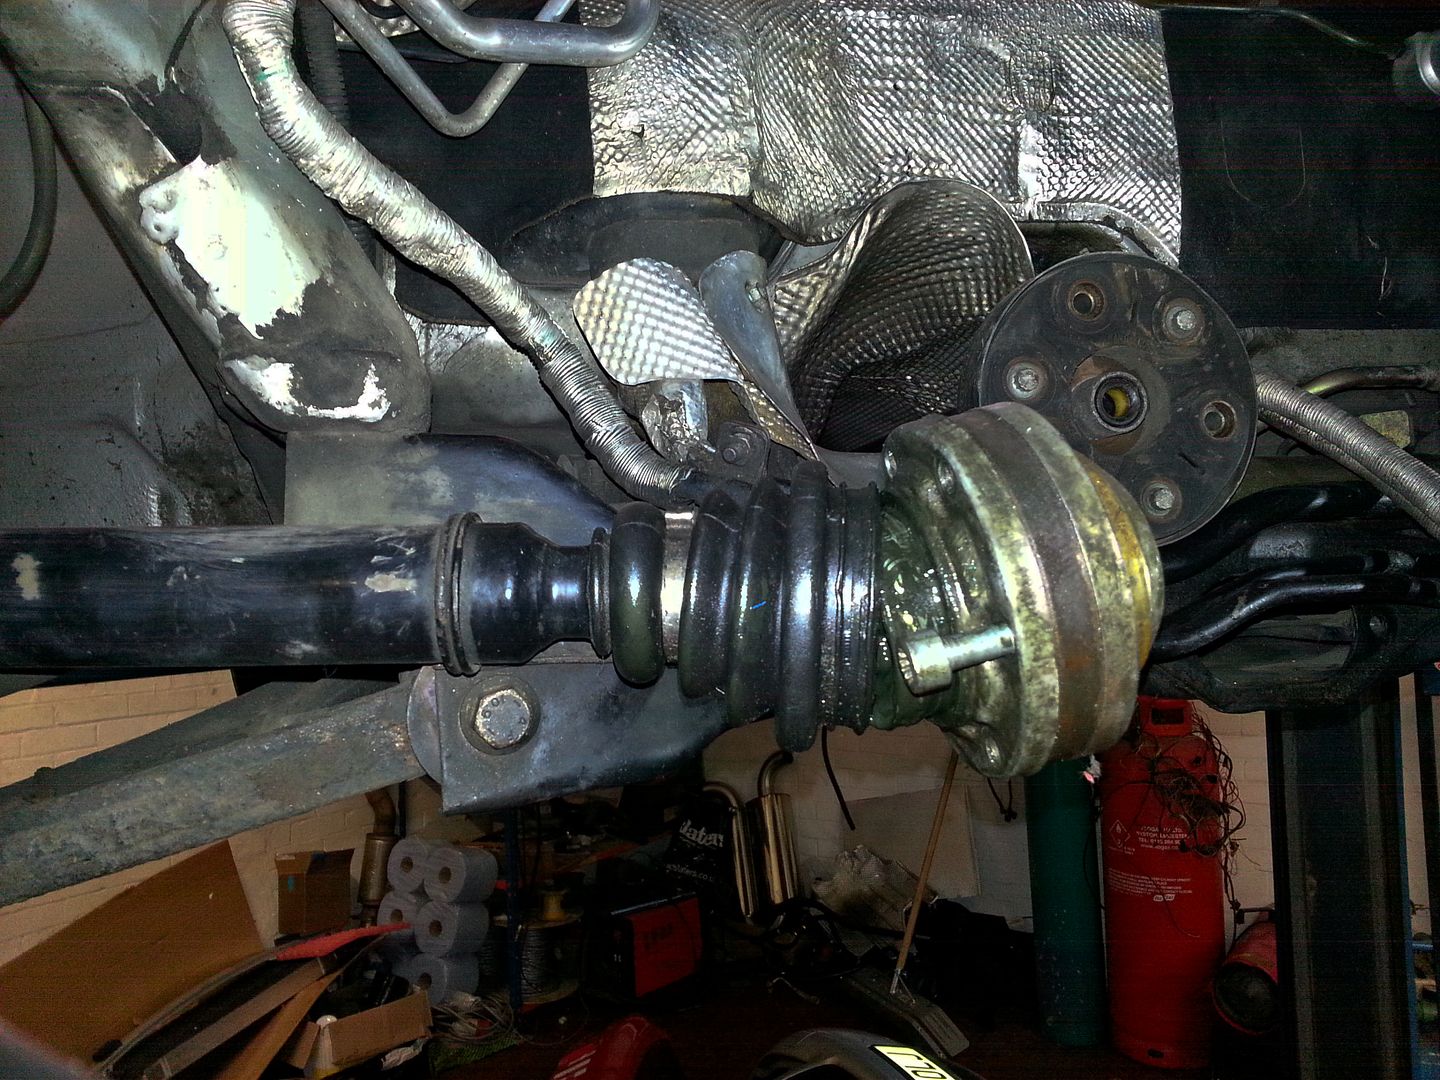
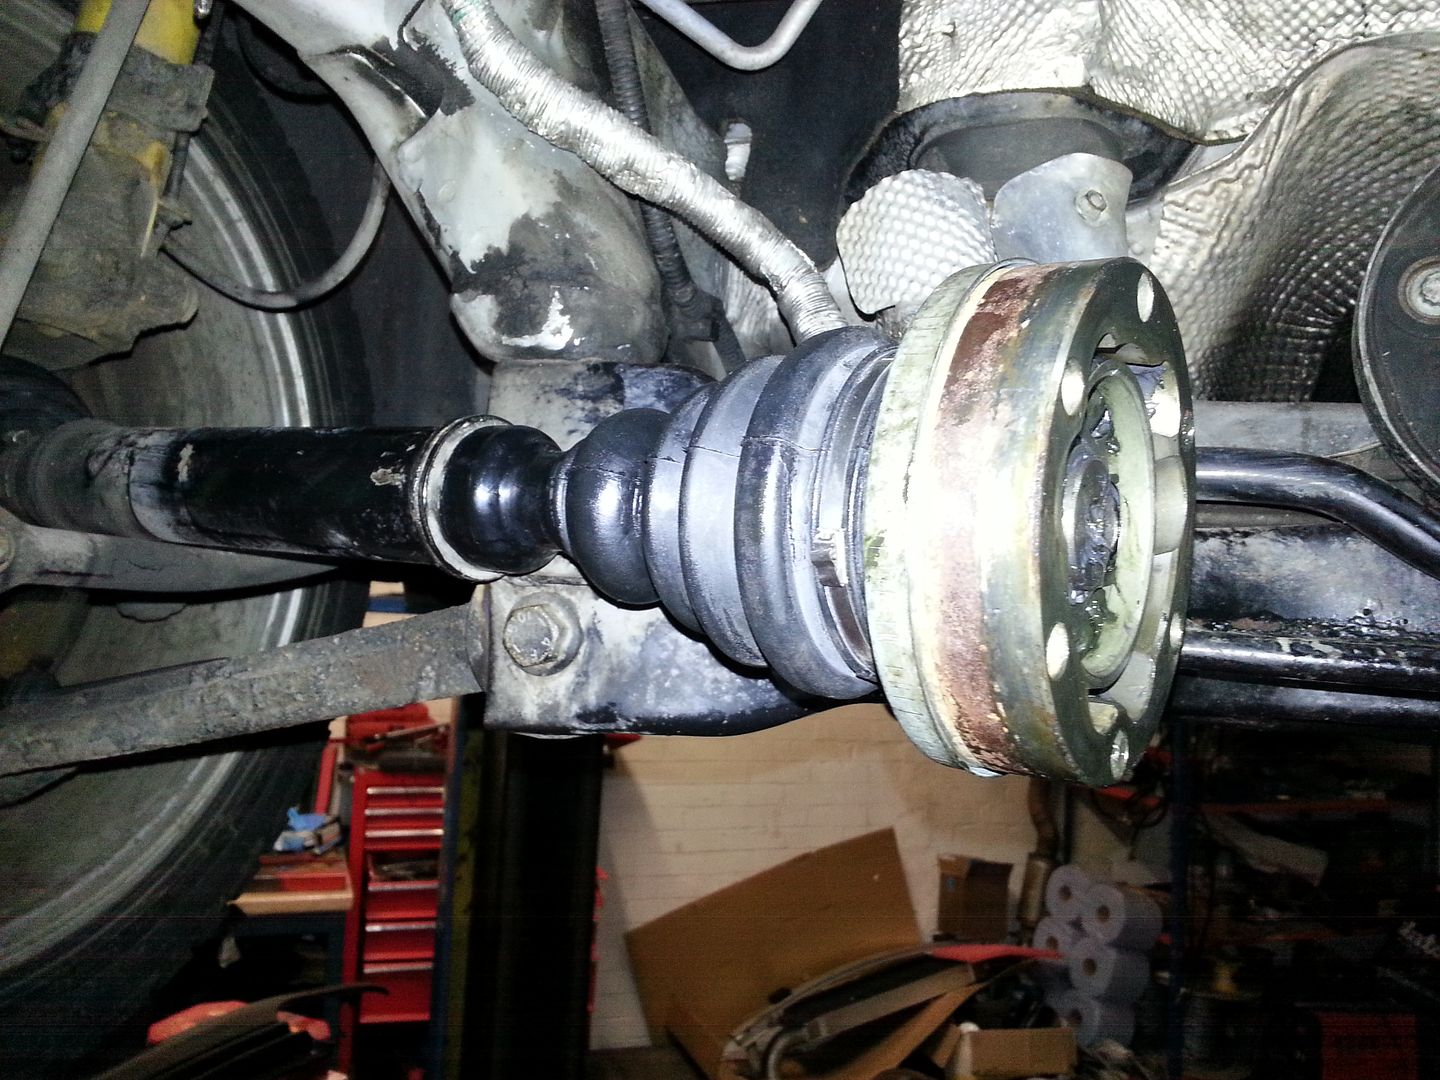
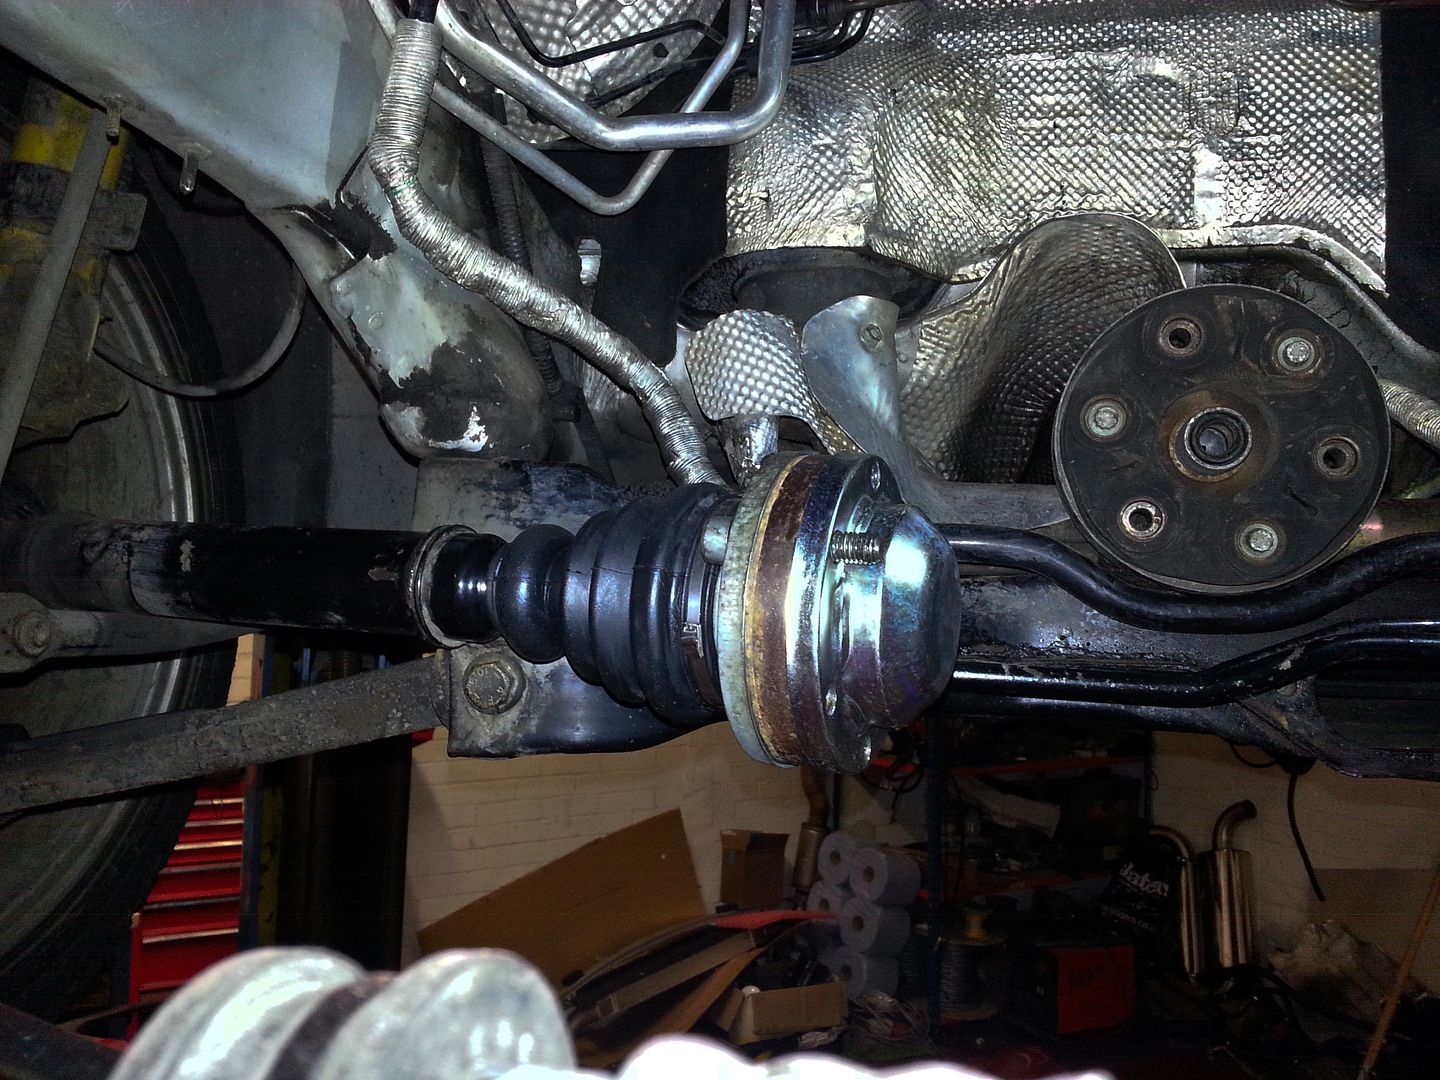
Last job of the day is to change the inboard CV boot... I didn't remove the shaft tis time as to be fair I wasn't struggling for access... :)
20140202_163536.jpg


Cleaned the joint of grease (that stuff gets everywhere!!!) and refitted with new grease and the new boot...
20140202_173042.jpg


Greased up the back of the joint and fitted the new cap...
20140202_174441.jpg


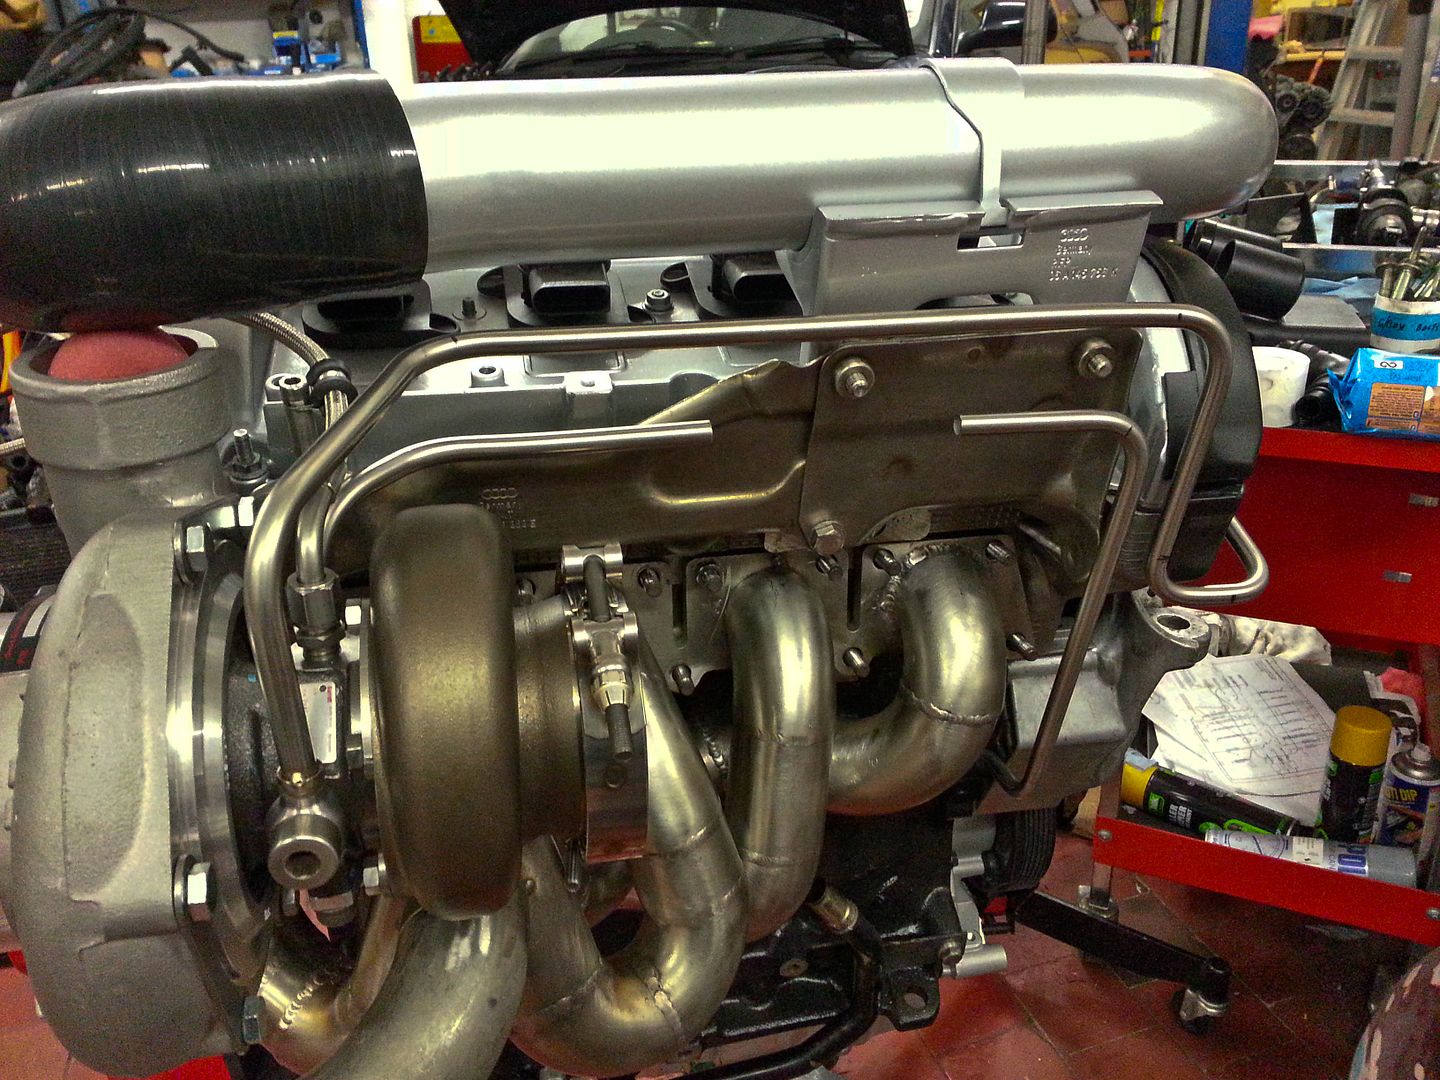
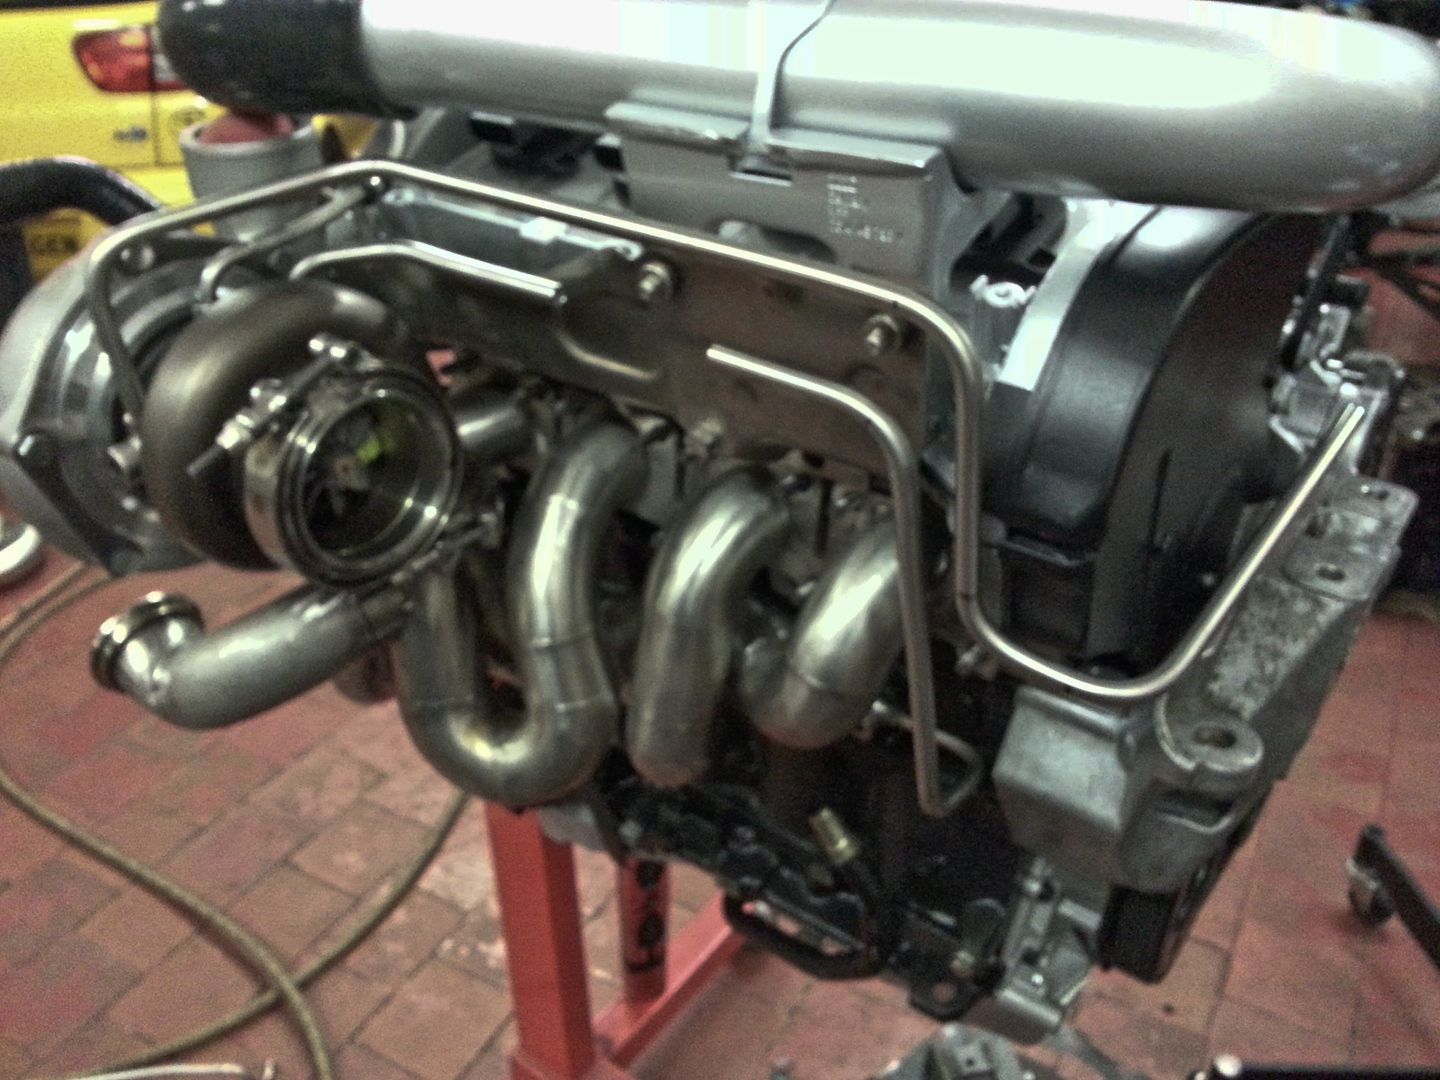
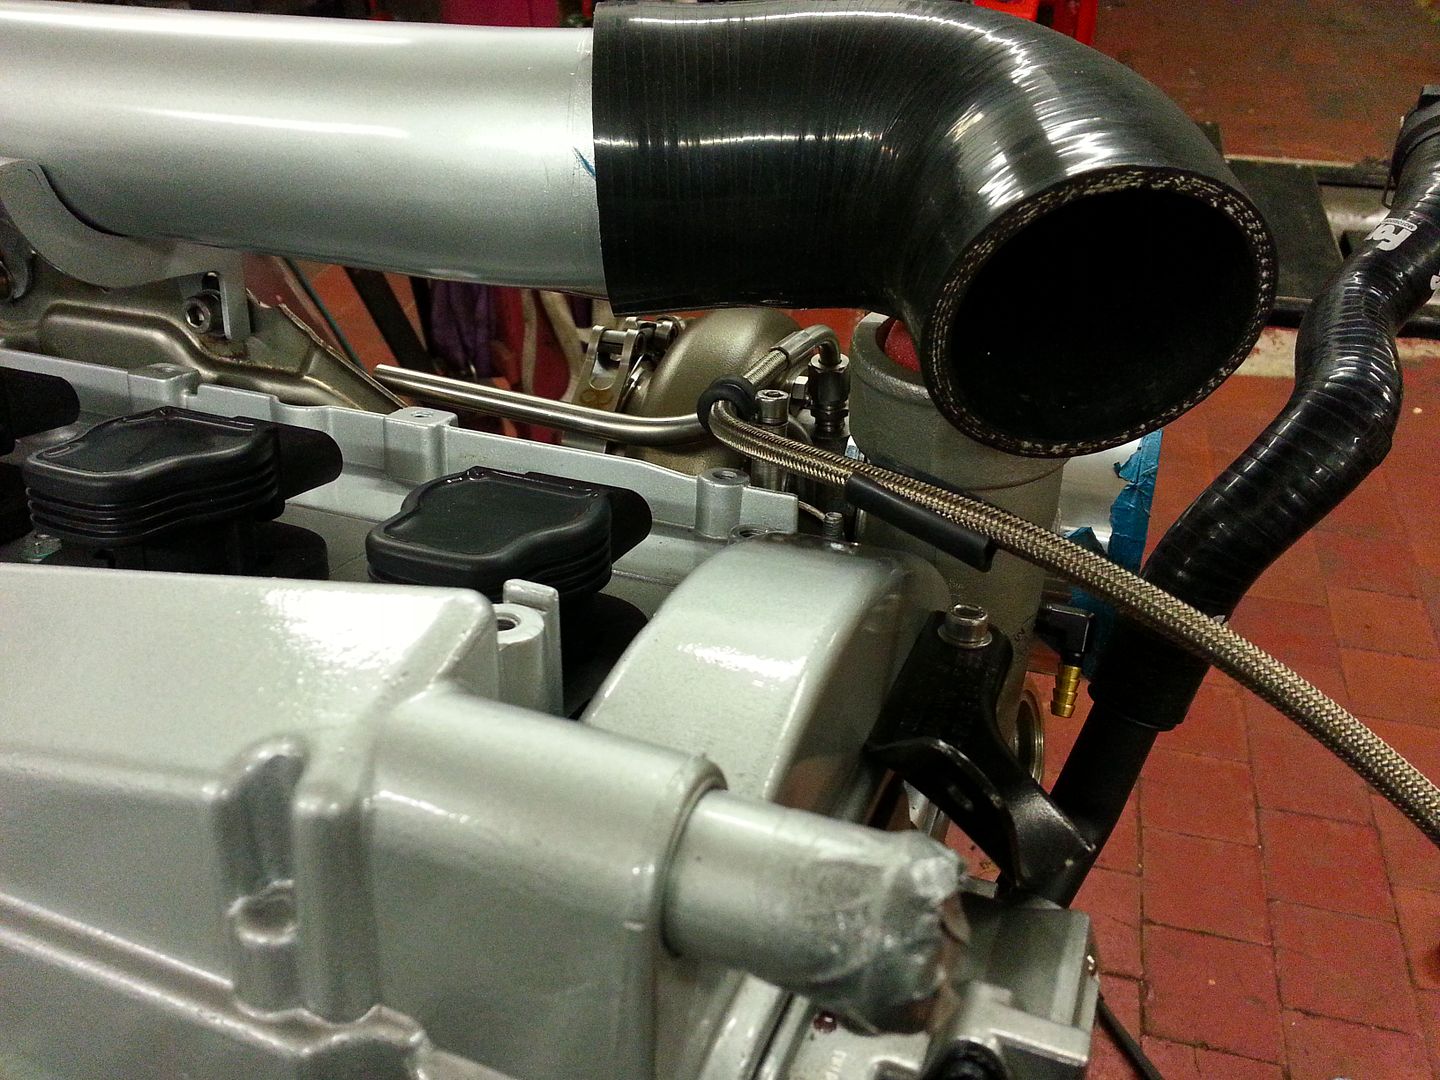
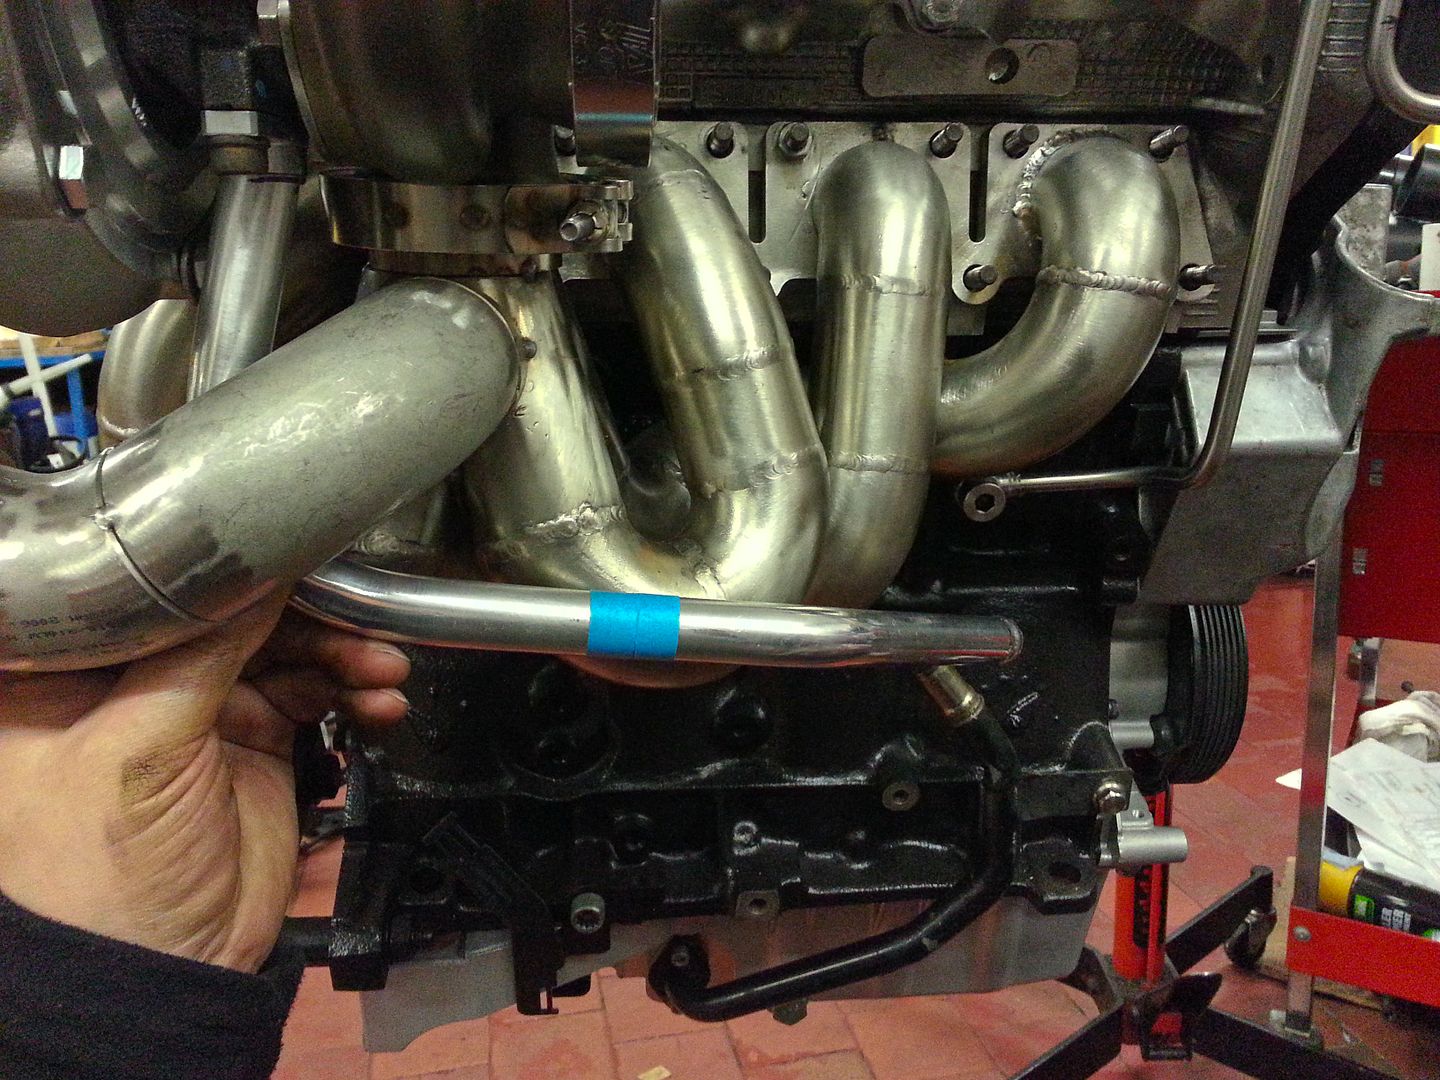
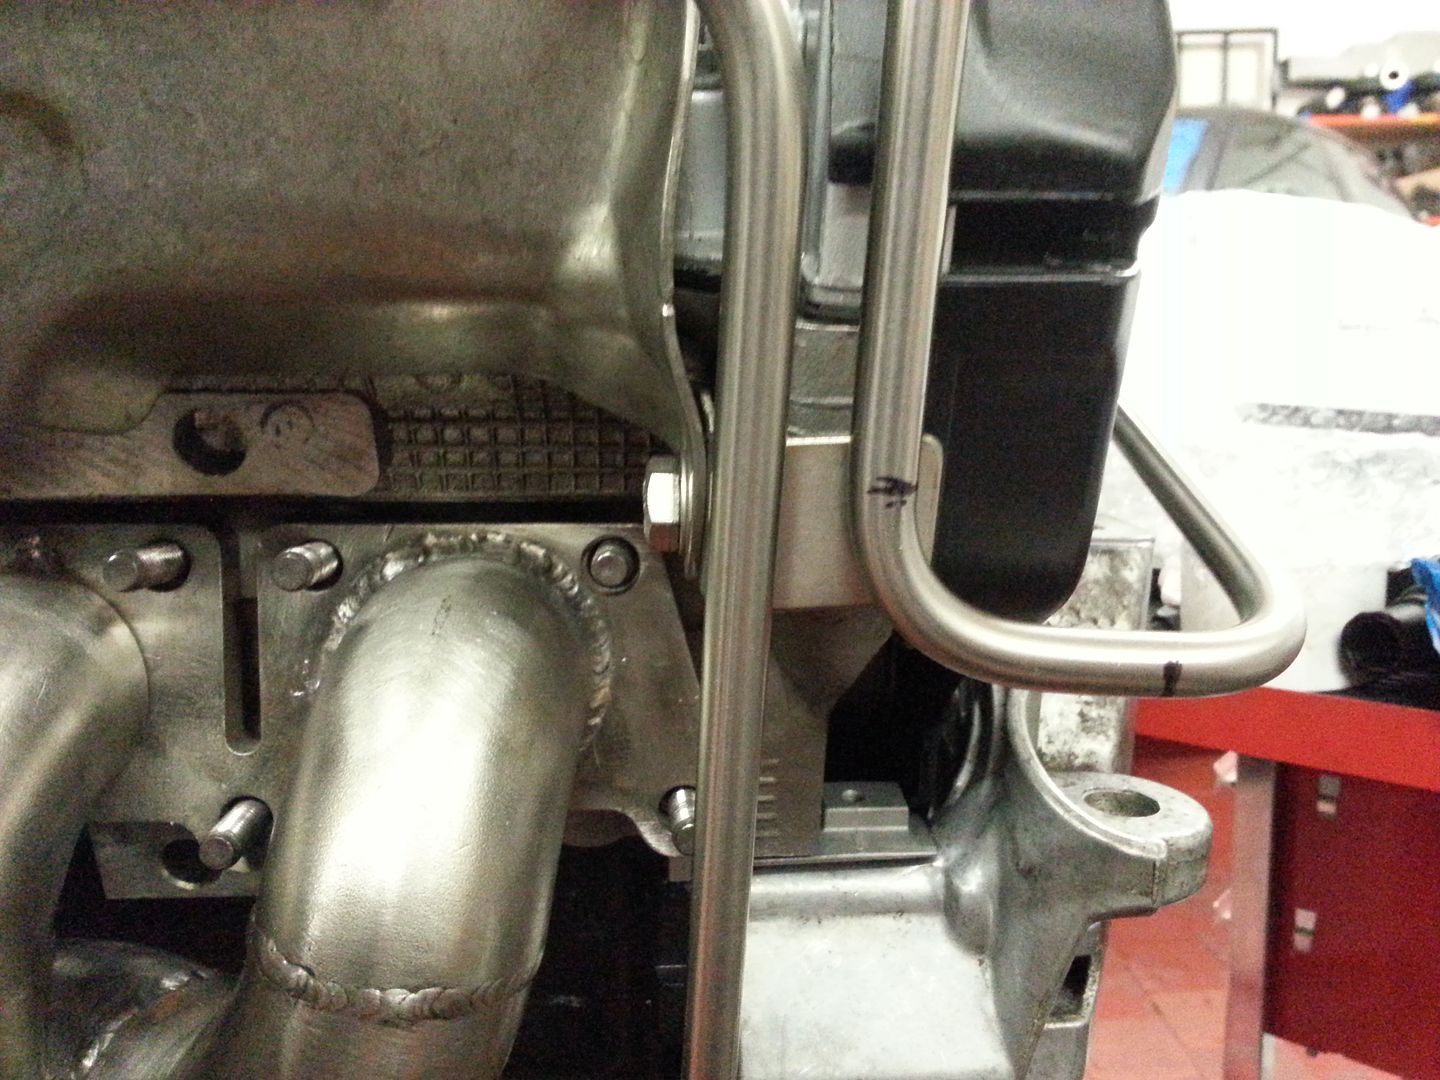
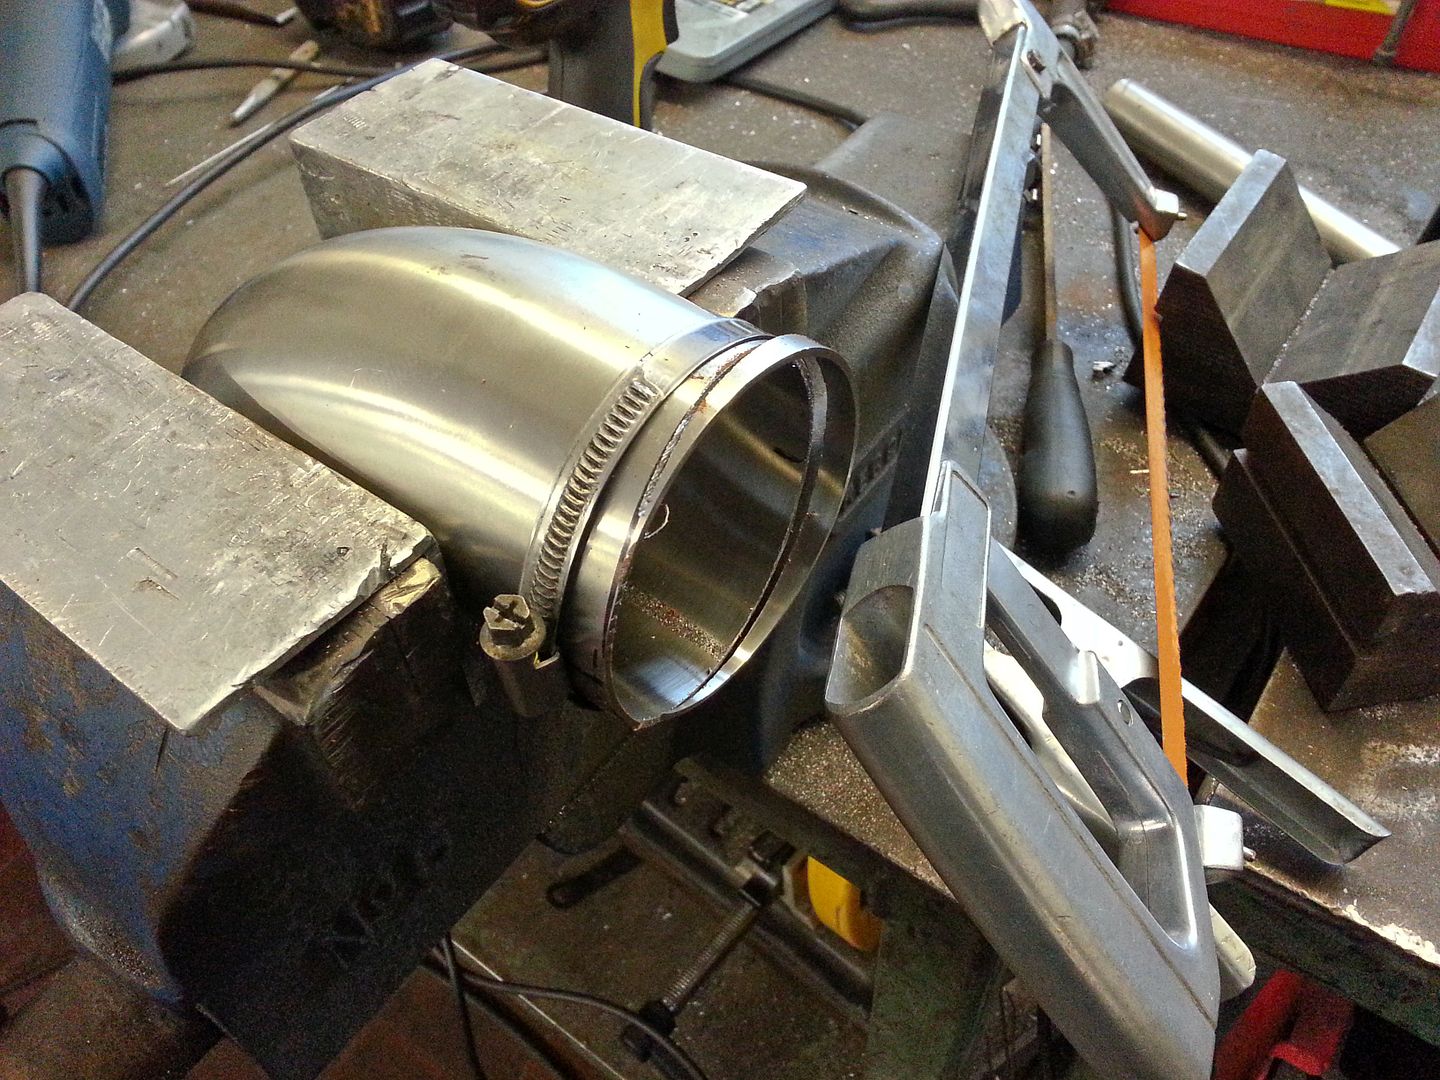
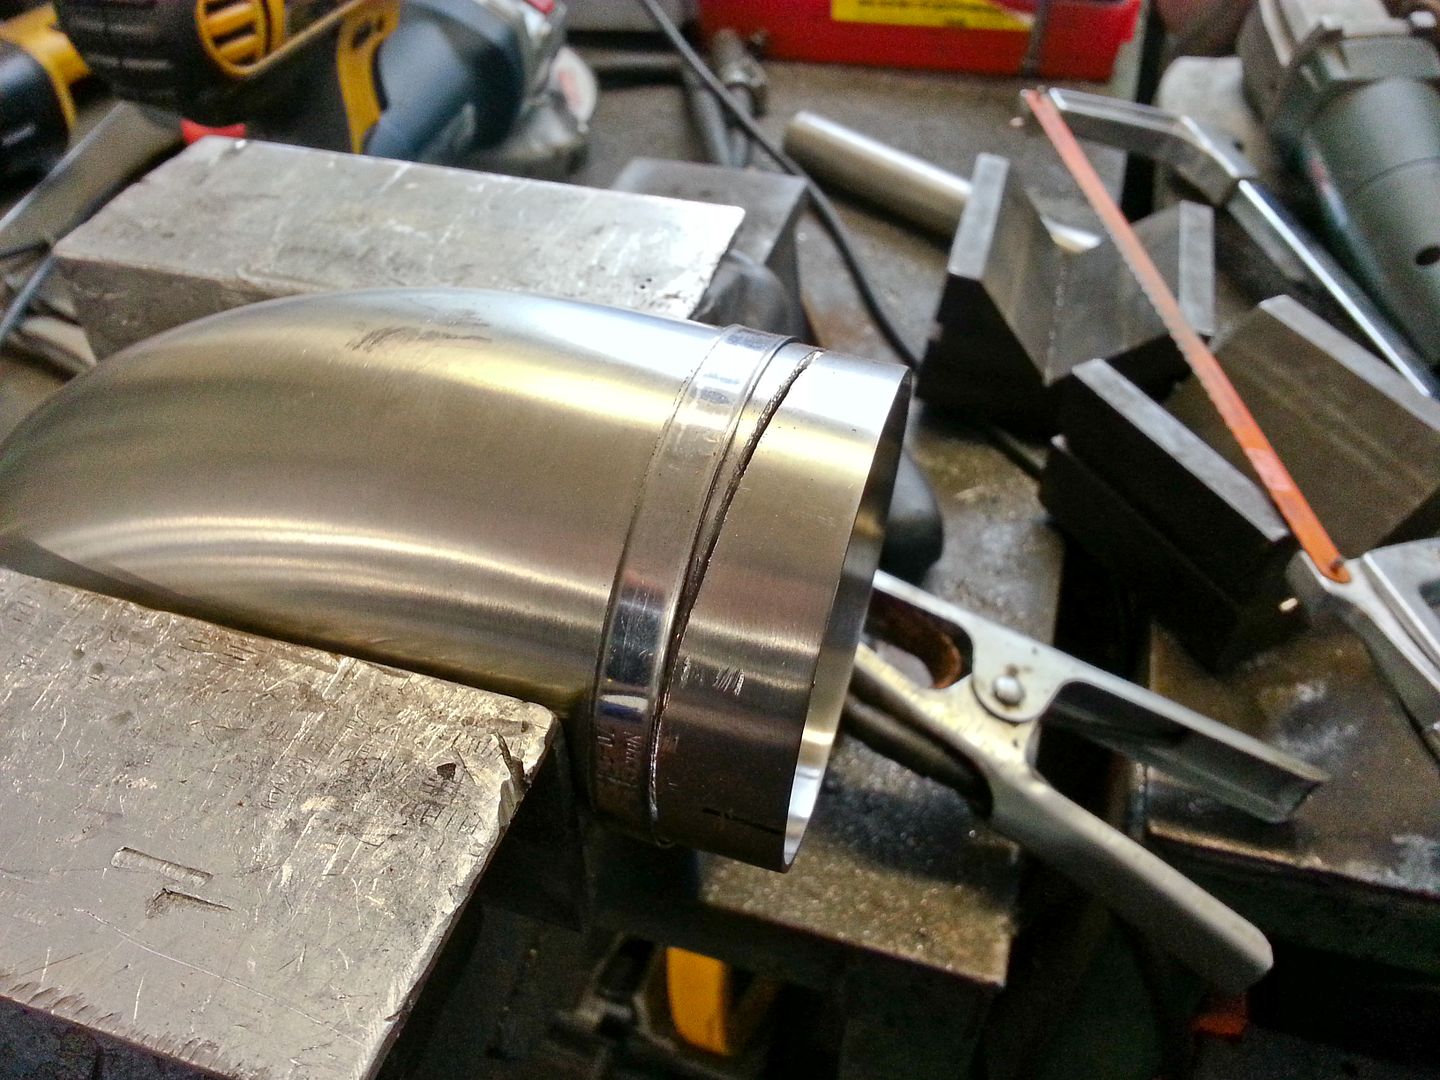
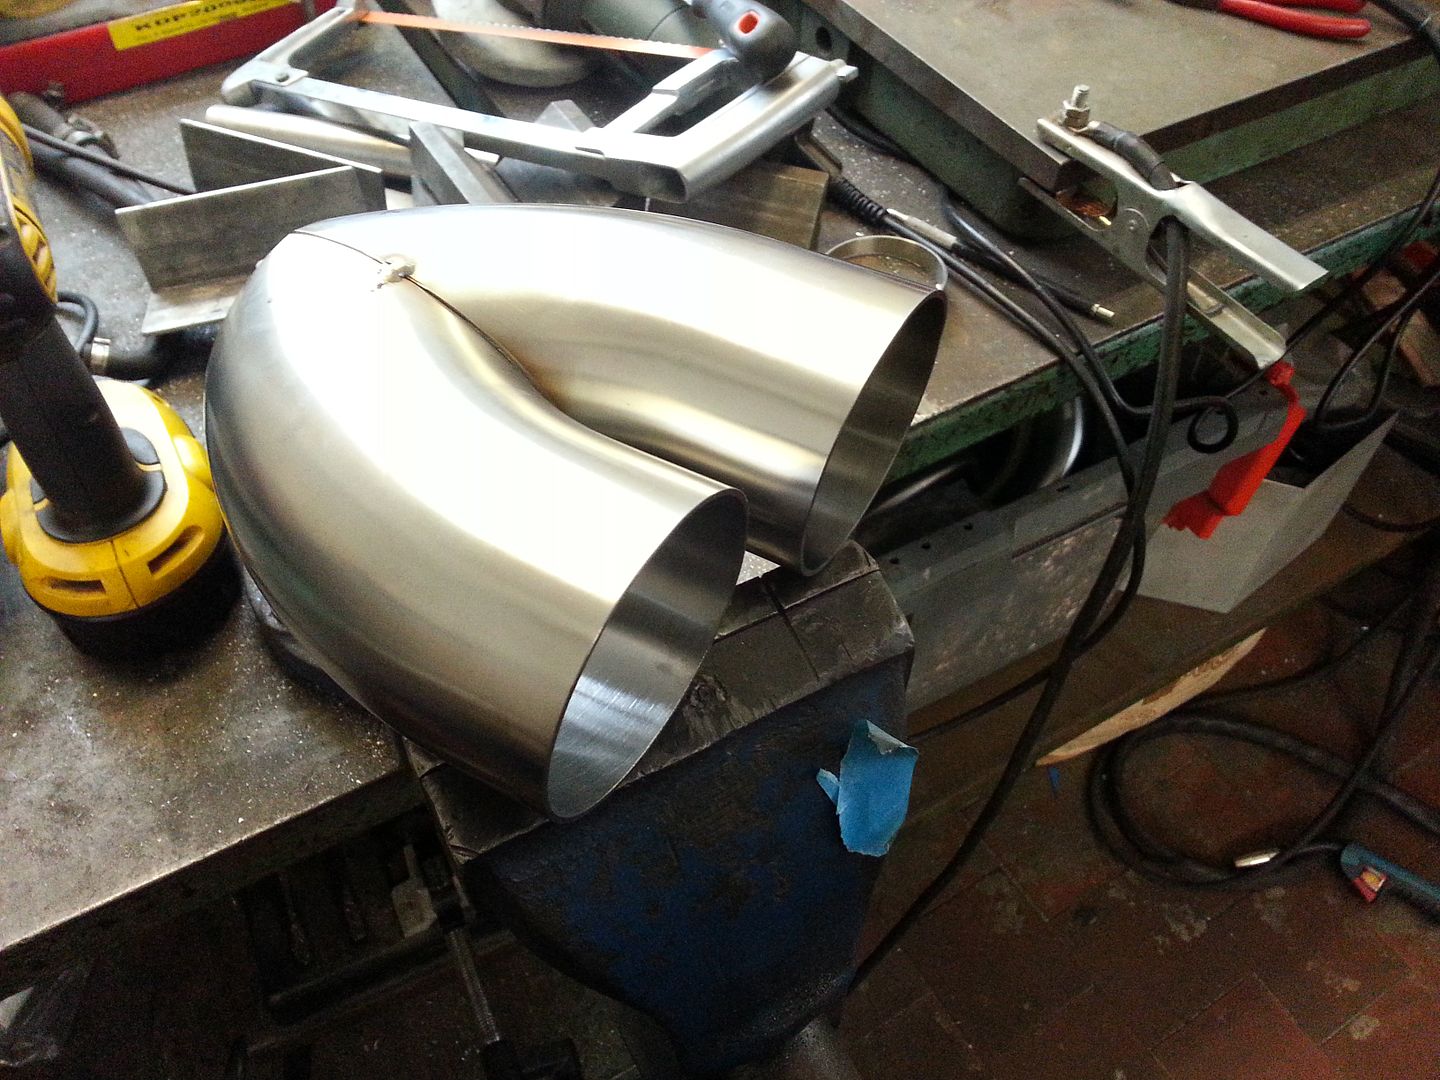
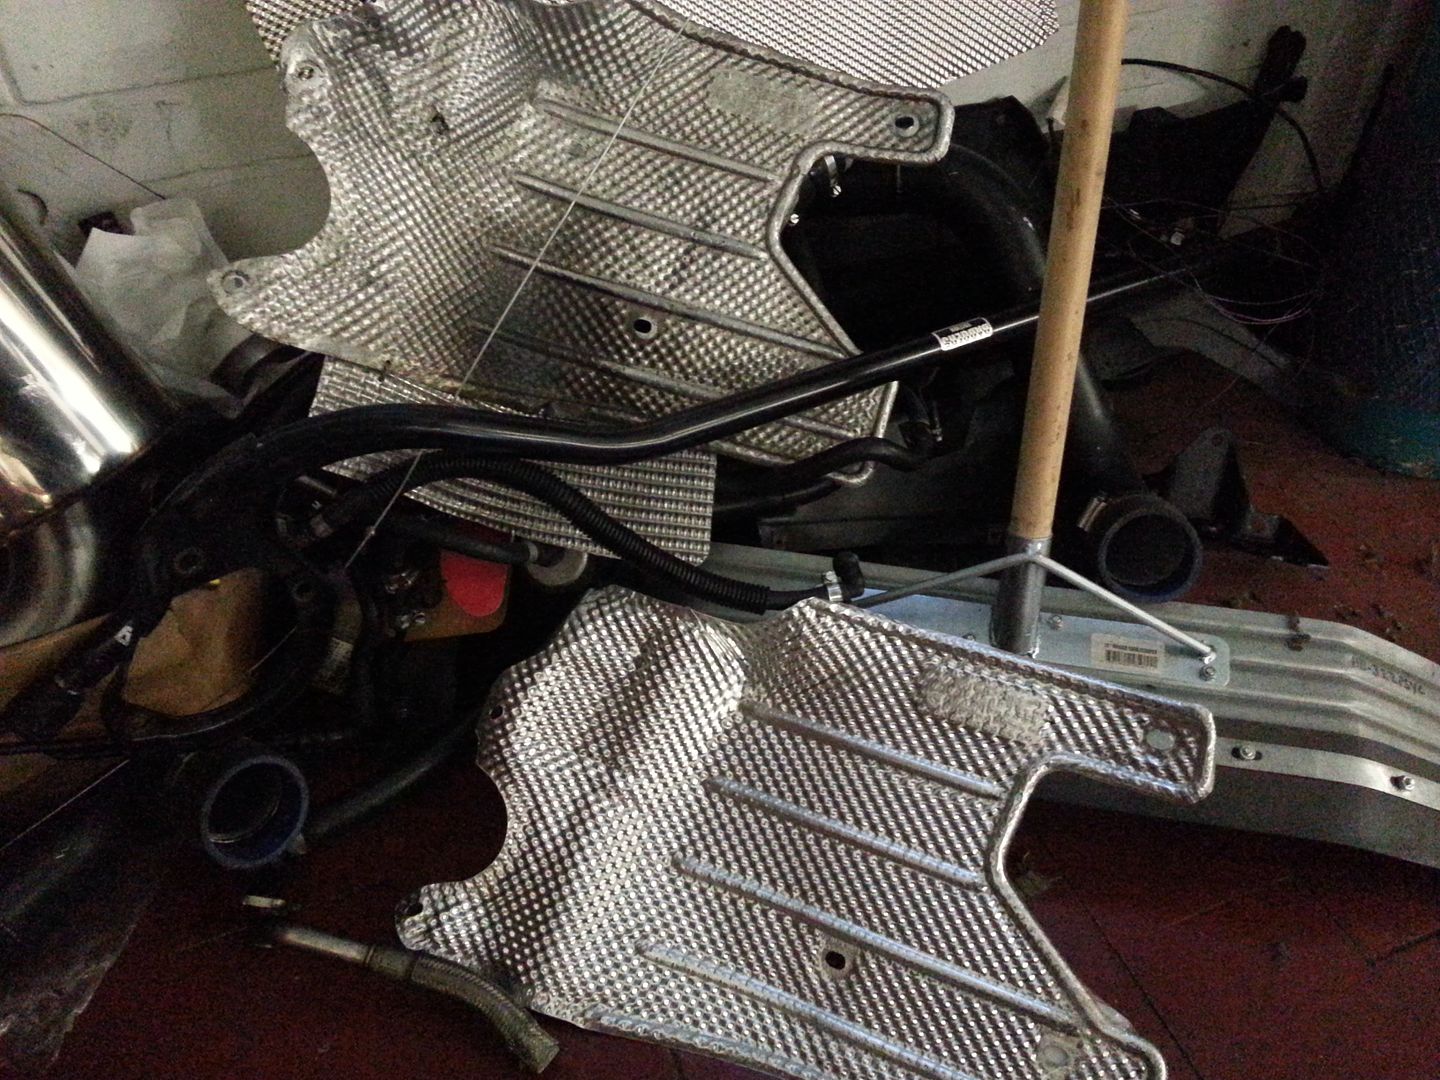
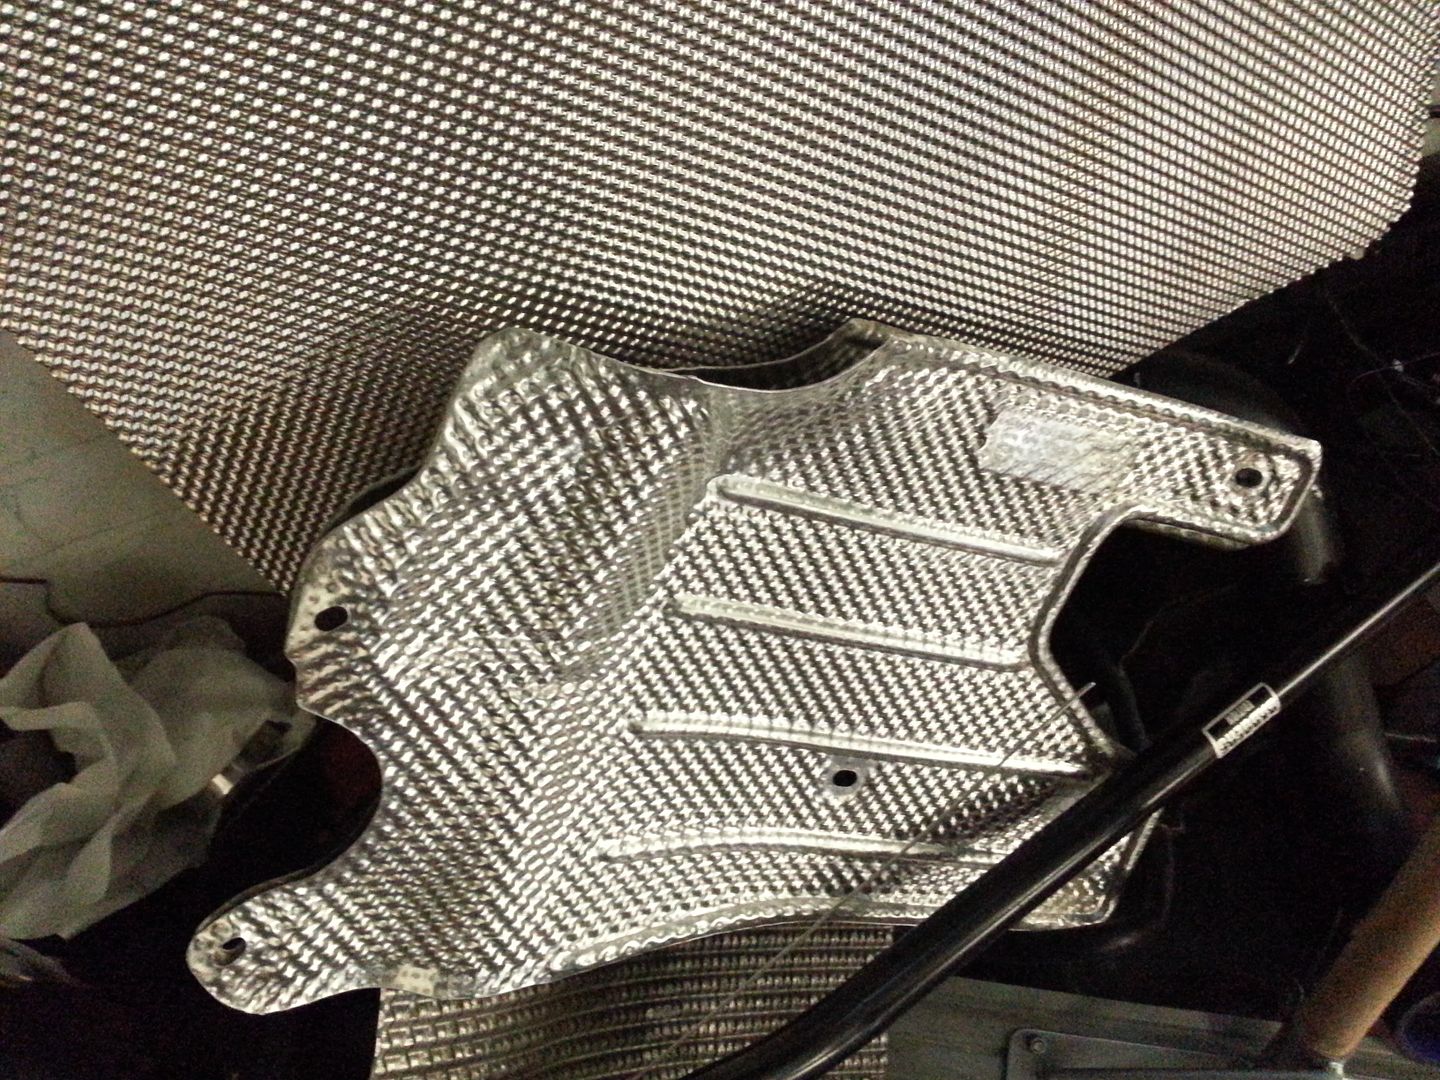
So thats it for now... a few more little jobs and a bit more fabrication left to do... still waiting on a few parts... manifold is having the last bits welded up so should be back soon then I can see if I have any money left to ceramic coat it lol... have ordered a replacement OE heat shield which I am hoping will arrive soon as it was on back order...

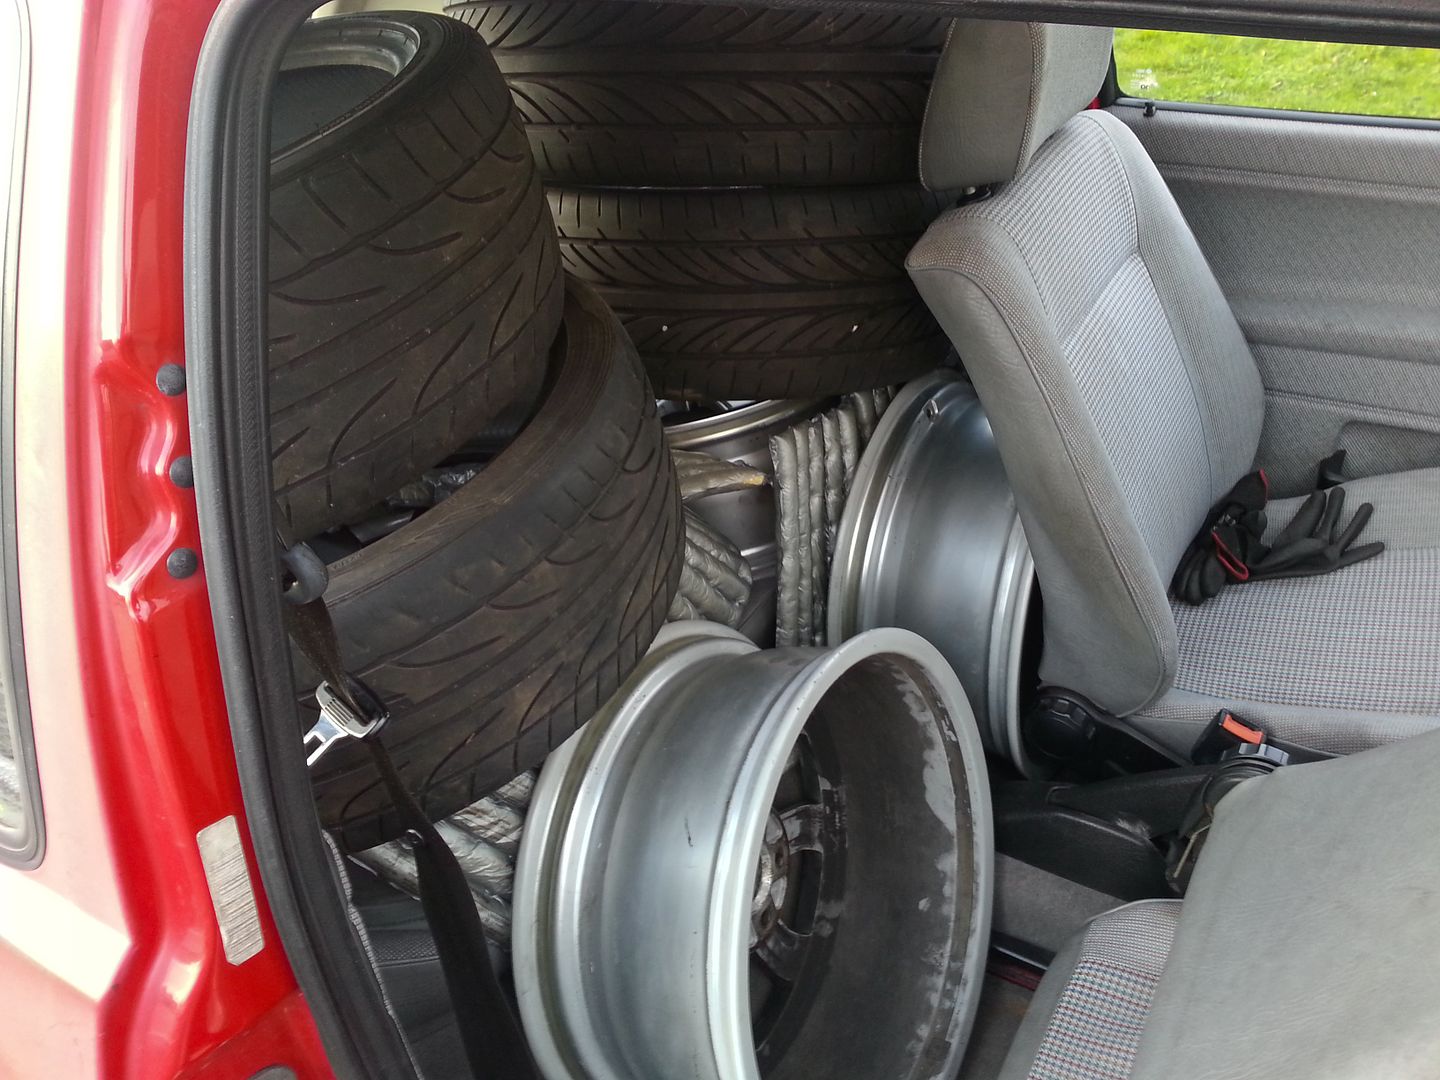
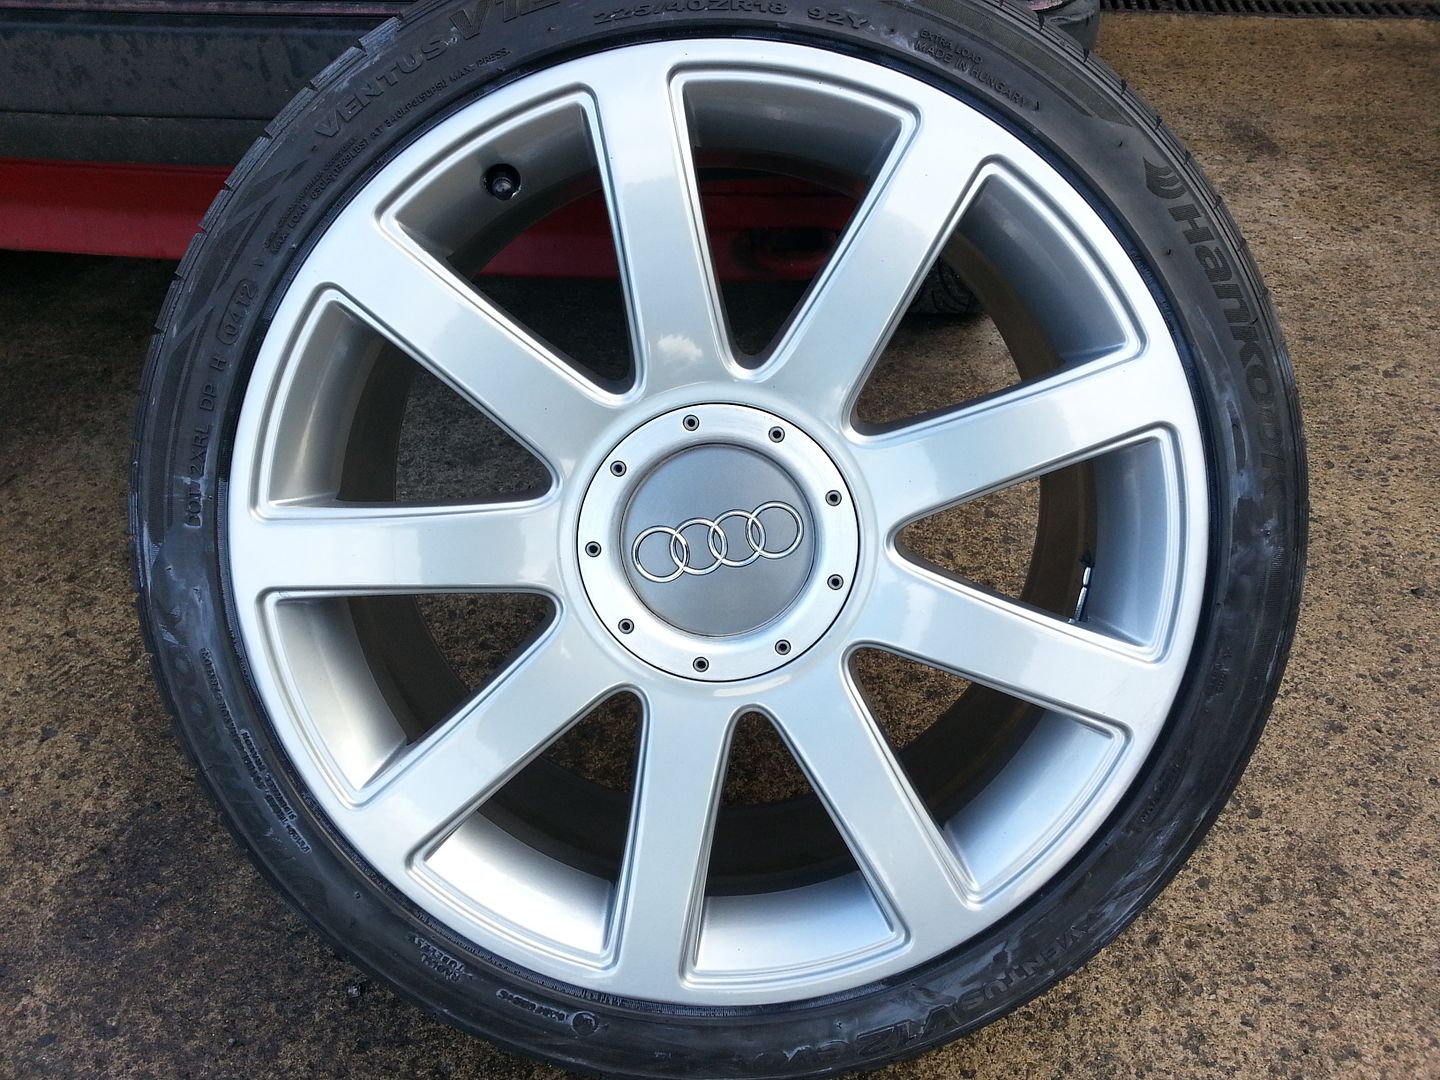
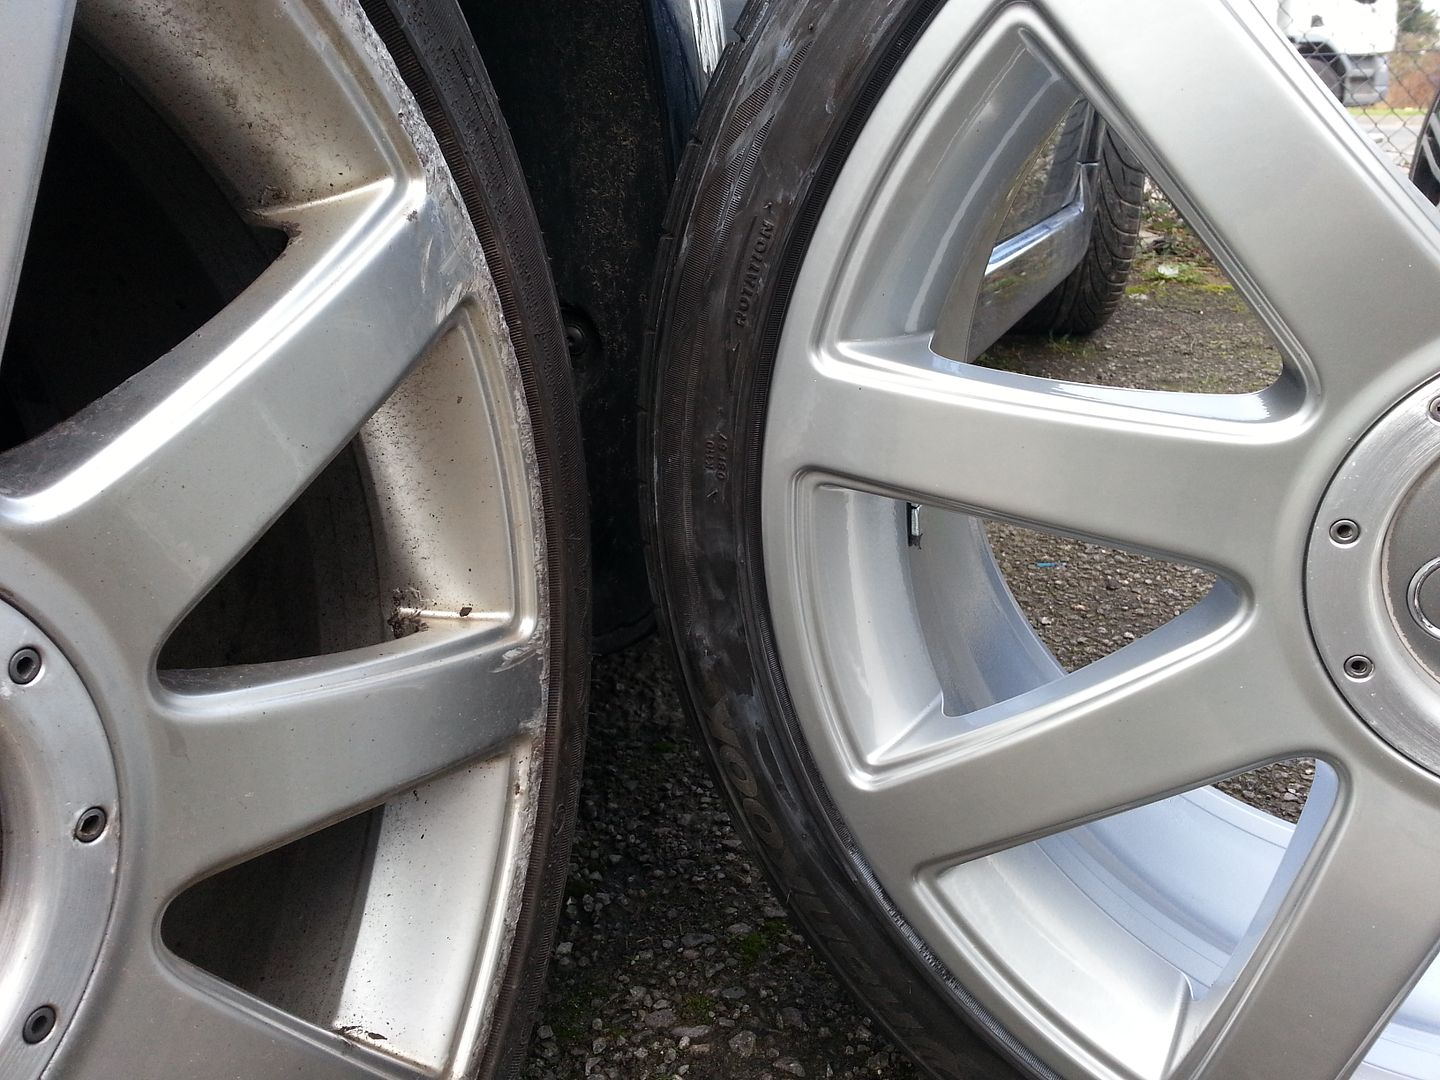
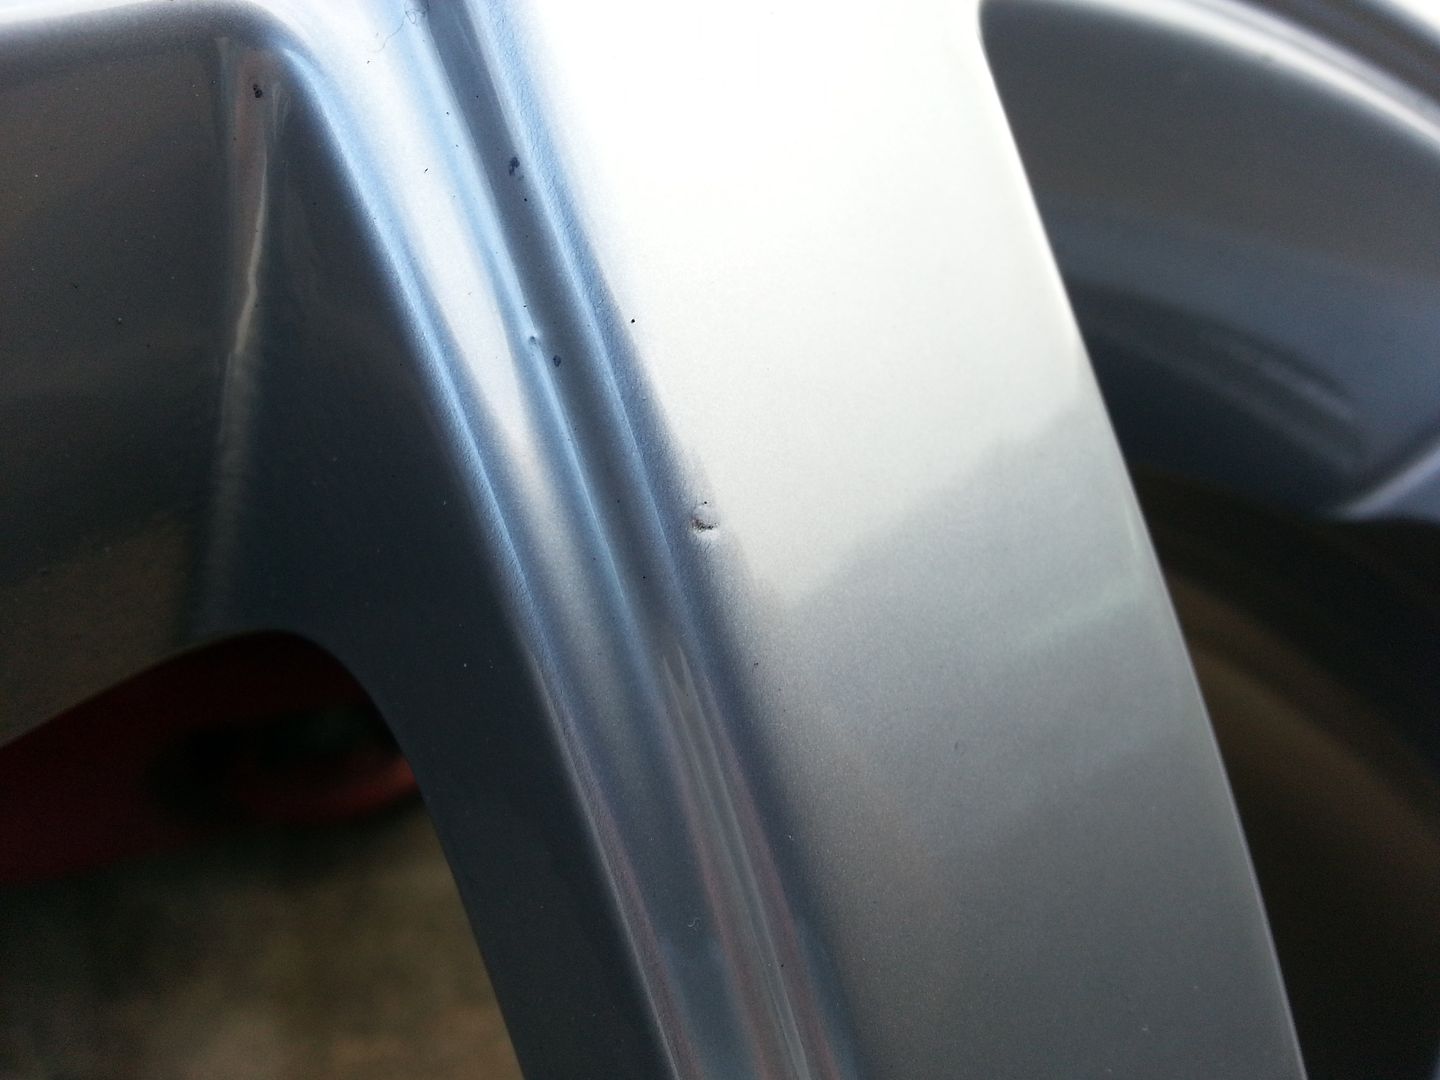
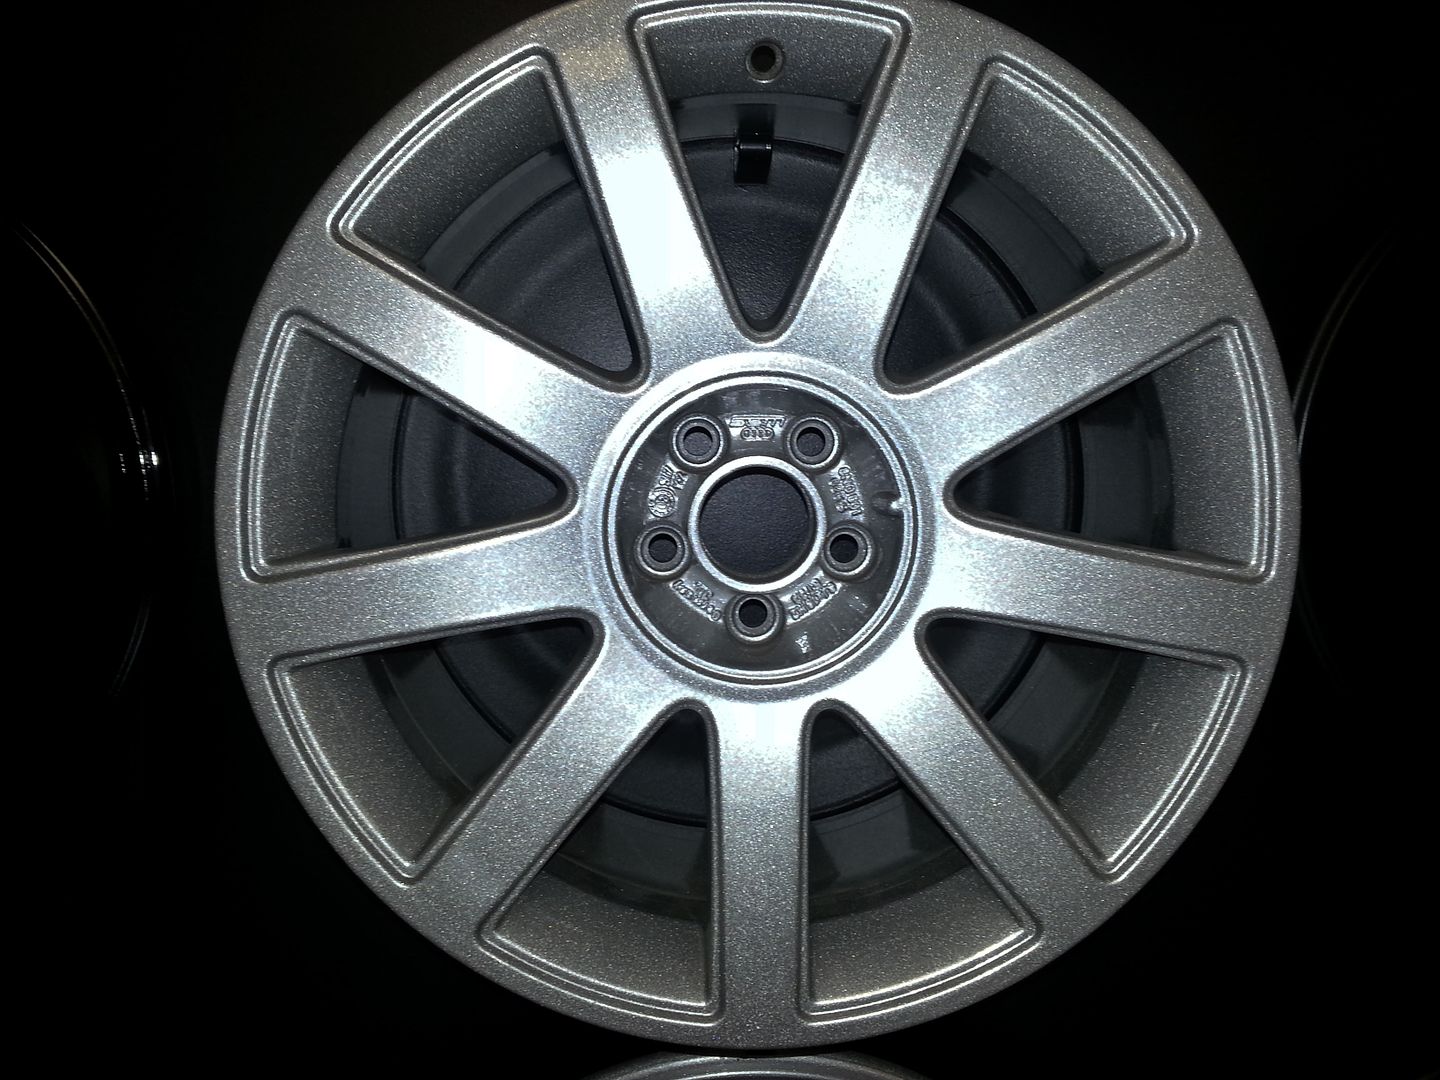
Might get a bit of paint on the box tomorrow morning as I have other stuff to do in the afternoon... Tuesday I am off to pick up the wheels from the powder coaters... hopefully they will have come out ok but tbh the damage on one rim might not be easy to sort..

No matter... I am keeping an eye out for another set of RSTT's with a mind to get them perfect..

<tuffty/>
 

Pimped up vario

Cordy Cruizer
Nov 20, 2009
1,291
0
Belfast N Ireland
That's a shame about the box. The two different types of metal will have different coefficients of thermal expansion so one can place stress upon the other as it expands at a different rate. Aluminium casts can be a pig to weld. It's a shame it can't be fixed. A small indent in the surface from a drill should stop the crack propagating and if the webbing on the other side permits then you could put a band around it to stop the metal breaking anymore.
 

tufftybloke

Badger 5 Edition
Feb 28, 2009
657
0
Gloucestershire, UK
That's a shame about the box. The two different types of metal will have different coefficients of thermal expansion so one can place stress upon the other as it expands at a different rate. Aluminium casts can be a pig to weld. It's a shame it can't be fixed. A small indent in the surface from a drill should stop the crack propagating and if the webbing on the other side permits then you could put a band around it to stop the metal breaking anymore.

It is a shame but I always planned to rebuild the box anyway as the diff bearings whine a little and I want to mod the selectors before they do the typical 02m thing of breaking...

This way at least I can get a box done while still having the car on the road... it looks like the cracks been there a while... not sure if its leaking as yet as the box was dirty anyway...

Will see how it goes but I'm not massively bothered by it at the moment... unless it starts to leak all over my painted bits of course lol...

<tuffty/>
 

tufftybloke

Badger 5 Edition
Feb 28, 2009
657
0
Gloucestershire, UK
Went and got the wheels today...

20140204_131717.jpg


Compared to a rather knackered set of OE finished RSTT's
20140204_131855.jpg


Considering the price (£20 per wheel plus £10 if they have to remove/refit a tyre) the finish is very good... there were a few issues though...

They had powder coated the mounting face of the wheel... this can be a problem do to heat softening the powder coat and allowing the wheel to move a little which can lead to wheel wobble at best or if enough can effectively release the torque of the bolts which then come loose.... plan will be to sand the coating off at a later date...
20140204_132128.jpg


There are also a few little imperfections here and there...
20140204_131731.jpg


I treated them to some poorboys of course...
20140204_133334.jpg


I was about to fit them and discovered a small issue...
20140204_134844.jpg


They had fitted the tyres incorrectly... rather than pairing them per axle, they paired them side to side!!... ffs!...

You may also notice that two of the tyres are pretty much had it... they are legal enough to get the car on the road and the engine run in... once thats done I will be replacing the old 452's and will get the others swapped so they are paired on a axle...

As a comparison I took a few pics of the sparkle silver... it does look quite cool but its a little OTT for me...
20140204_103918.jpg


20140204_103936.jpg


I think I made the right colour choice personally
20140204_155842.jpg


In other news... the engine mount blocks came back from super George having been blasted
20140204_155756.jpg


And the new OE heatshield turned up too...
20140204_162743.jpg


Plan is to use this as a second layer to my old one to improve heat management...
20140204_162804.jpg


Thats it until the weekend... gearbox will get a few coats of the same black as the block, mounts will get a bit of paint too... few more things I am waiting on (manifold, flexis and a clutch plate) but should be able to get all the heat shielding in place... I want to build most of the bits onto the engine before I put it back in the car so it will be after the manifold is done/ceramic coated/wrapped (whatever I have case left for lol)

<tuffty/>
 

Pimped up vario

Cordy Cruizer
Nov 20, 2009
1,291
0
Belfast N Ireland
If you could manage to do it, a thin layer of rock wool in between the two heat shield layers would be very effective in heat management. the layup method in our place was to wrap it in a fine gauze/silk like weave and then contain that gauze in a chicken wire like fine mesh. It was then sealed in behind metal plates with a weld. I would've masked off the mounting face of the wheel and matched the tyres to the axle but that's the trouble when you want a job done properly you have to do it yourself.
 

tufftybloke

Badger 5 Edition
Feb 28, 2009
657
0
Gloucestershire, UK
If you could manage to do it, a thin layer of rock wool in between the two heat shield layers would be very effective in heat management. the layup method in our place was to wrap it in a fine gauze/silk like weave and then contain that gauze in a chicken wire like fine mesh. It was then sealed in behind metal plates with a weld. I would've masked off the mounting face of the wheel and matched the tyres to the axle but that's the trouble when you want a job done properly you have to do it yourself.

Not loads of space but as you will read in a bit I have a bit of an air gap so should be fine... everything will be wrapped and I have additional heat shielding to do once the engine is in too...

<tuffty/>