
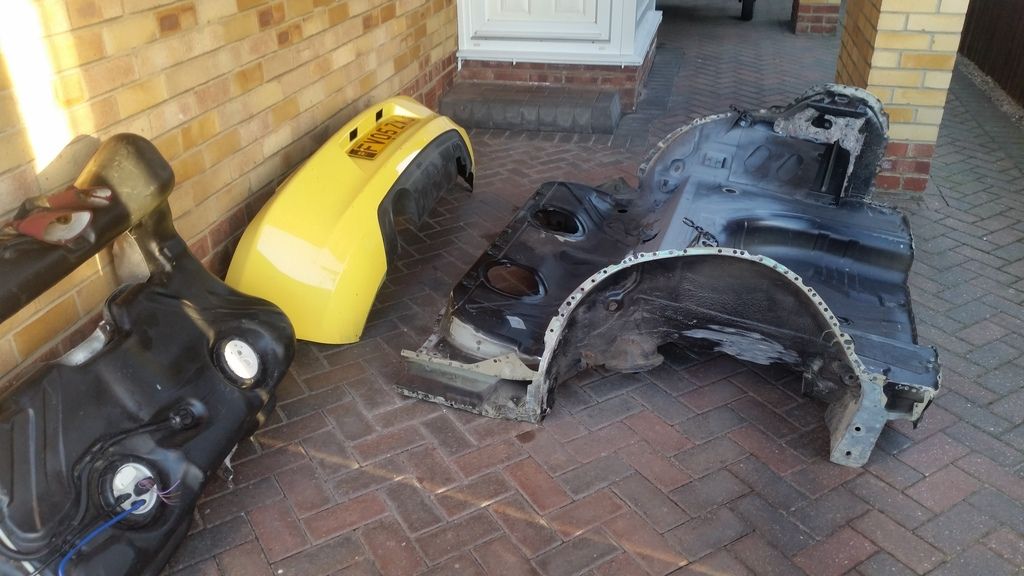
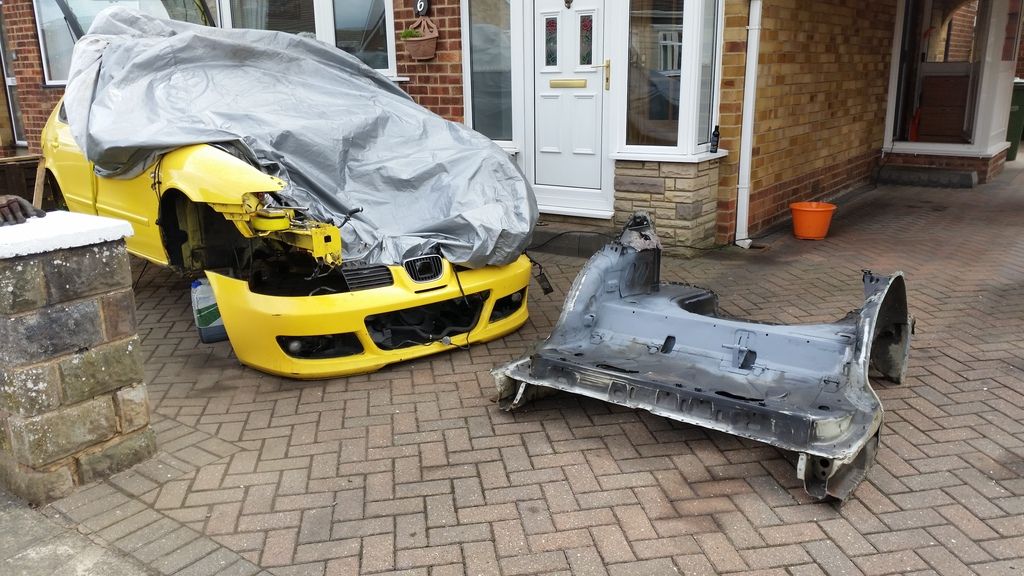
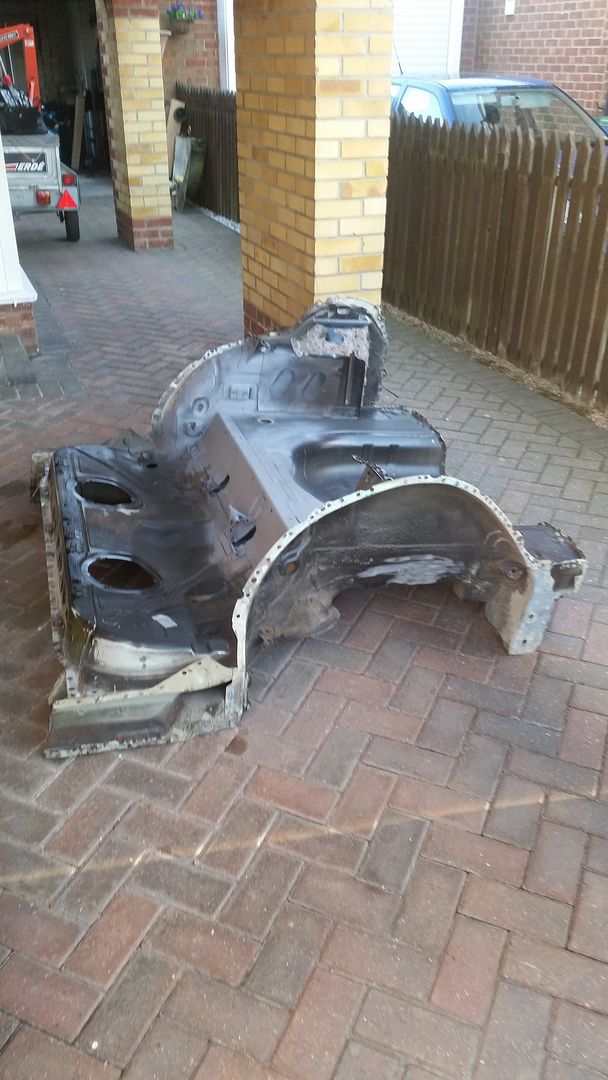
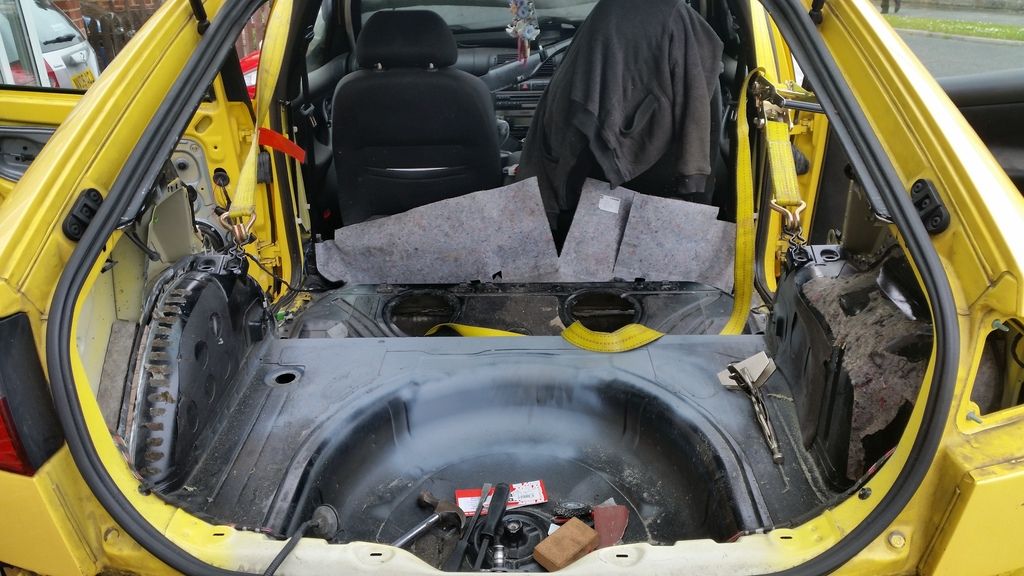
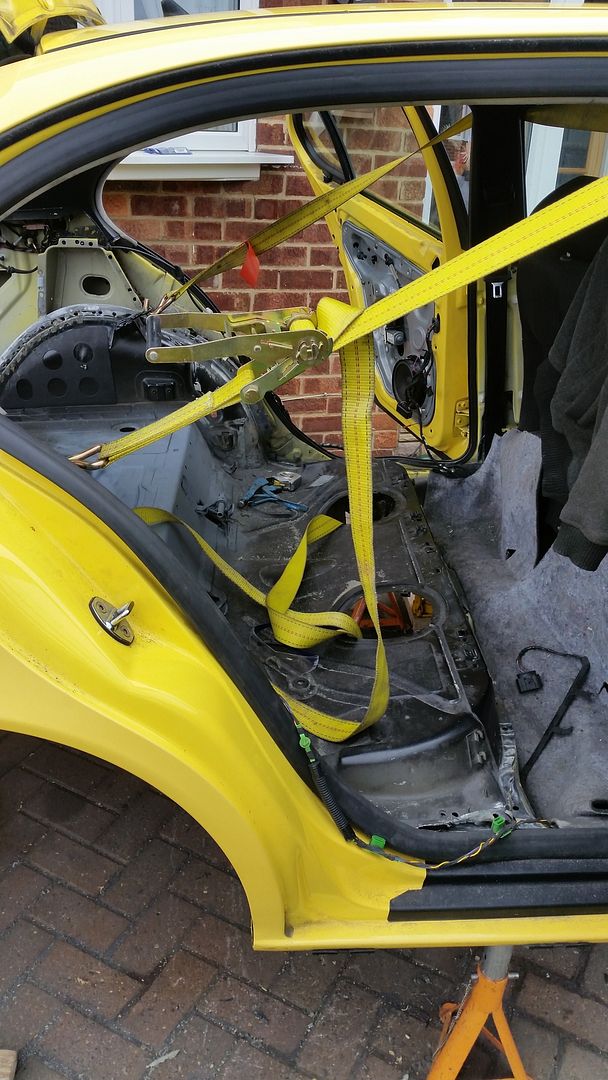
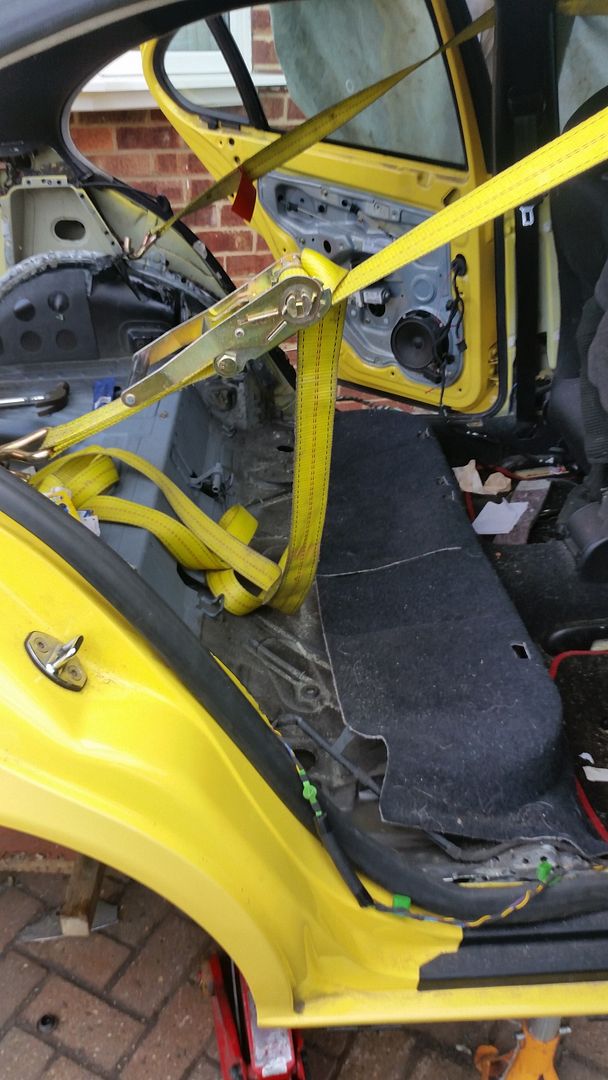
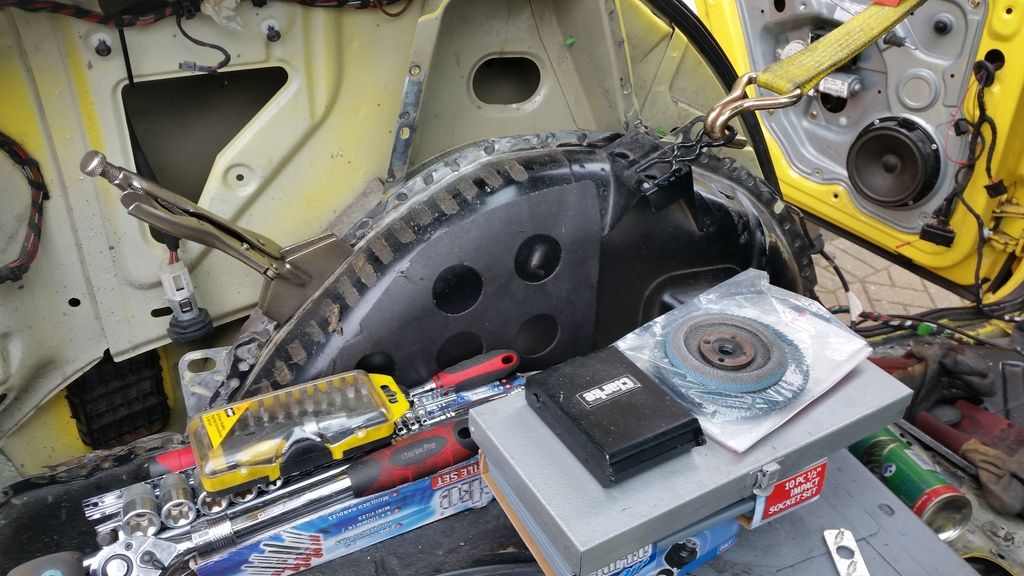
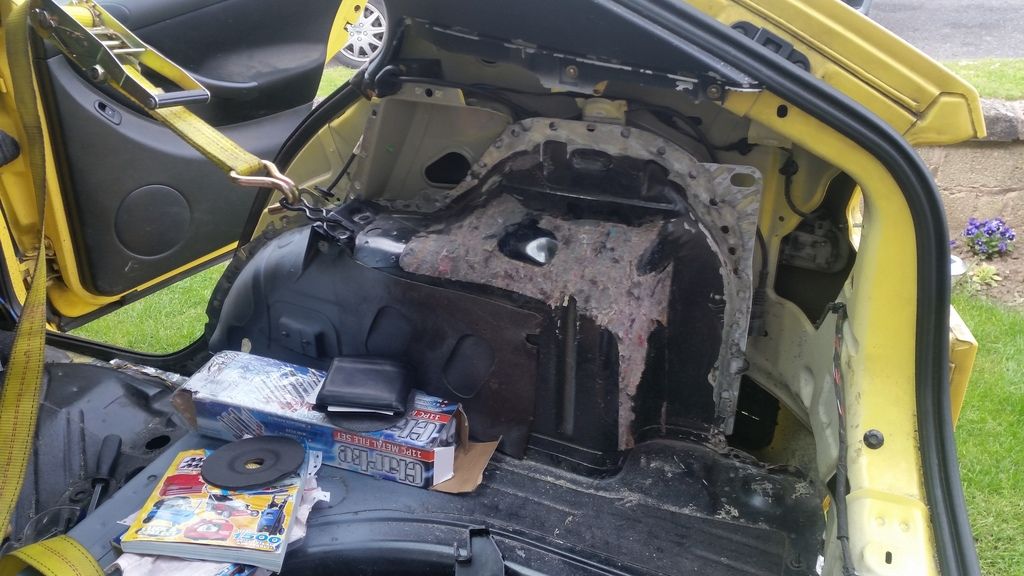
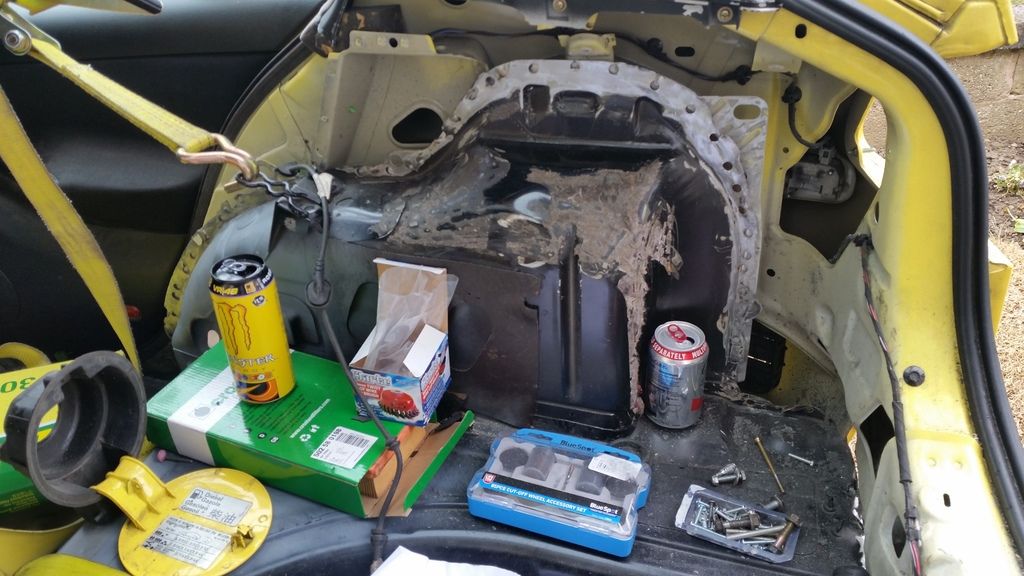
Getting the s3 floor in place and welded up
it was at this point that I messaged grahams81 who has also done the 4 wheel drive project for some general advice, I took an inspiration to his project and thought right I'm doing that but just with a different style, little did we realise we lived so close next to each other he ended up coming straight over to have a look and ended up pointing me in the right direction, as well as giving me some help for the day which was brilliant, we've ended up really good mates since then staying in touch and keeping each other up to date, its nice to know good friends can also become of a good project, for any one keeping up to date with his project I'm sure now you can maybe guess where its going") ...that will be a new project page completely
...that will be a new project page completely
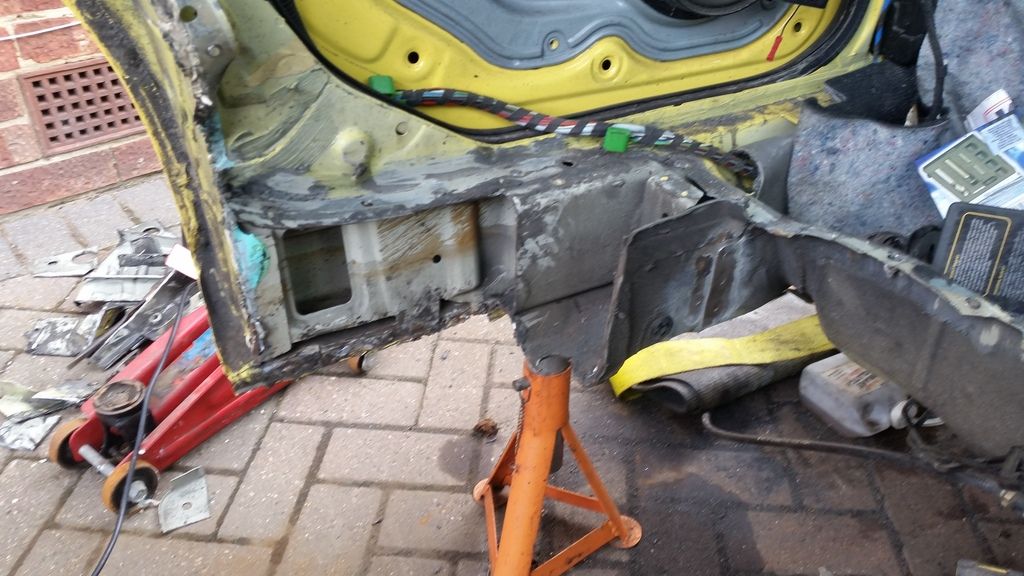
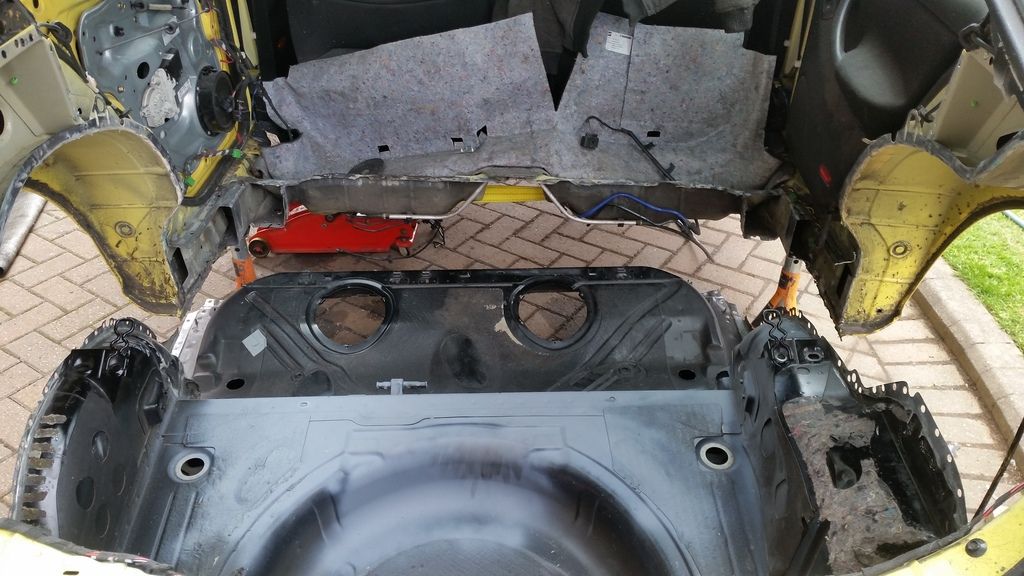


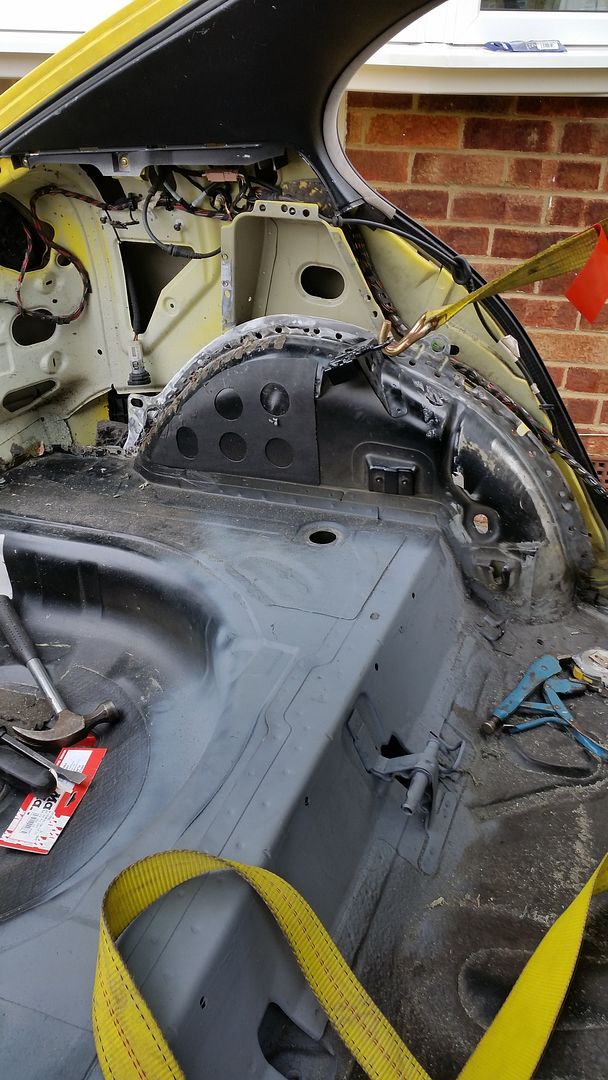
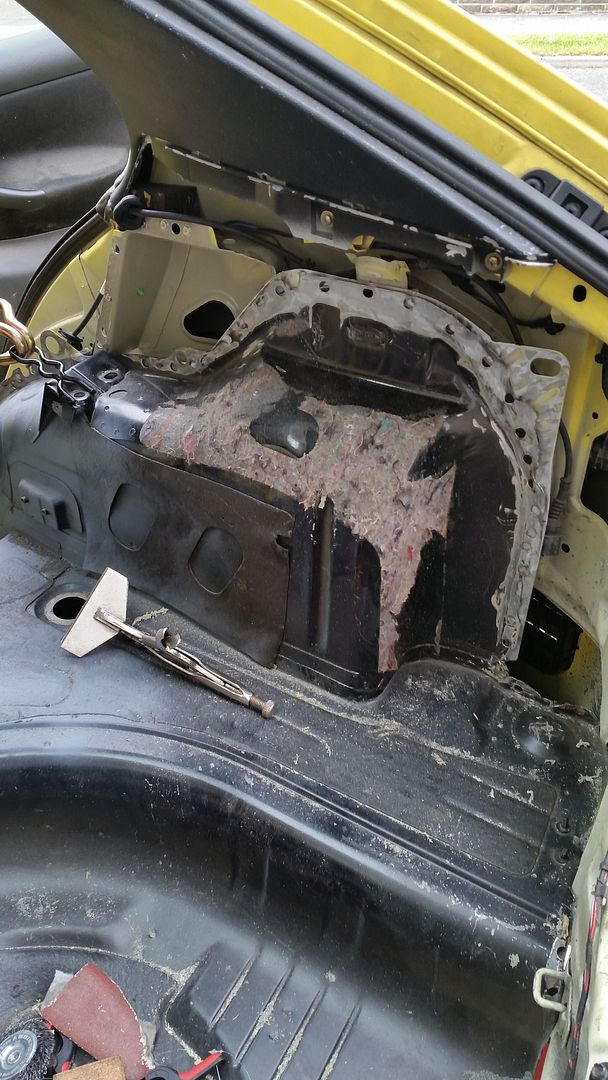
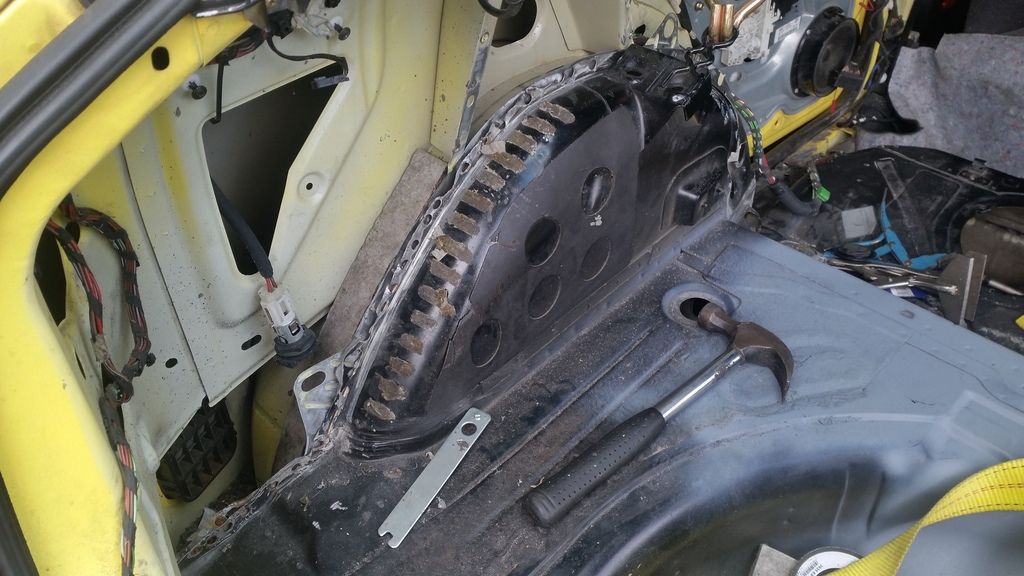

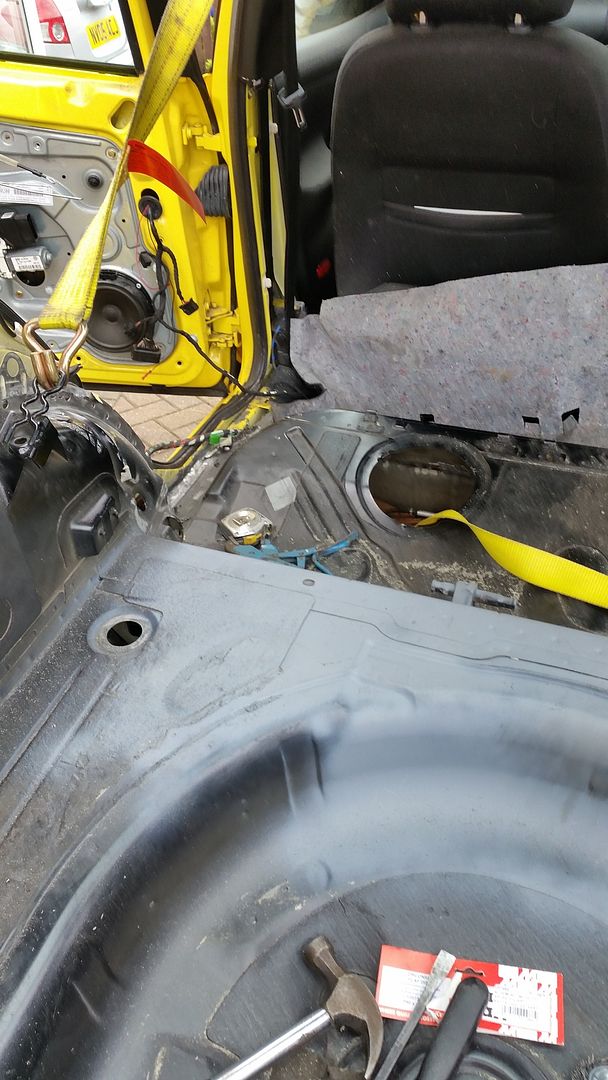
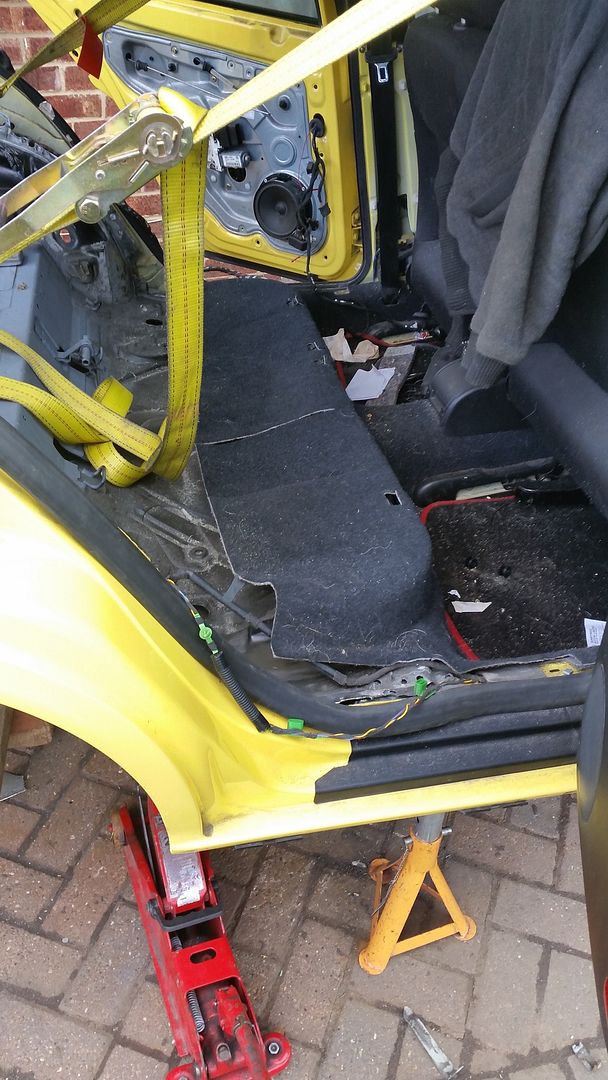
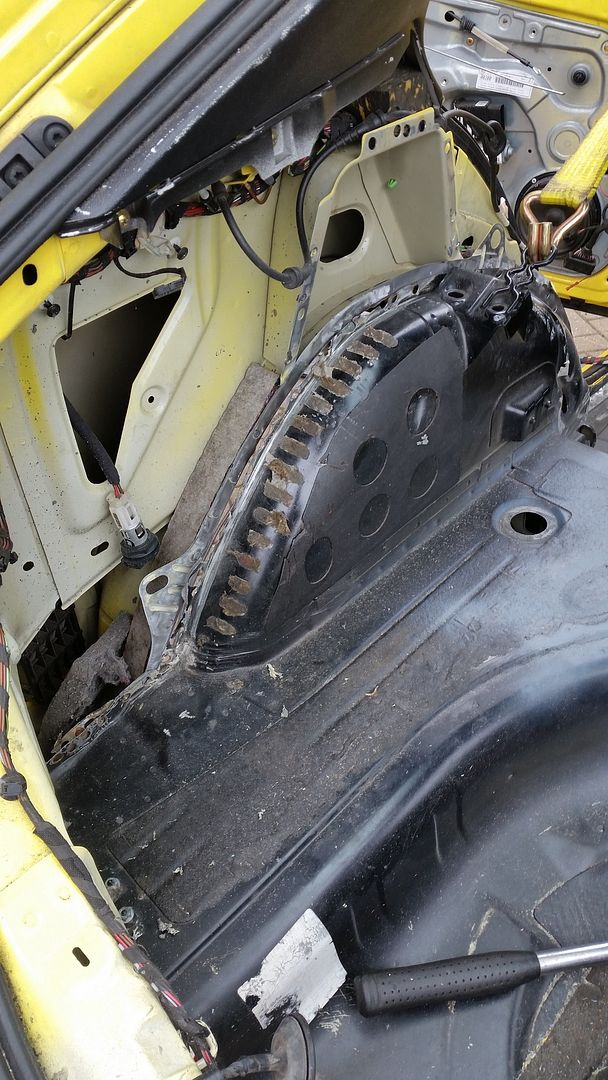
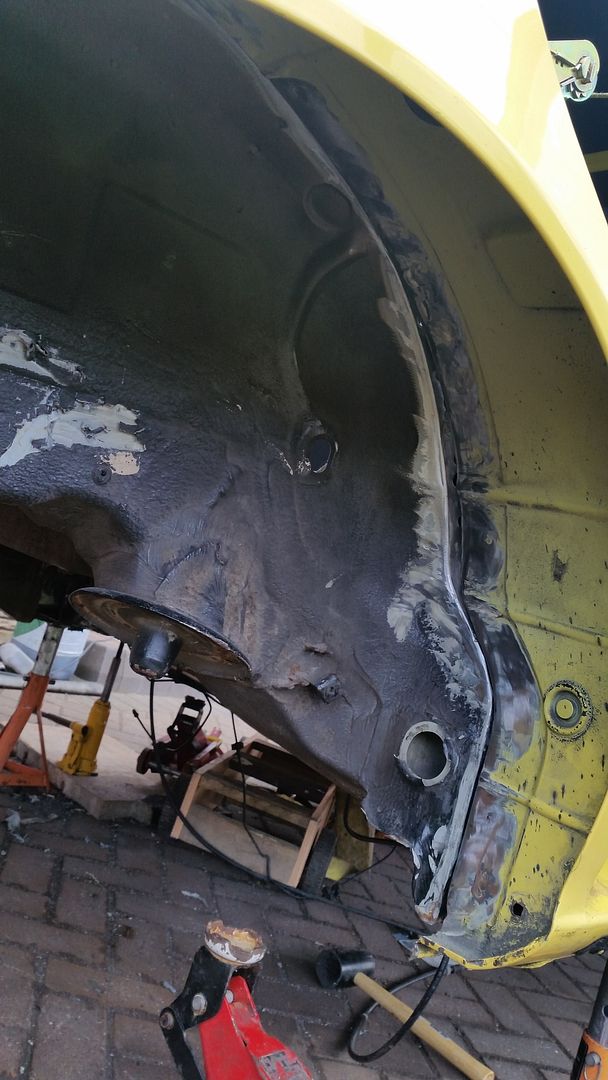
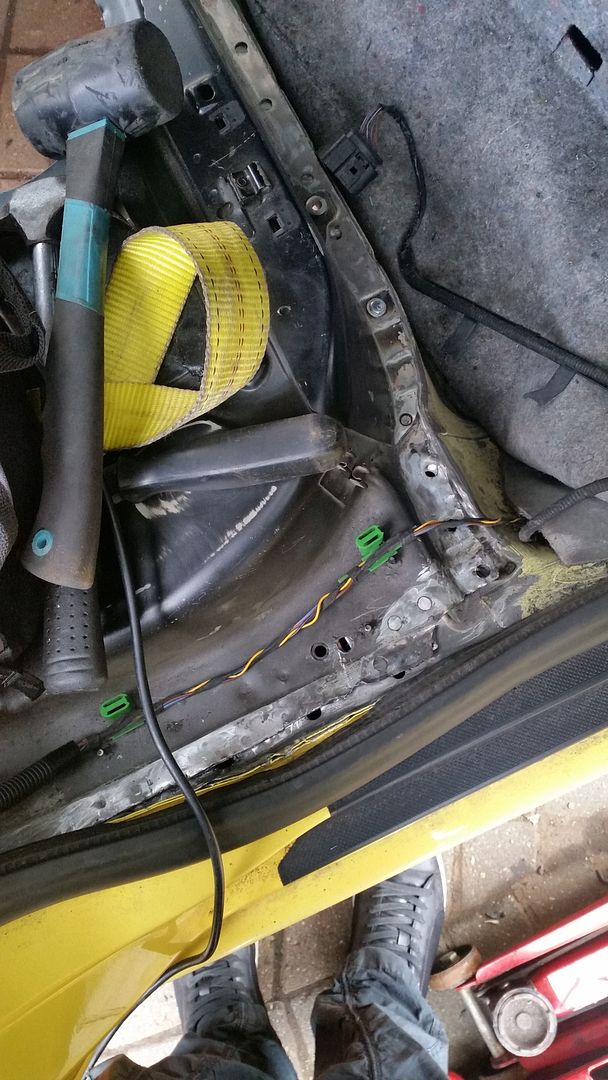
So I got all the floor in place and filled in a few spot welds to hold it all in place, the best part is I've never really welded before I was going to pay someone to weld it in but I thought nah its my project and ill do the lot, so I went about buying a decent welder and the metal that came out of the car to start with I used to practice on, when I was confident I then set about welding the s3 floor in, I picked it up fairly fast to be honest which was good, I'd say I'm pritty decent at it now
it was at this point that I messaged grahams81 who has also done the 4 wheel drive project for some general advice, I took an inspiration to his project and thought right I'm doing that but just with a different style, little did we realise we lived so close next to each other he ended up coming straight over to have a look and ended up pointing me in the right direction, as well as giving me some help for the day which was brilliant, we've ended up really good mates since then staying in touch and keeping each other up to date, its nice to know good friends can also become of a good project, for any one keeping up to date with his project I'm sure now you can maybe guess where its going
...that will be a new project page completely 


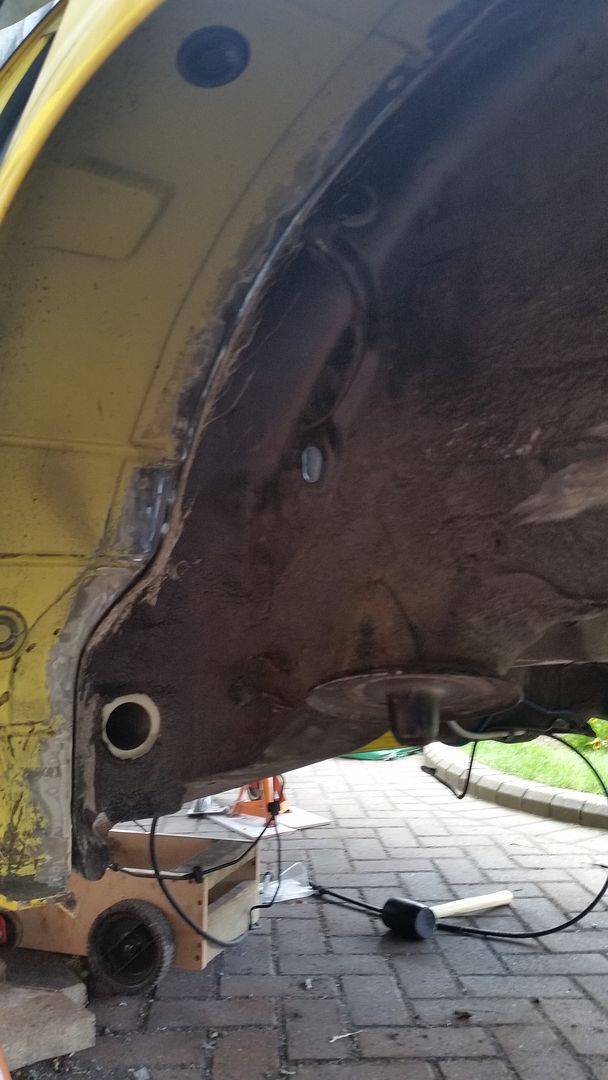
So I got all the floor in place and filled in a few spot welds to hold it all in place, the best part is I've never really welded before
I was going to pay someone to weld it in but I thought nah its my project and ill do the lot, so I went about buying a decent welder and the metal that came out of the car to start with I used to practice on, when I was confident I then set about welding the s3 floor in, I picked it up fairly fast to be honest which was good, I'd say I'm pritty decent at it now
Last edited:


