Audi S3 GT3582R stroker Build (previously GT3071r)

tufftybloke

Badger 5 Edition
Feb 28, 2009
657
0
Gloucestershire, UK
Had a day off from work to help Bill out with some mapping today and discovered he had been a busy lad :D
20120802_094942.jpg


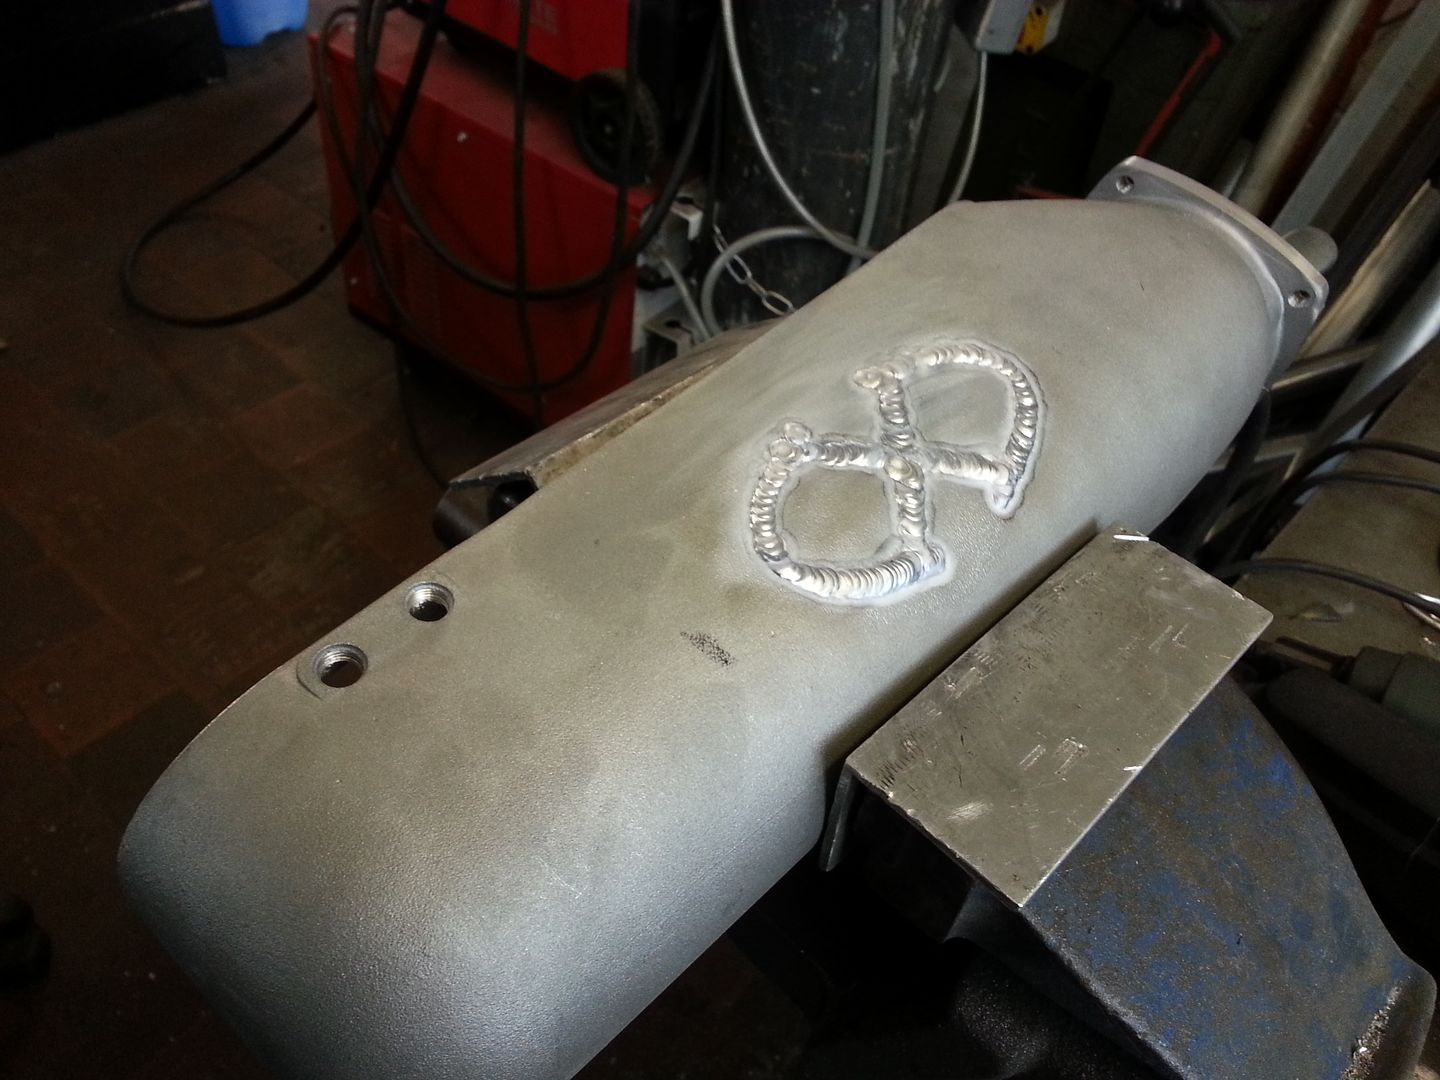
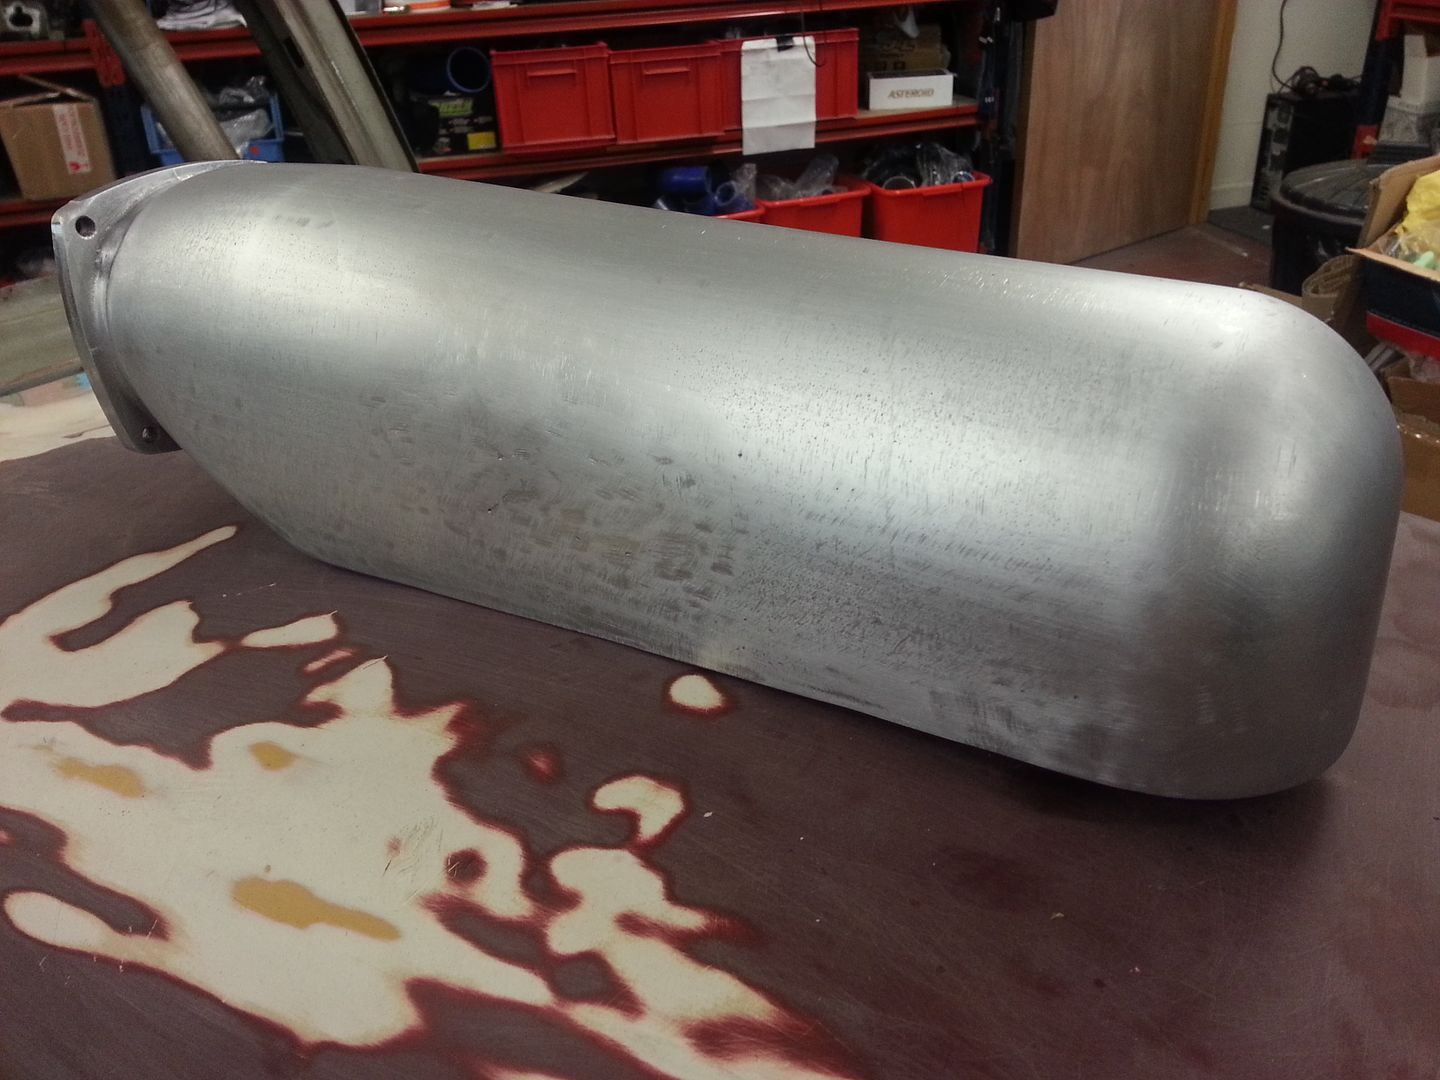
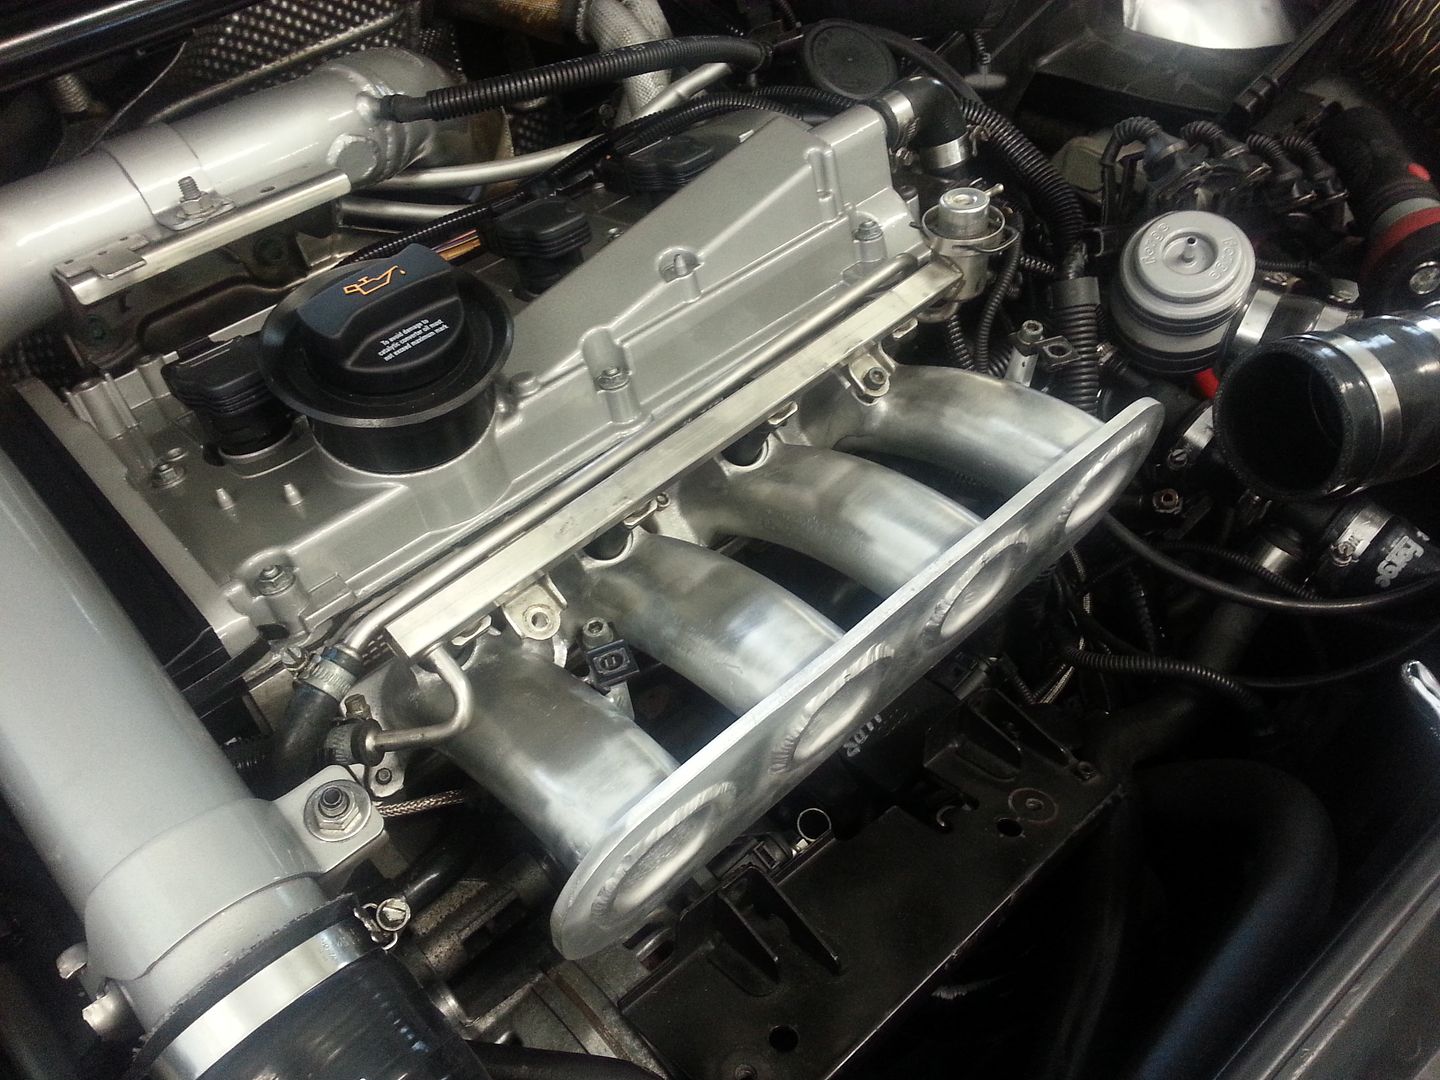
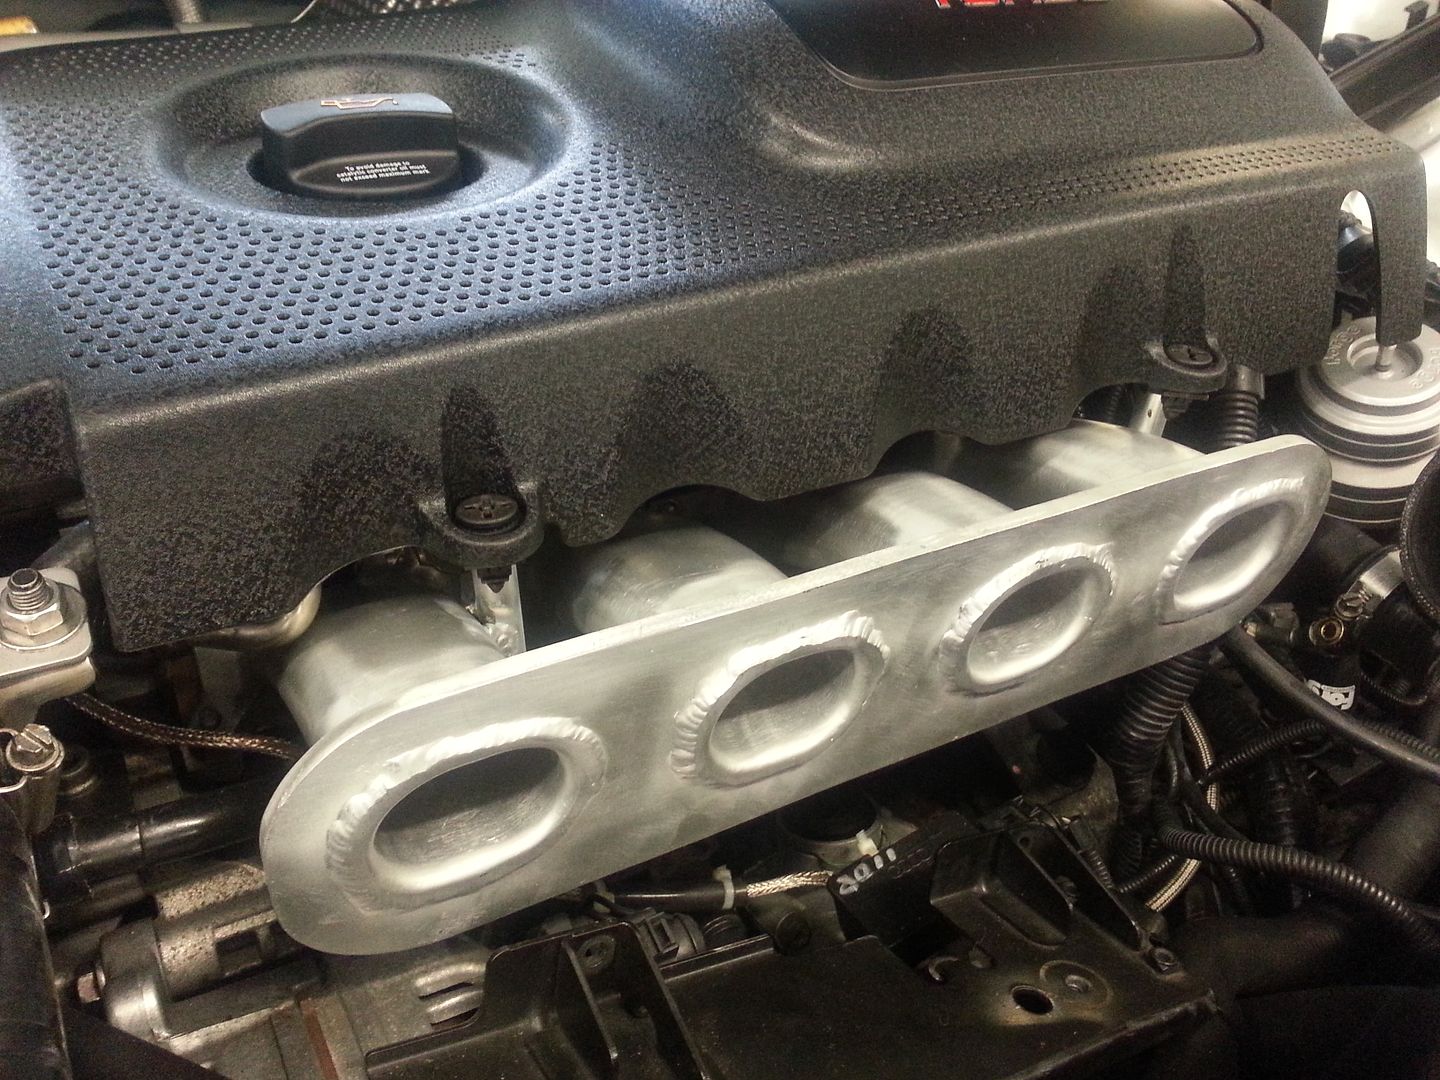
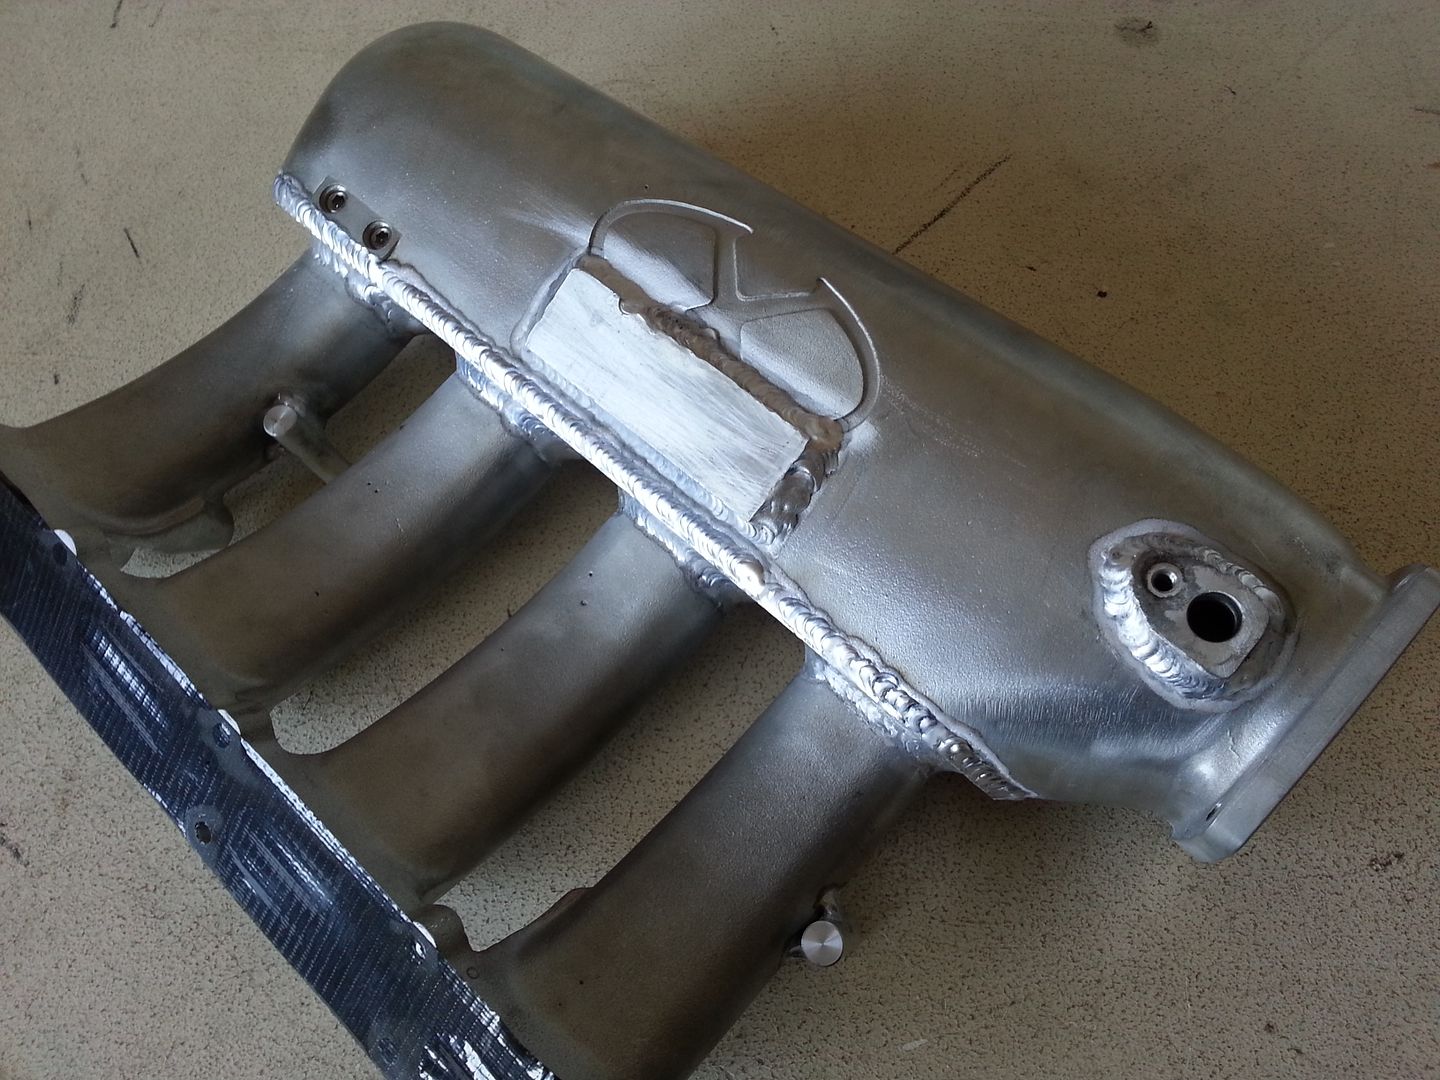
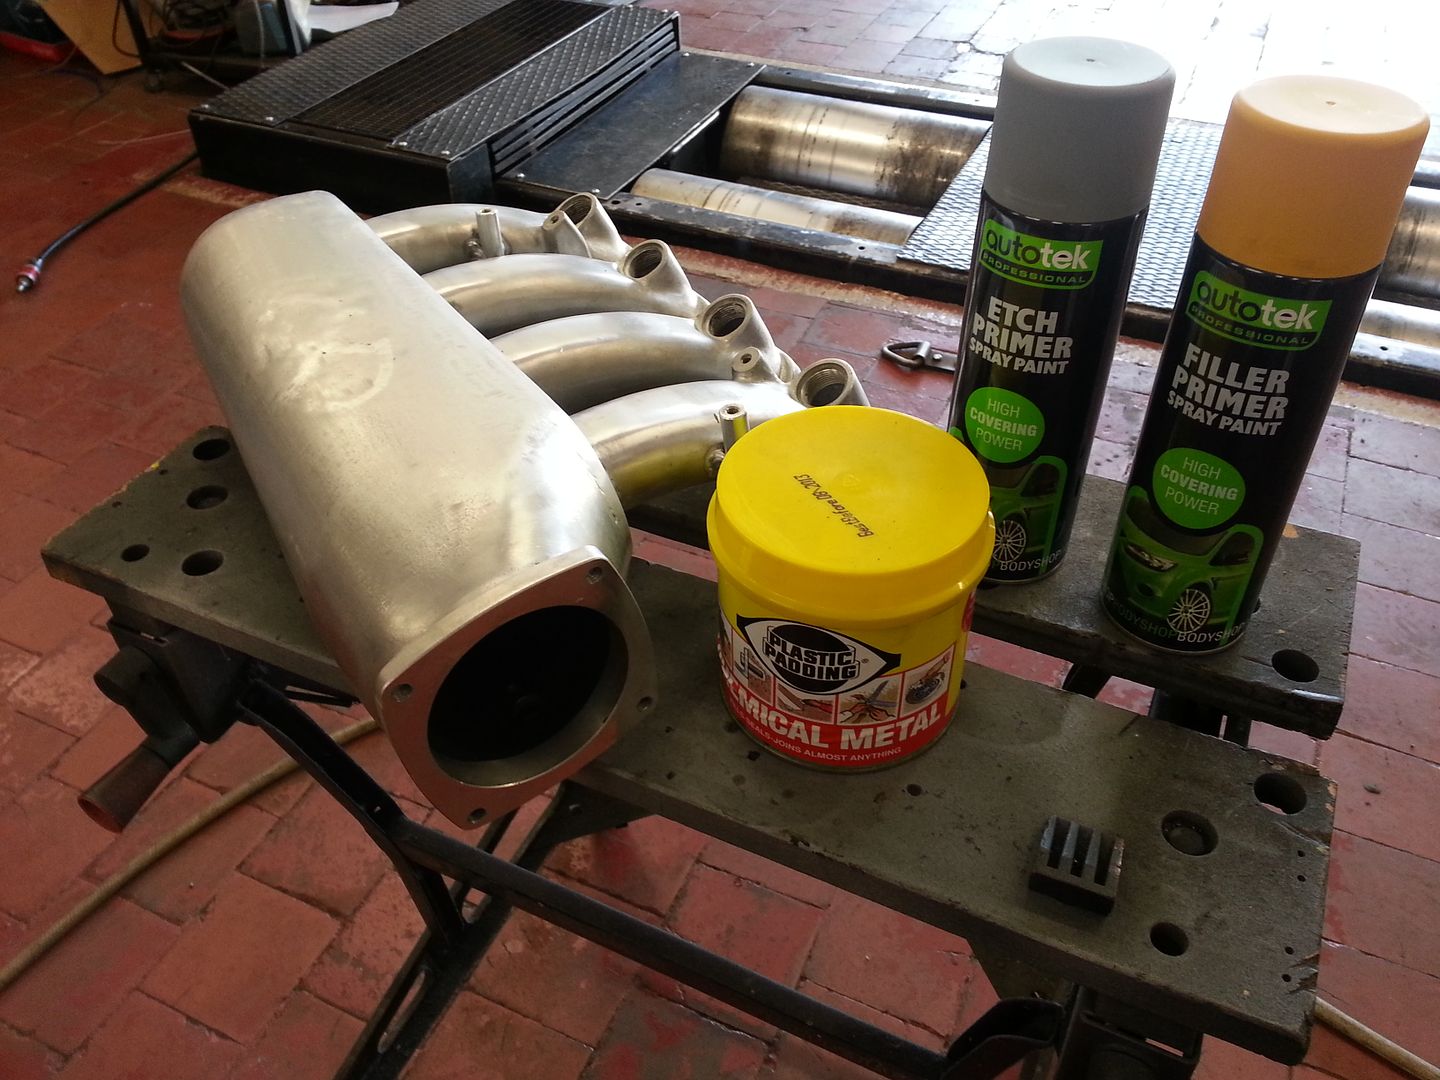
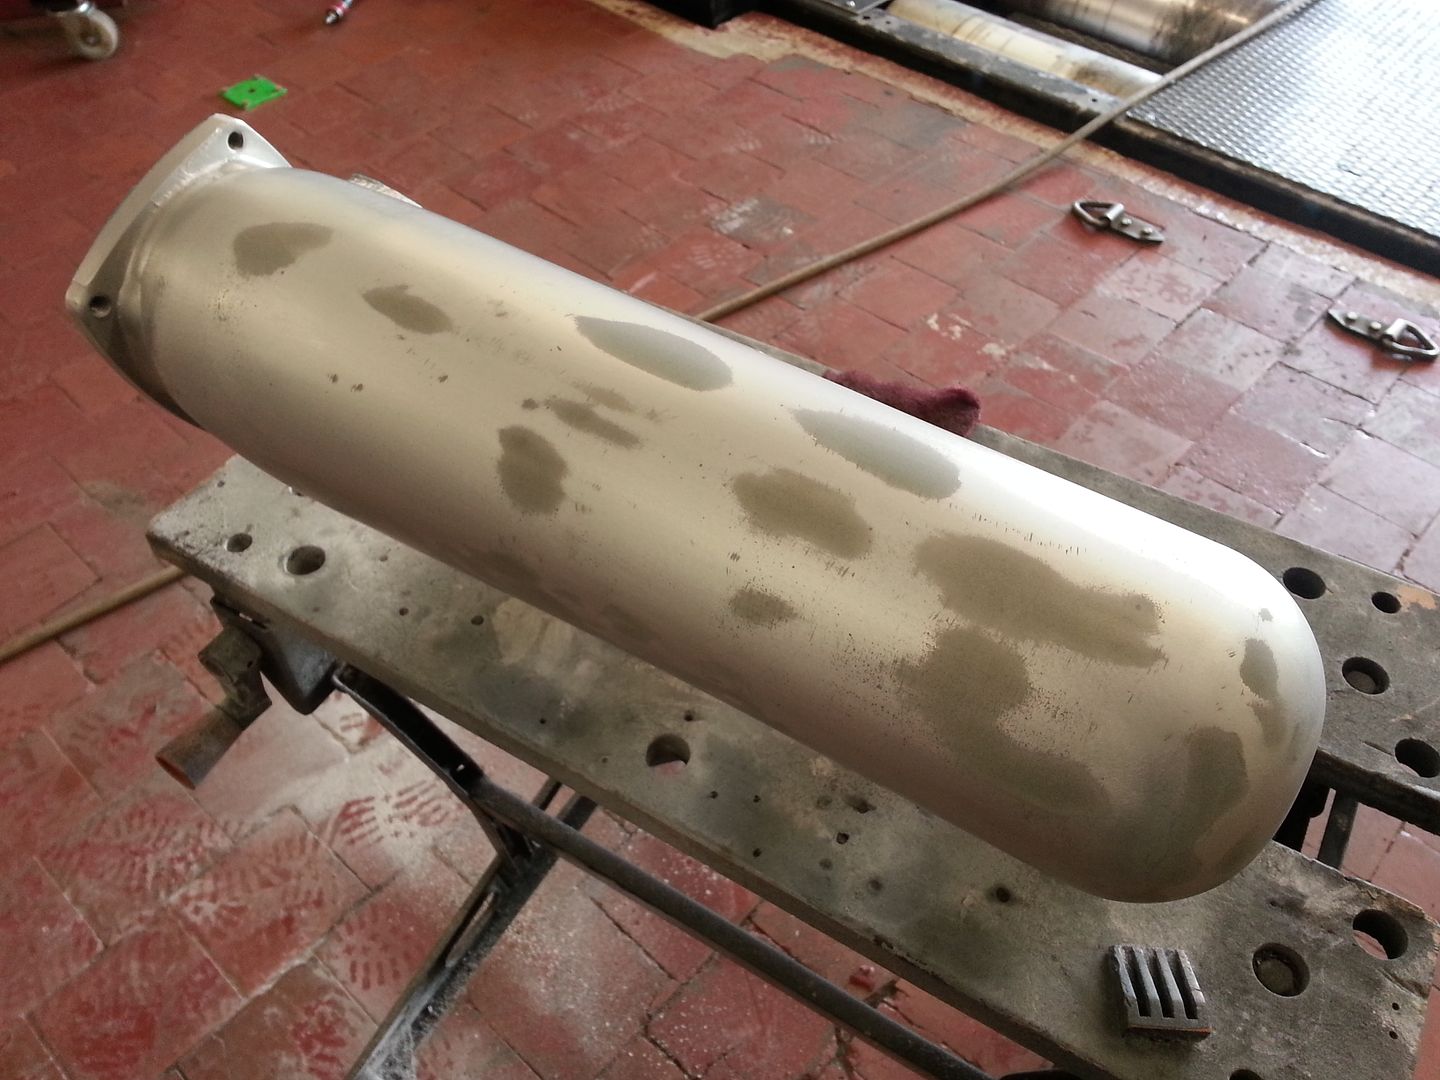
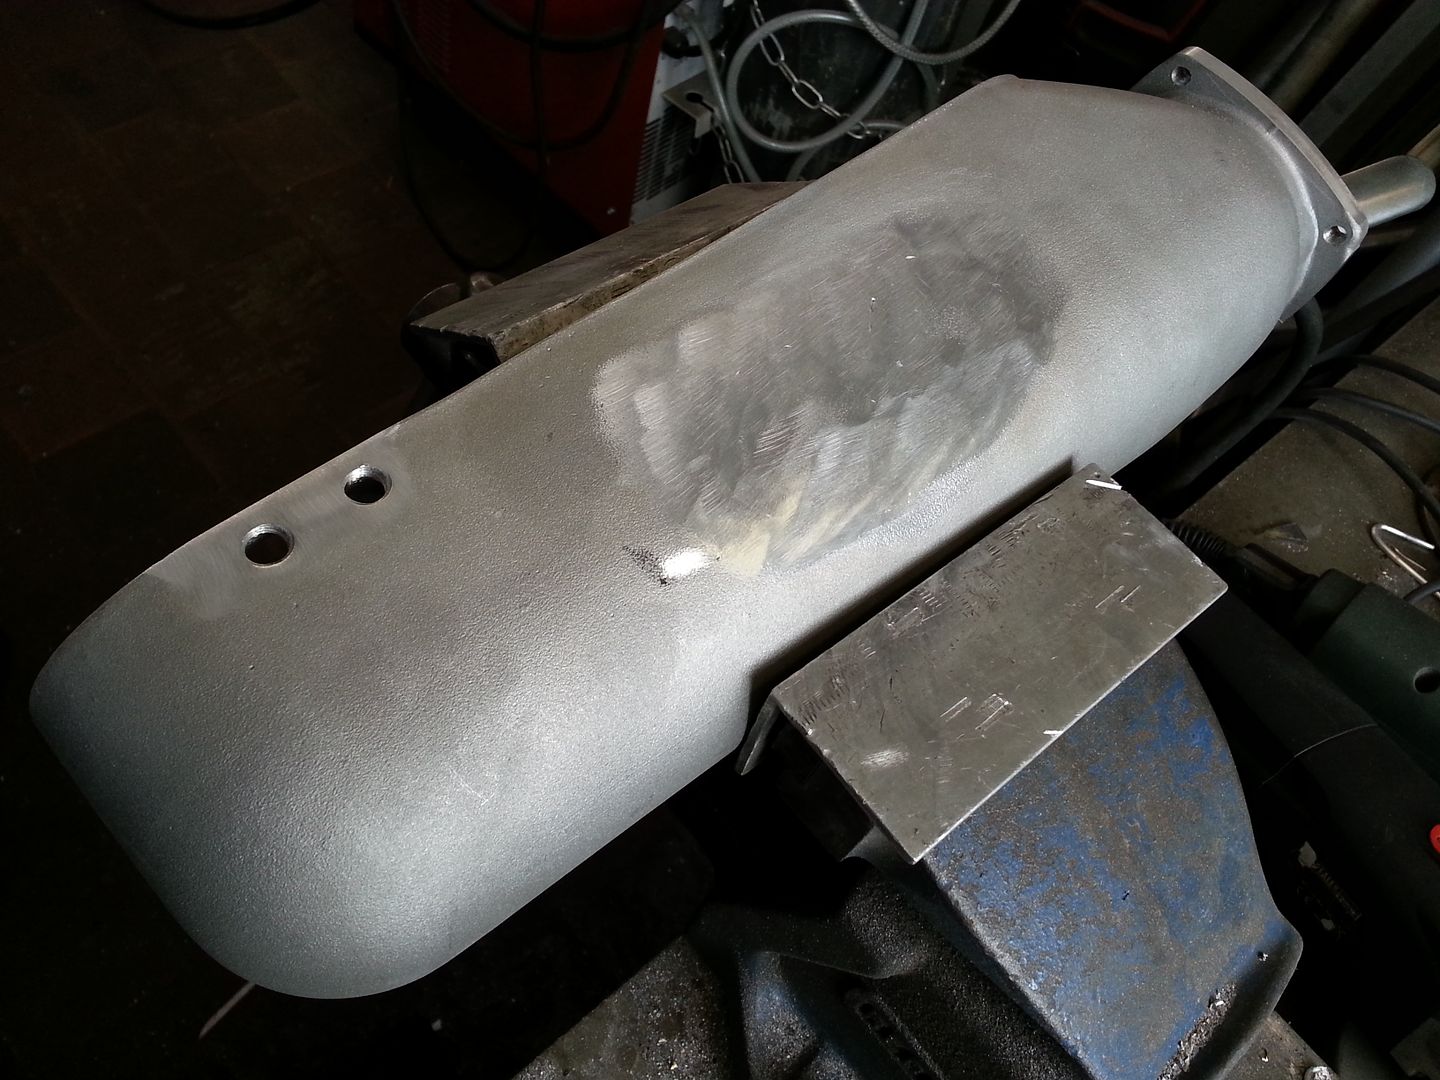
He had welded up the X for me on the plenum ready for smoothing... so I ground it down..
20120802_152205.jpg


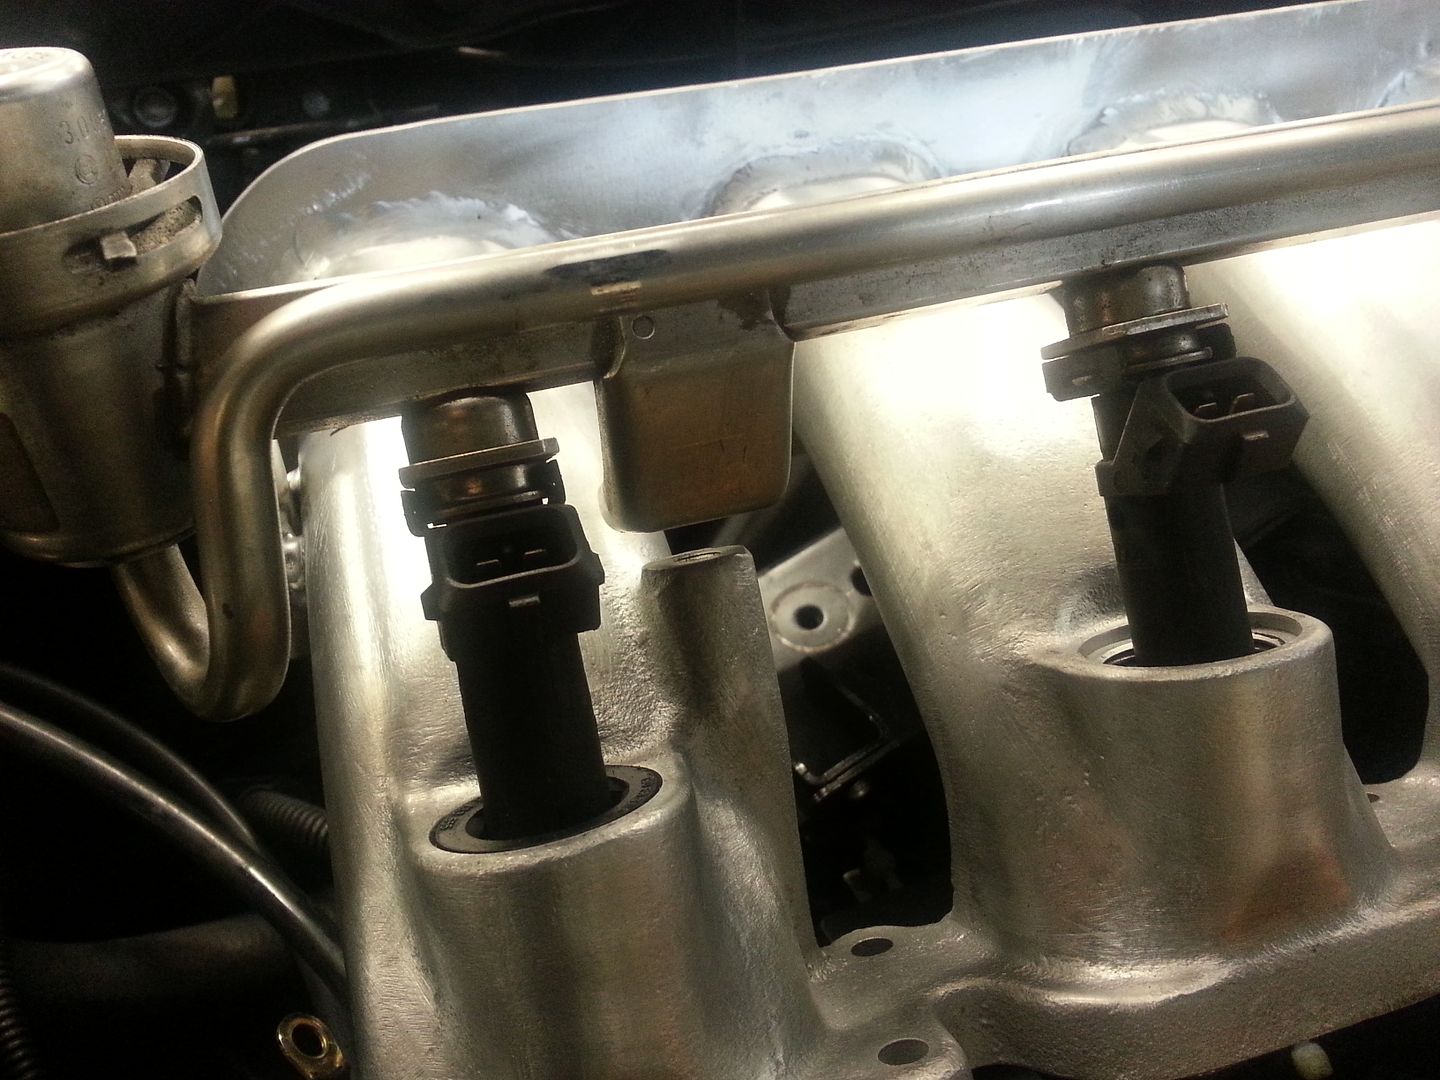
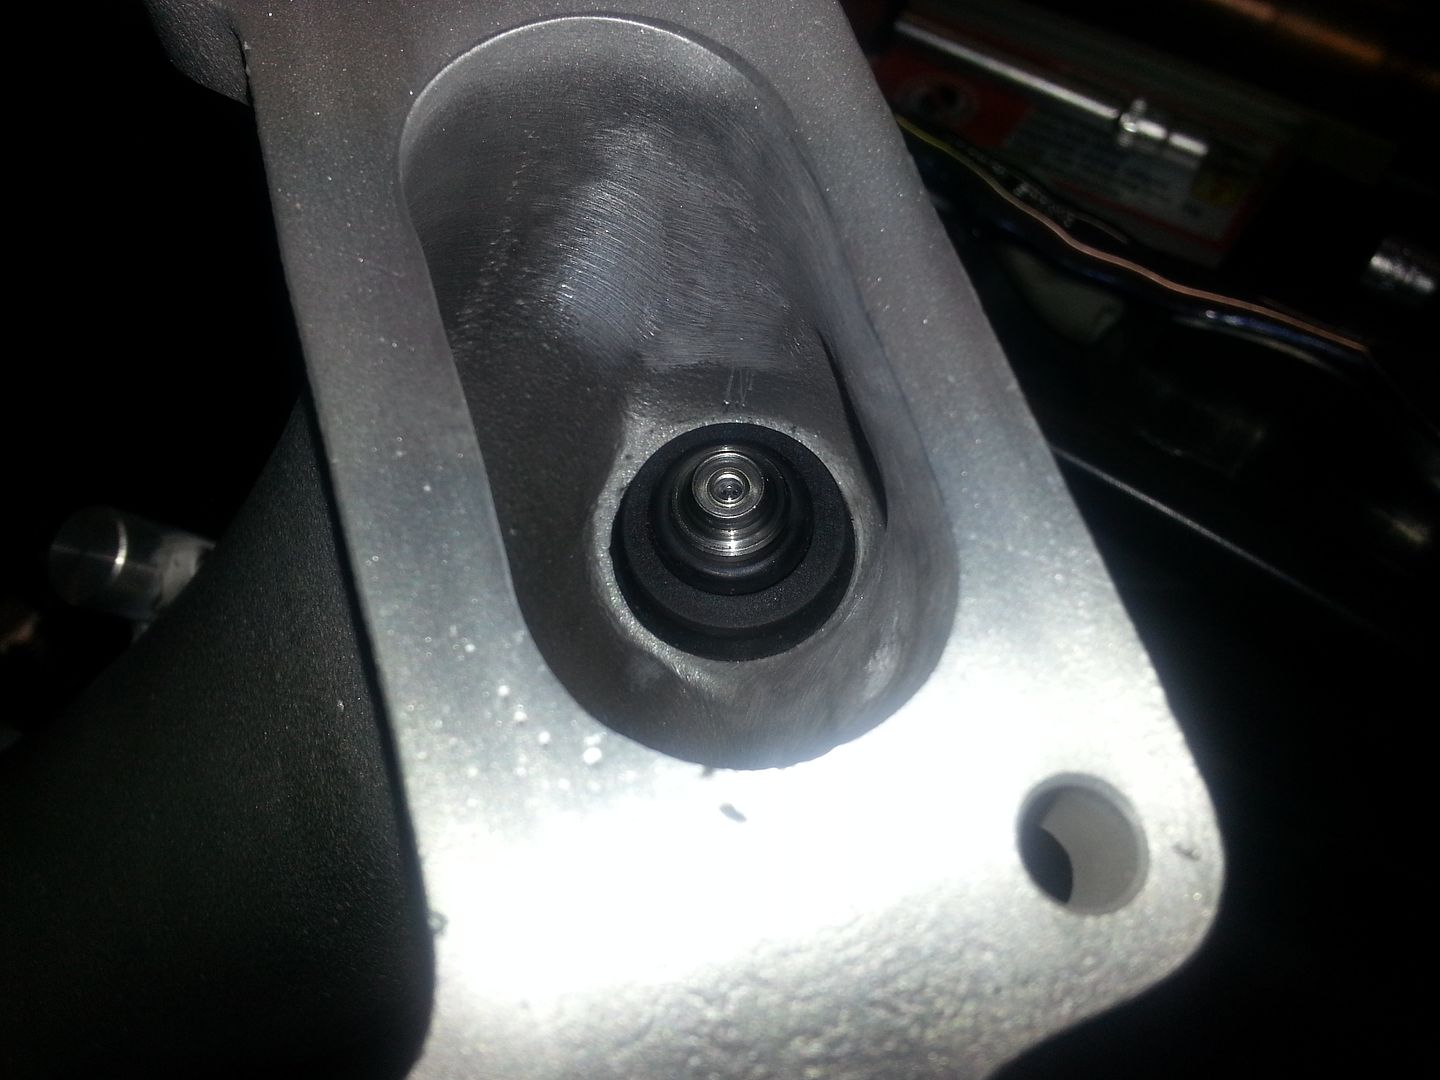
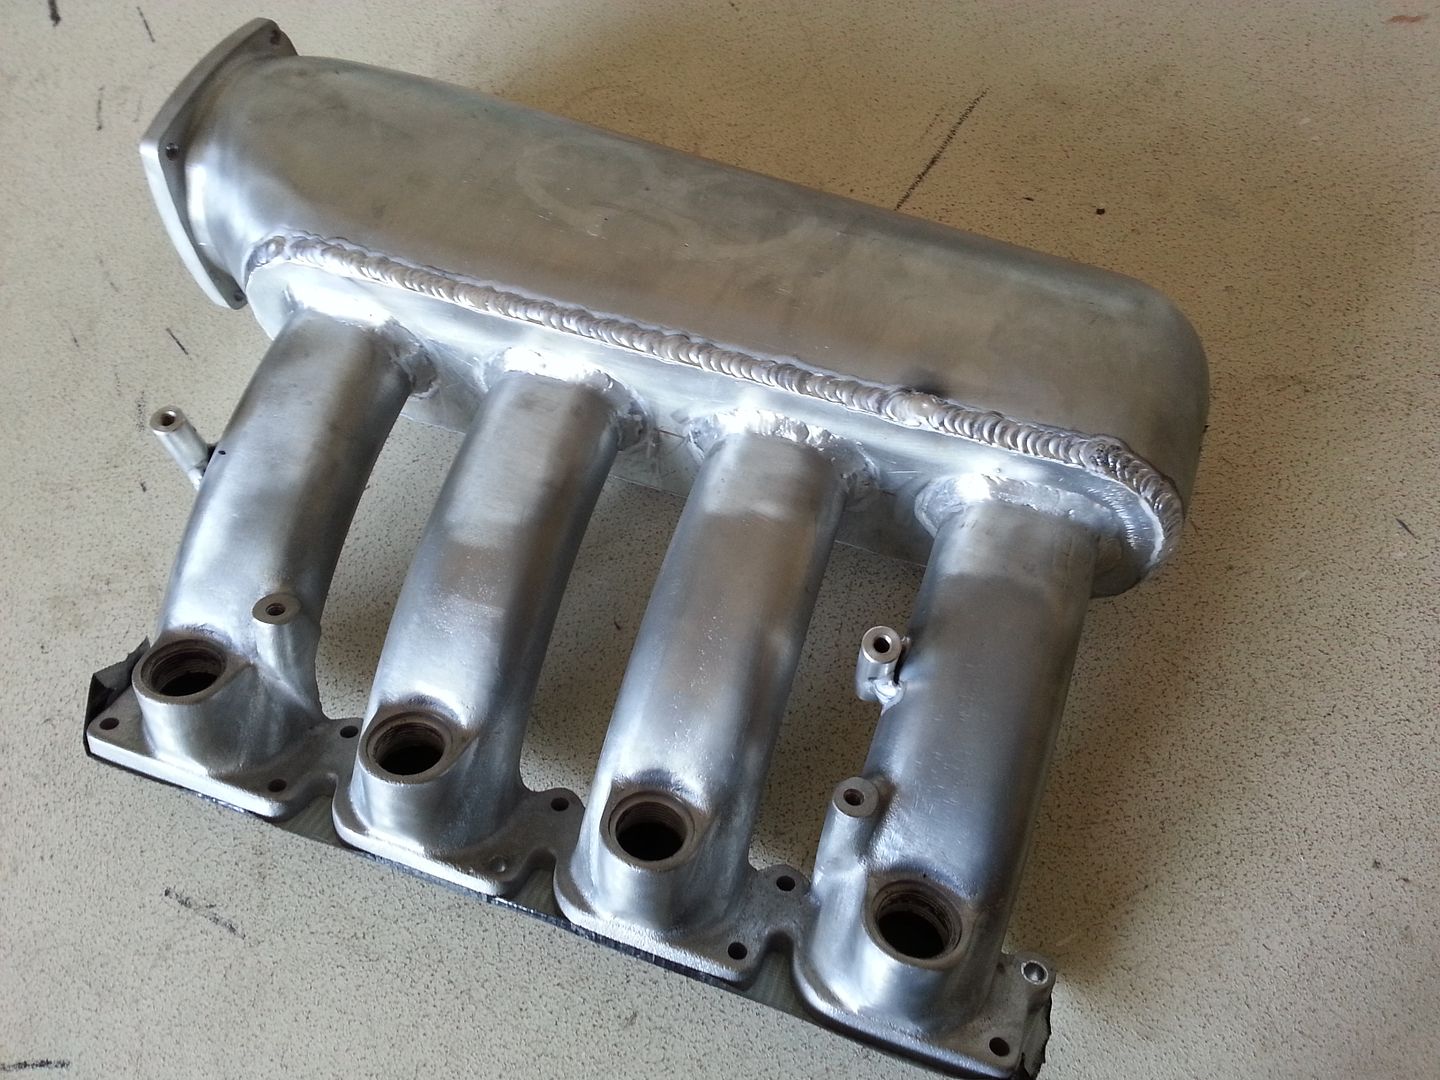
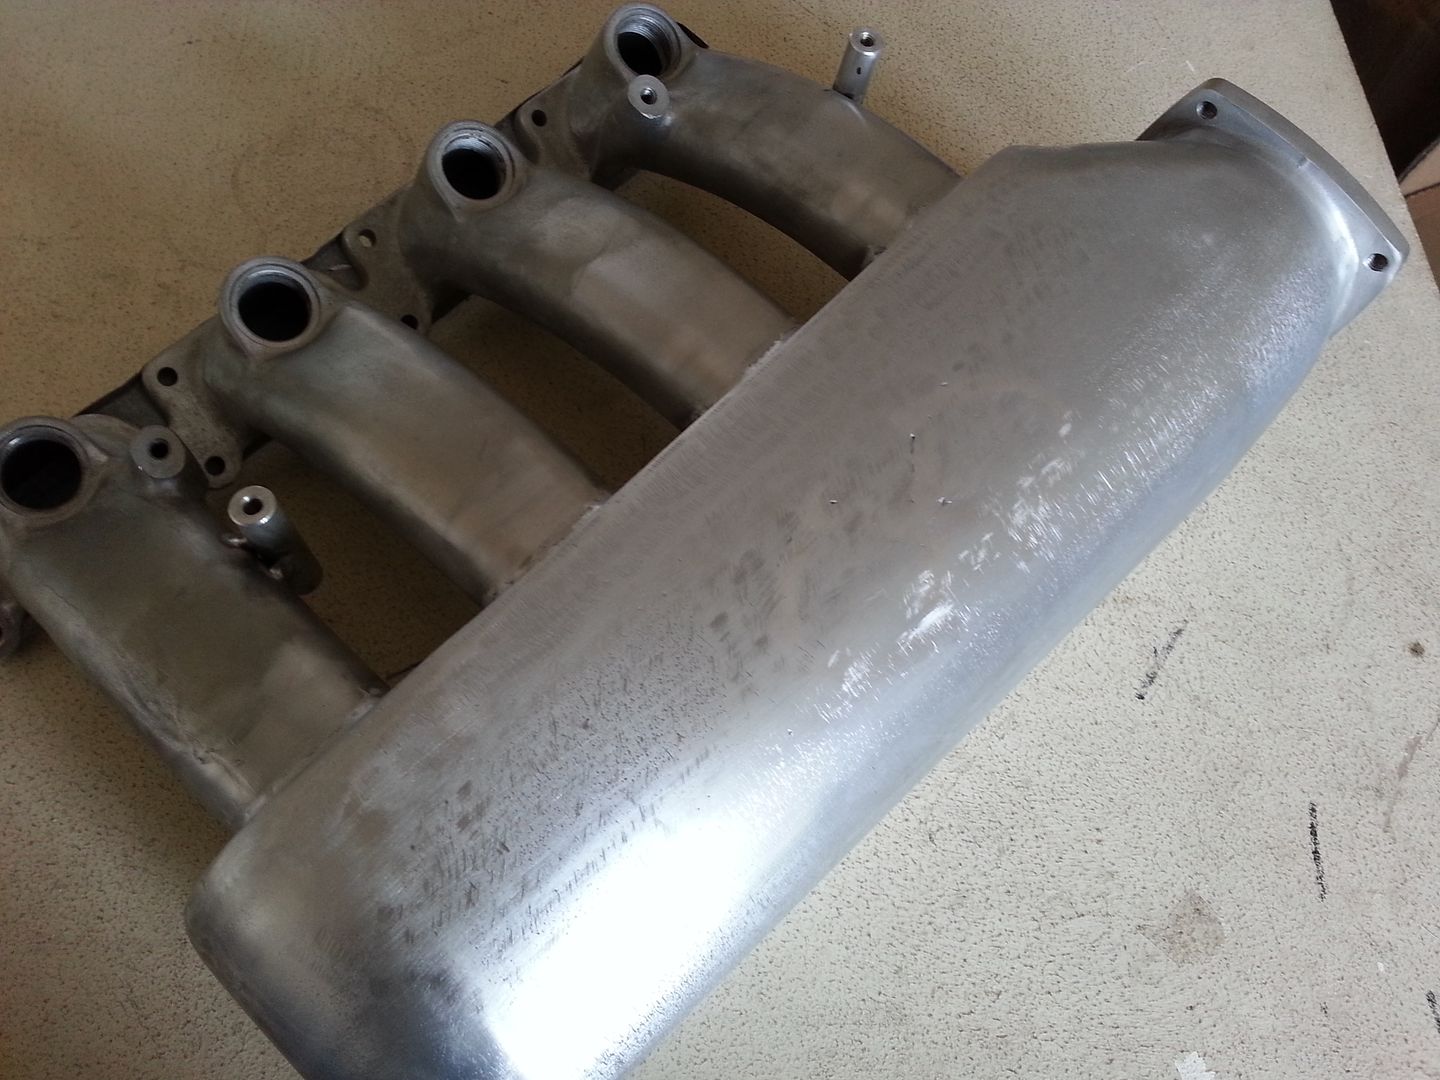
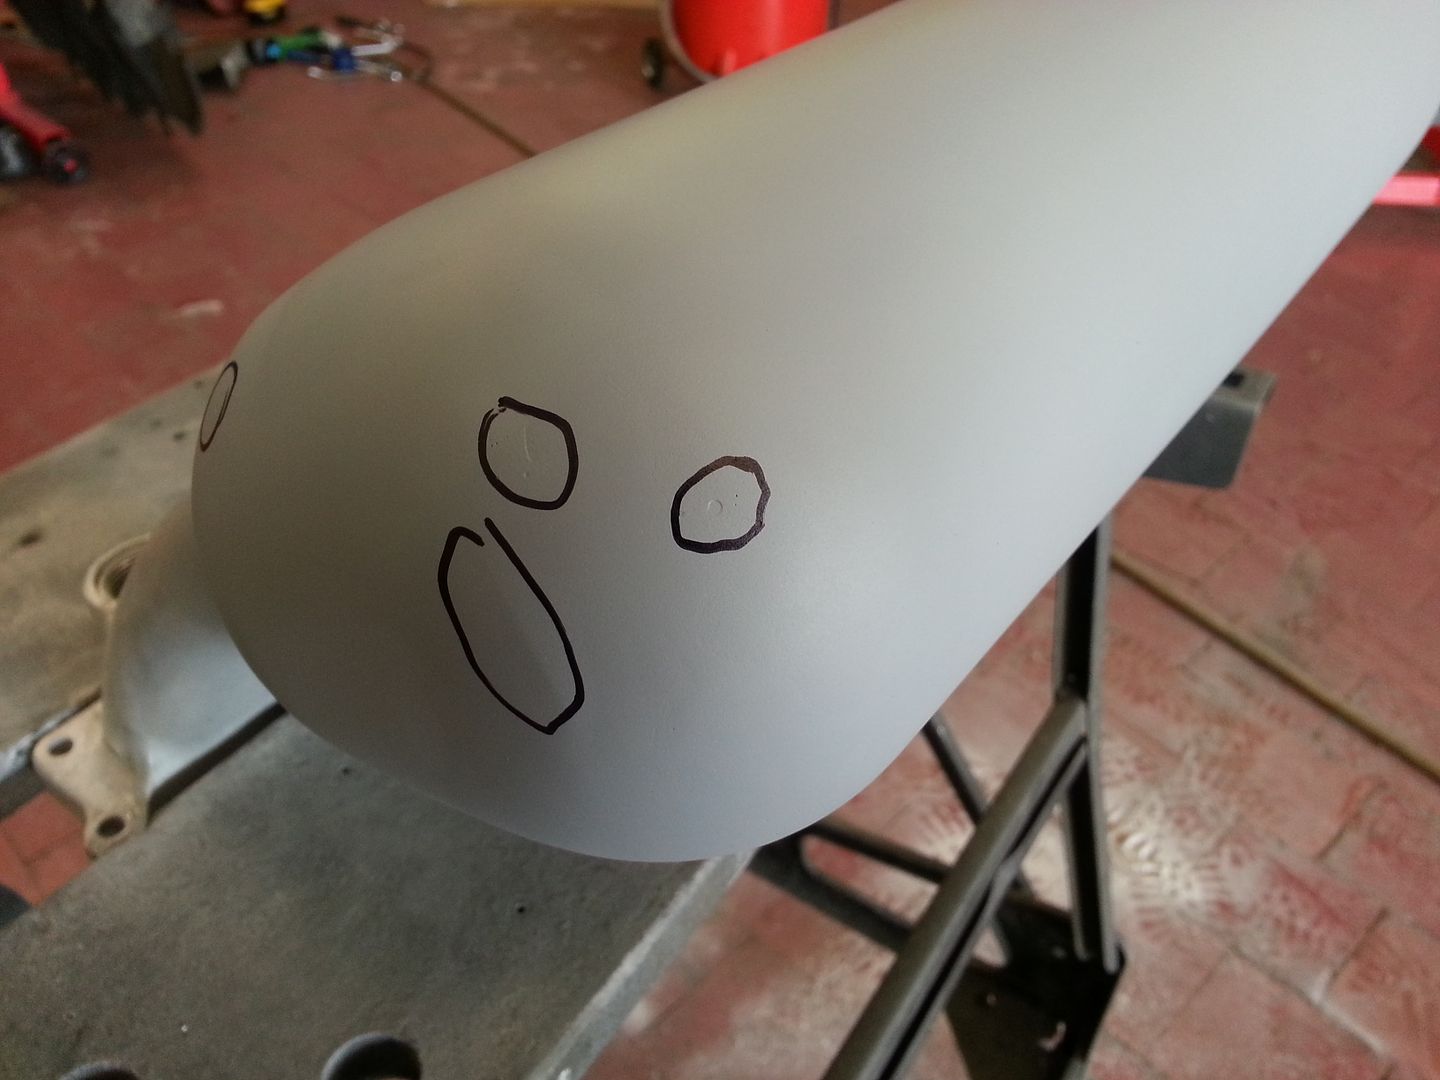
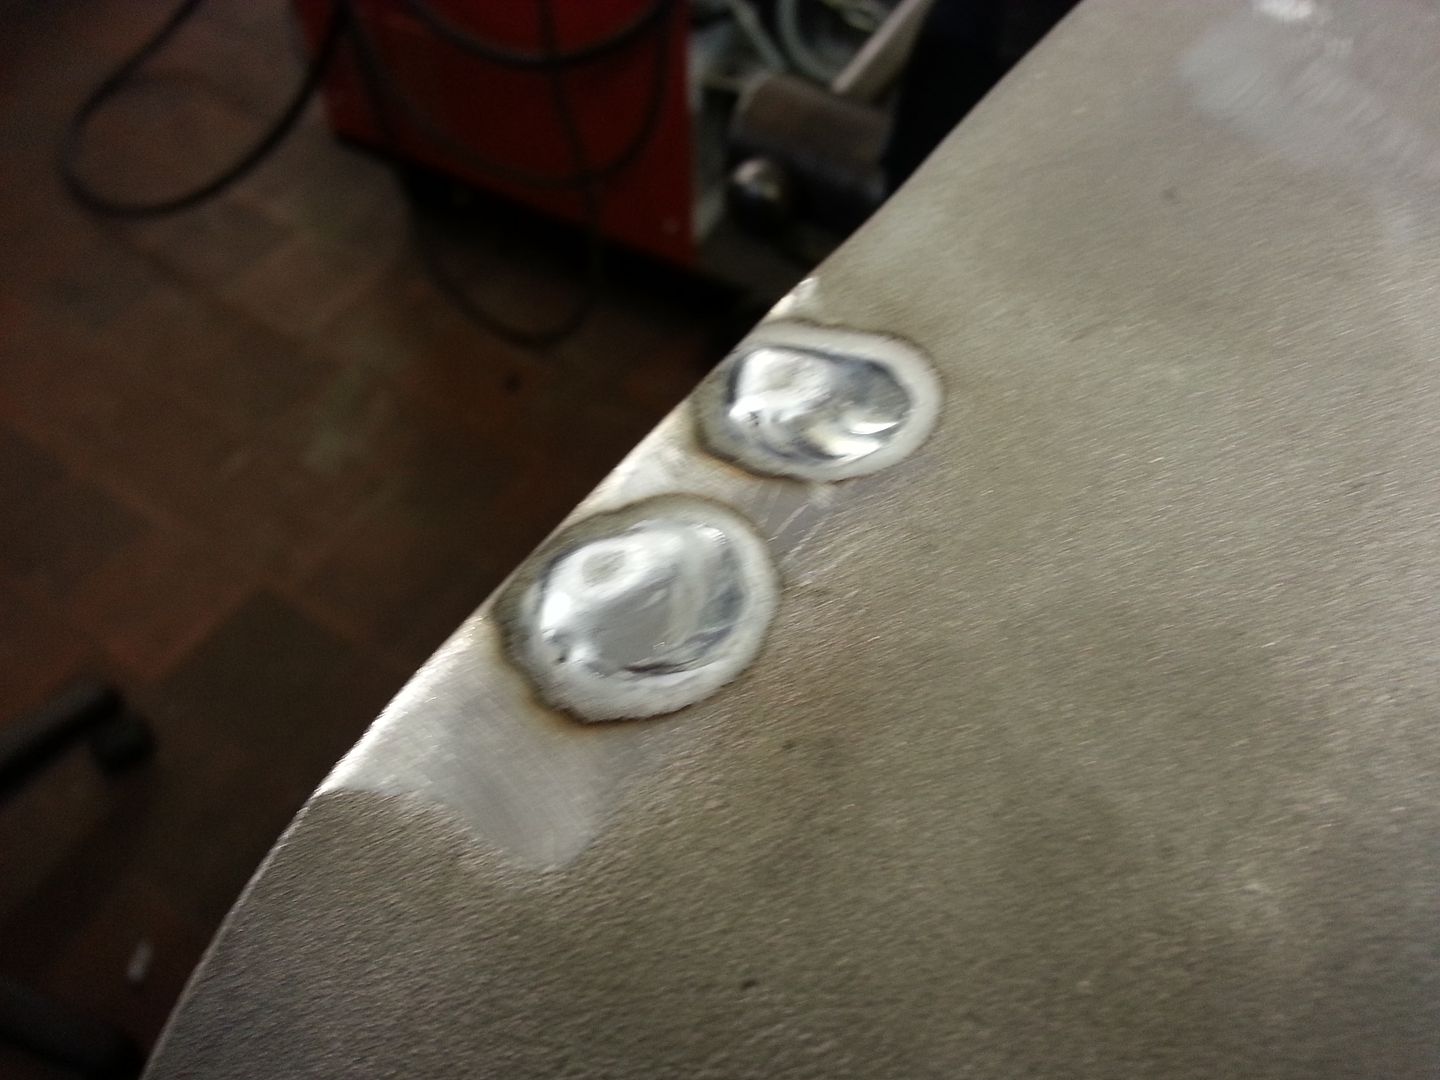
...and flushed the top set of vac ports...
20120802_152211.jpg


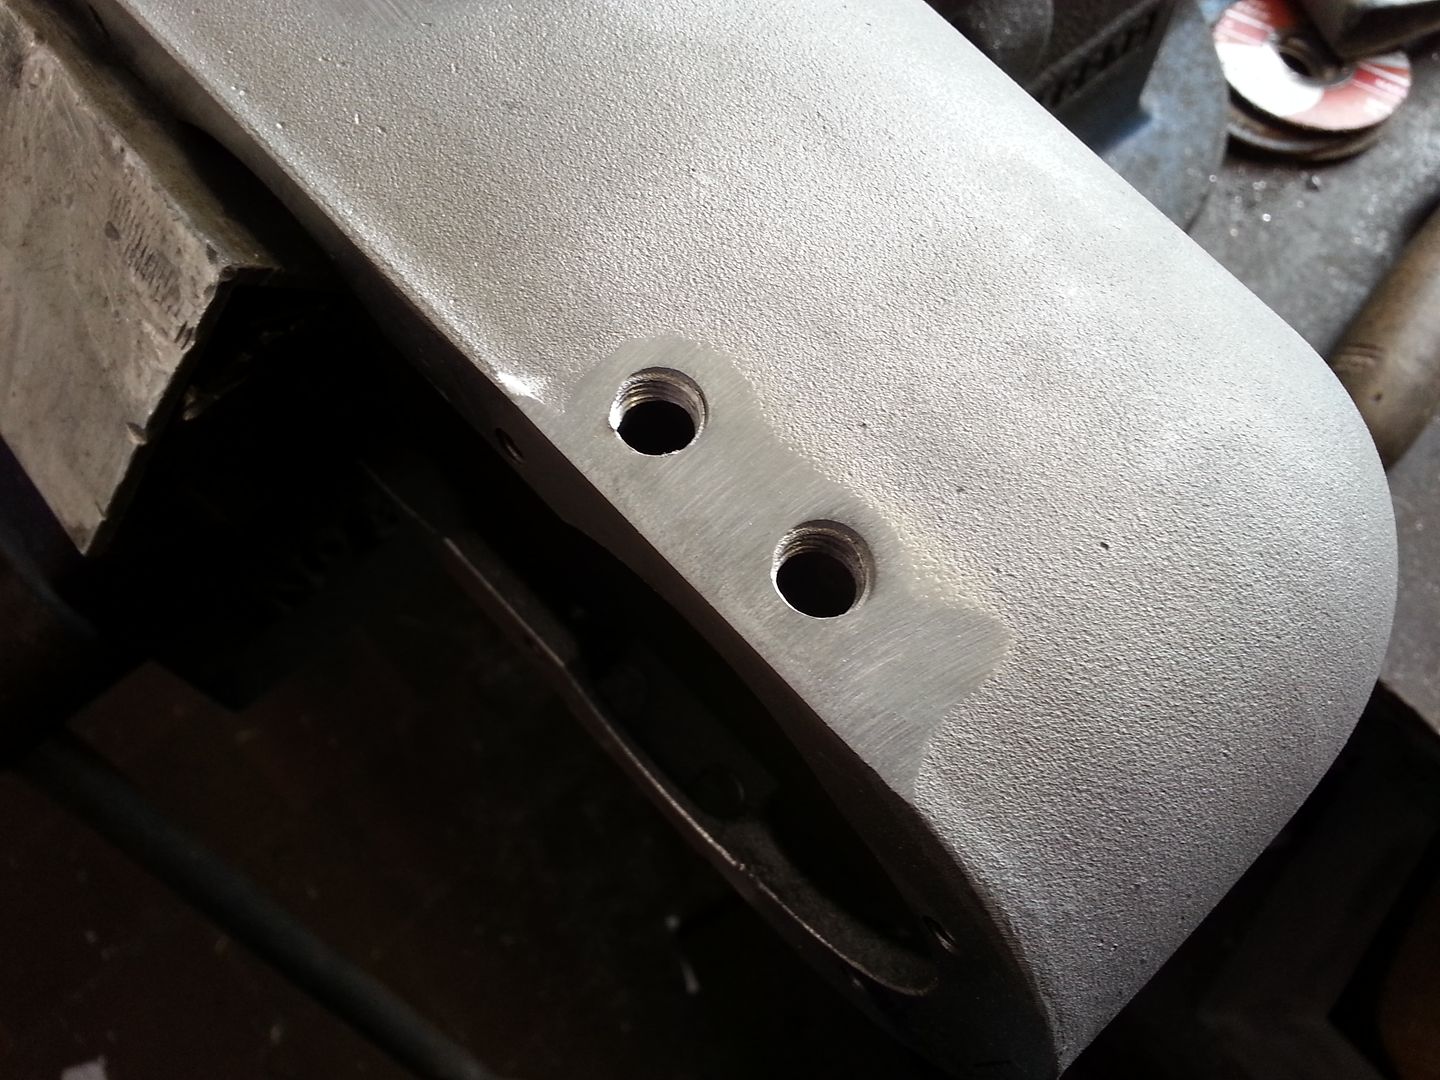
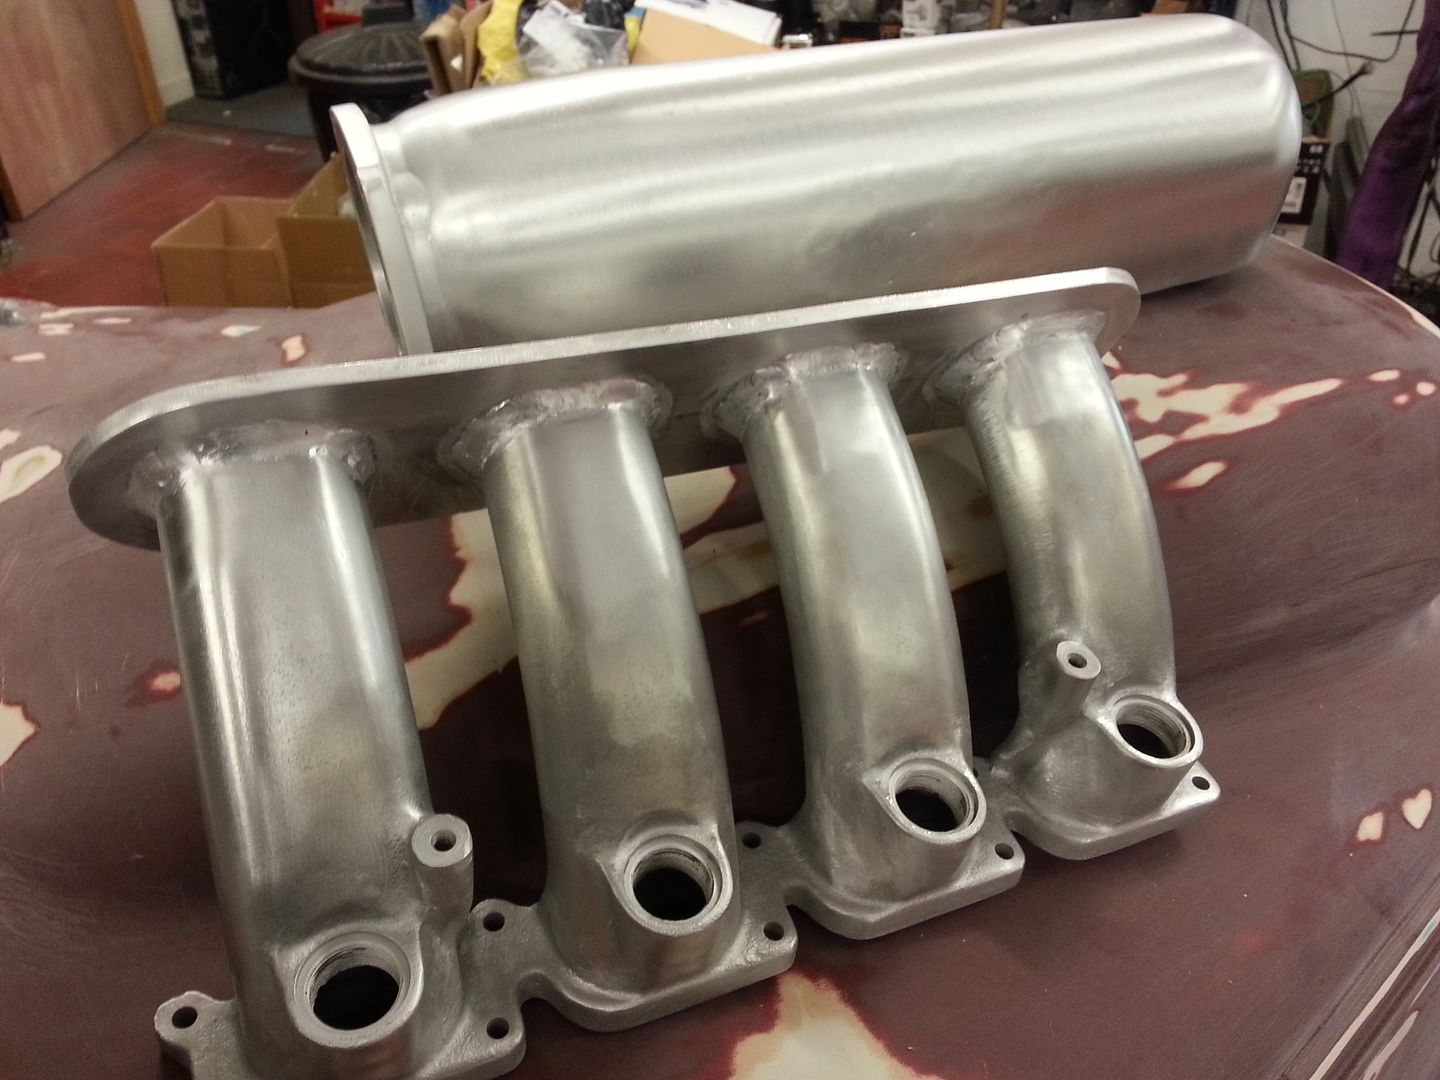
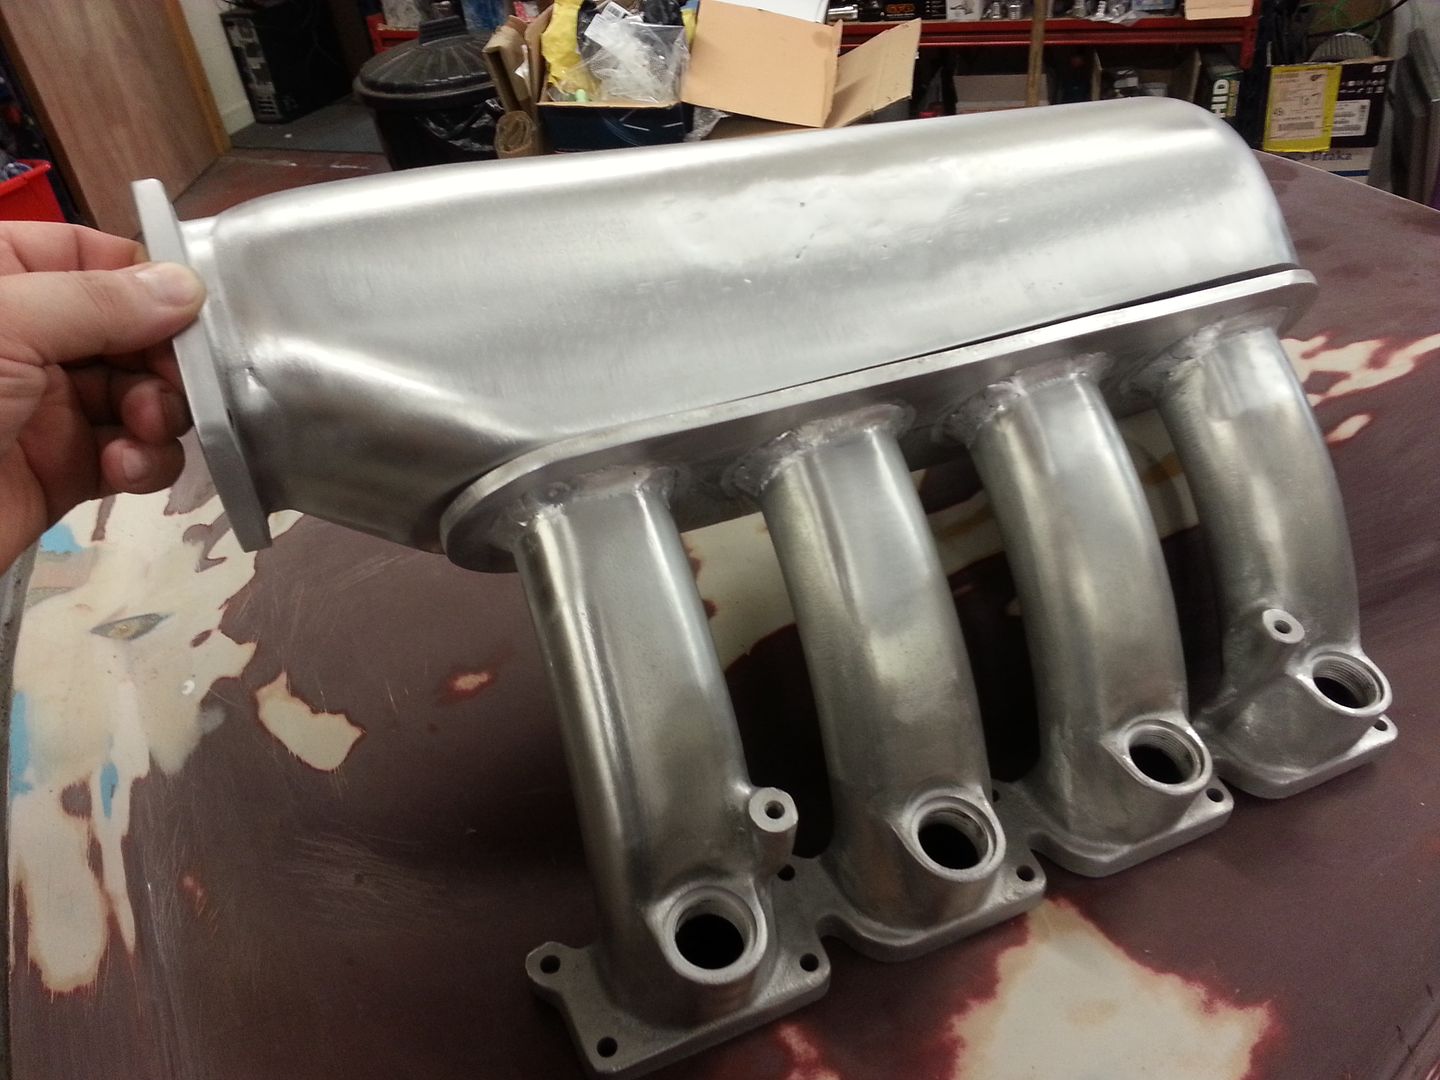
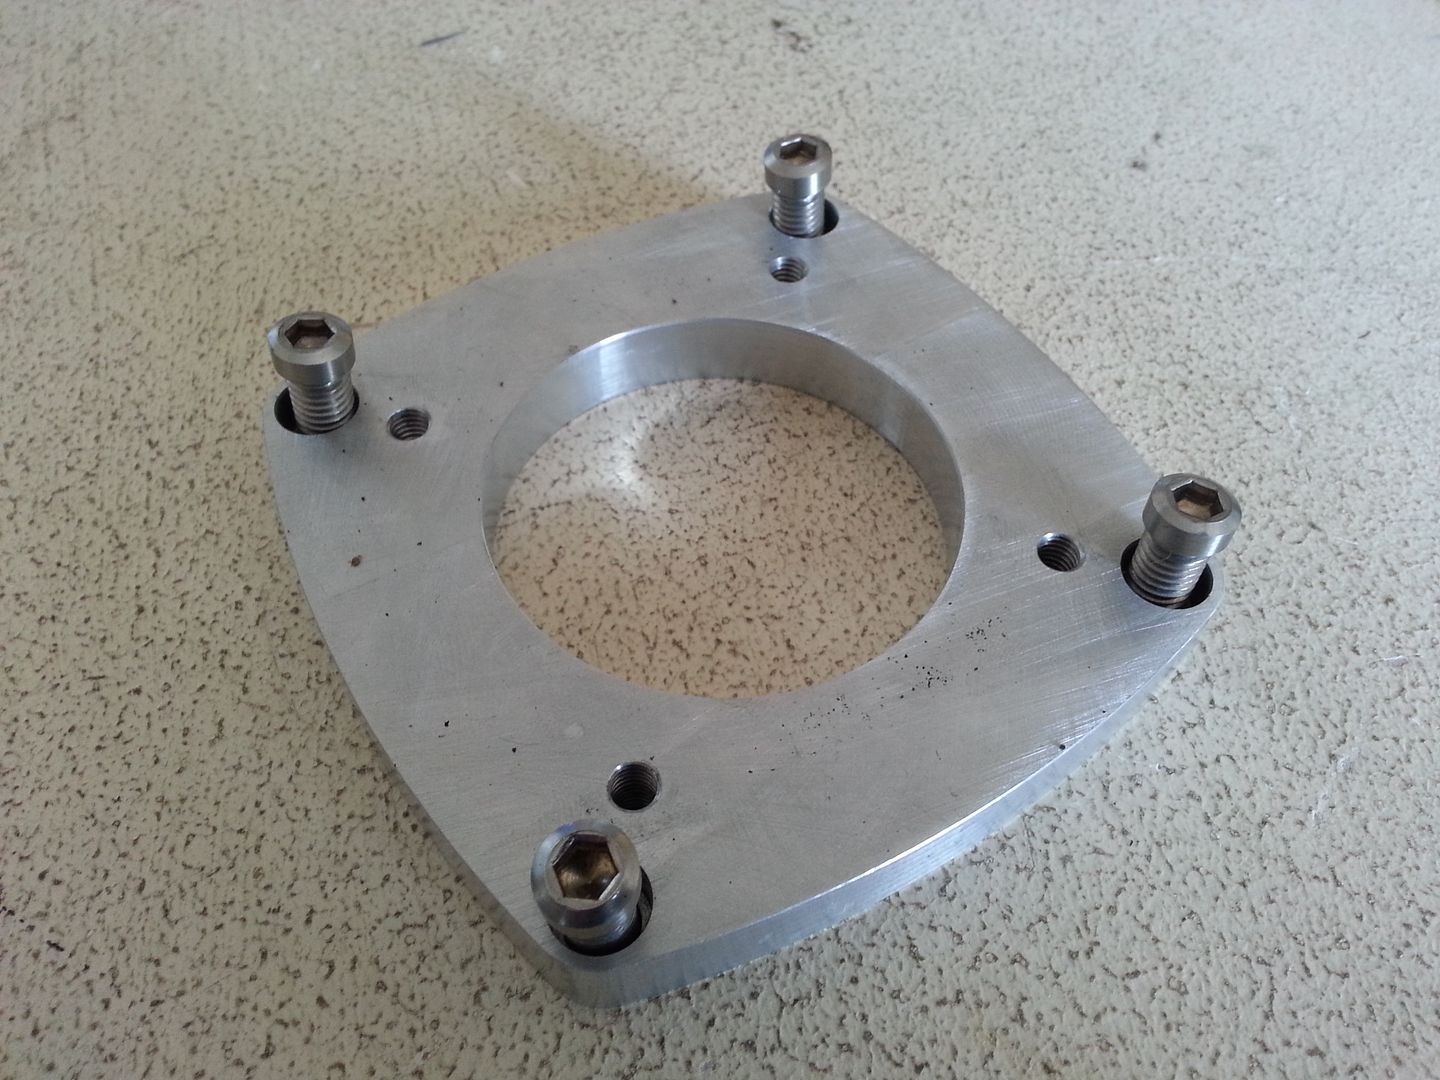
Screwed in some threaded alloy bar and cut ready for welding...
20120802_180509.jpg


20120802_183943.jpg


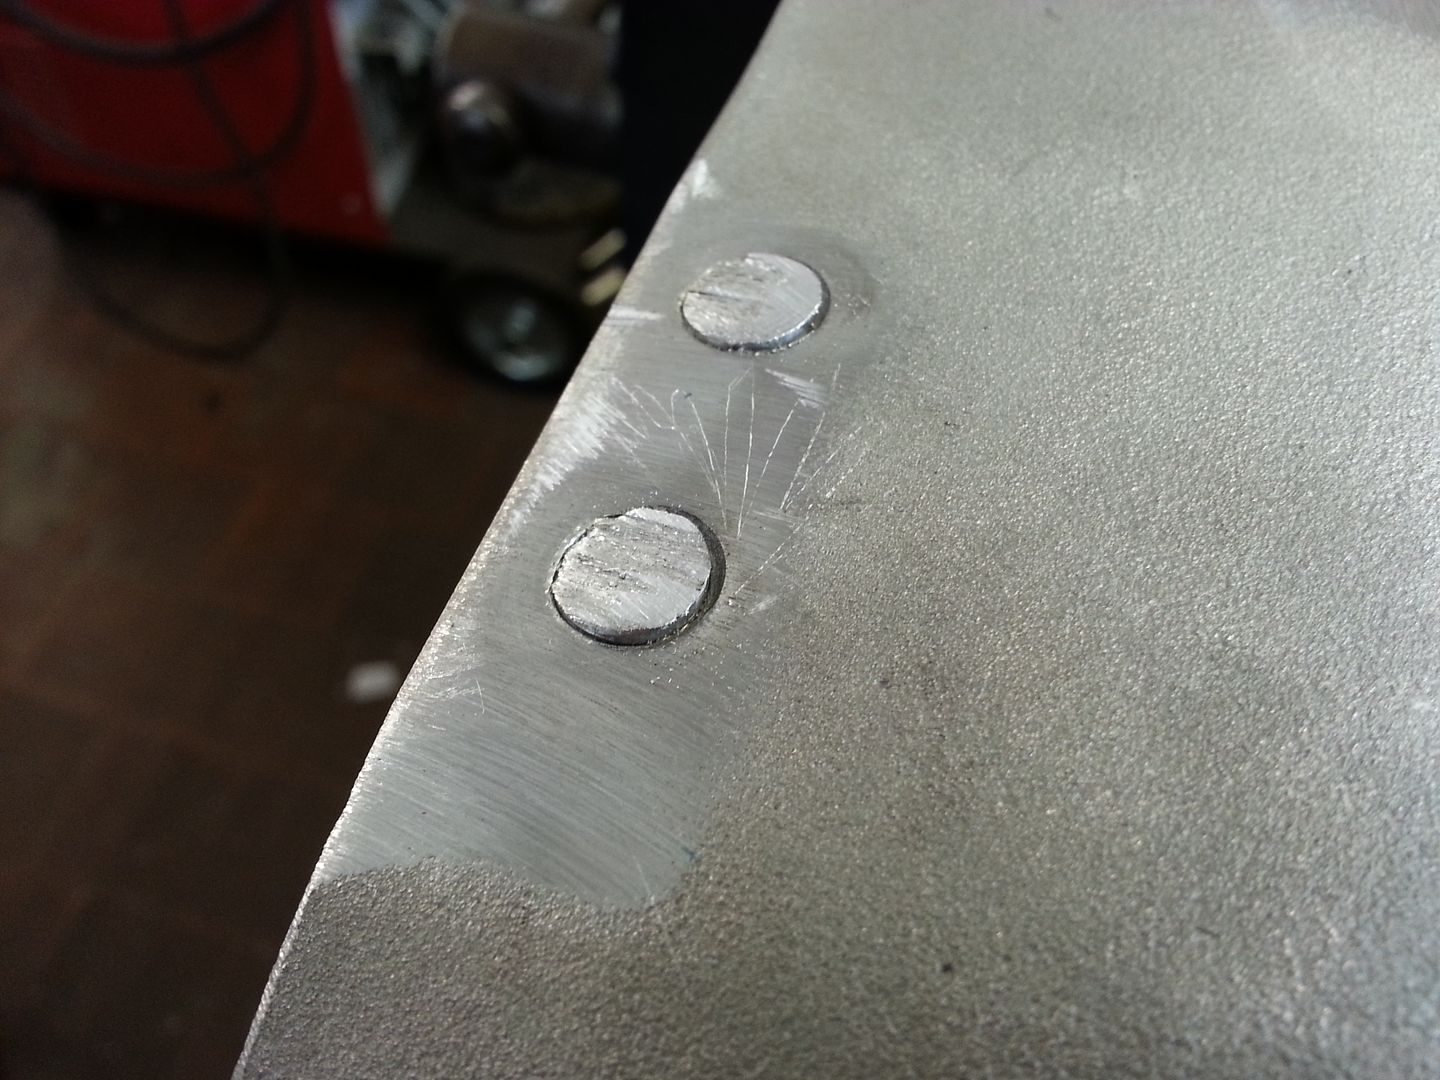
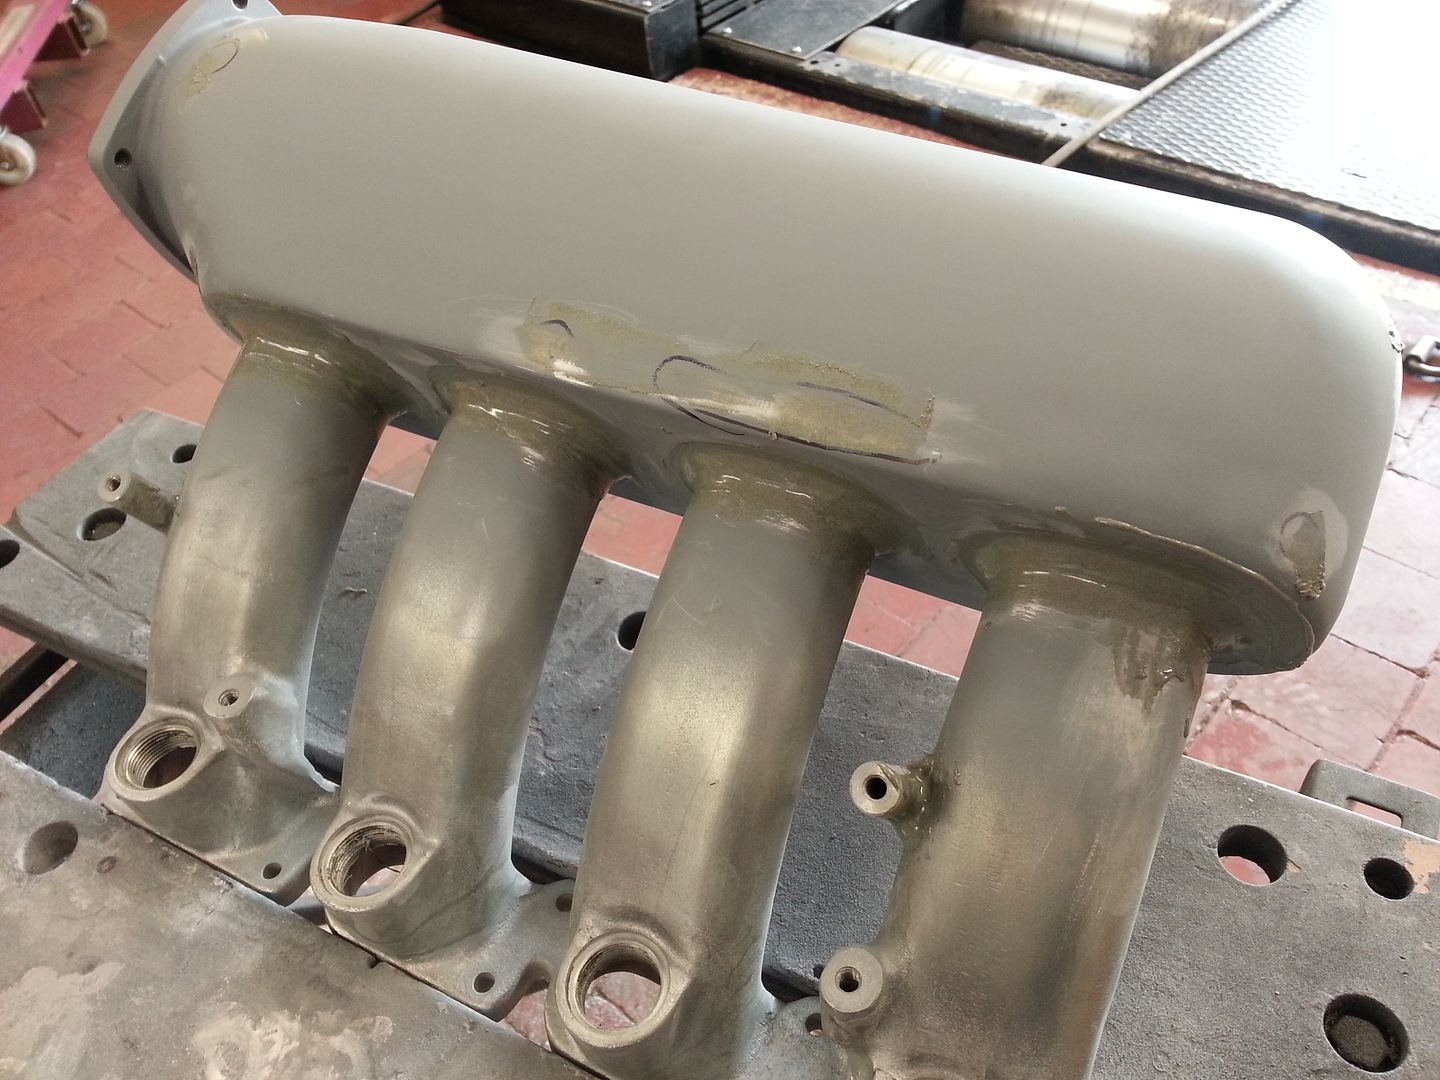
Followed of course by a bit of grinding flush...
20120802_184236.jpg


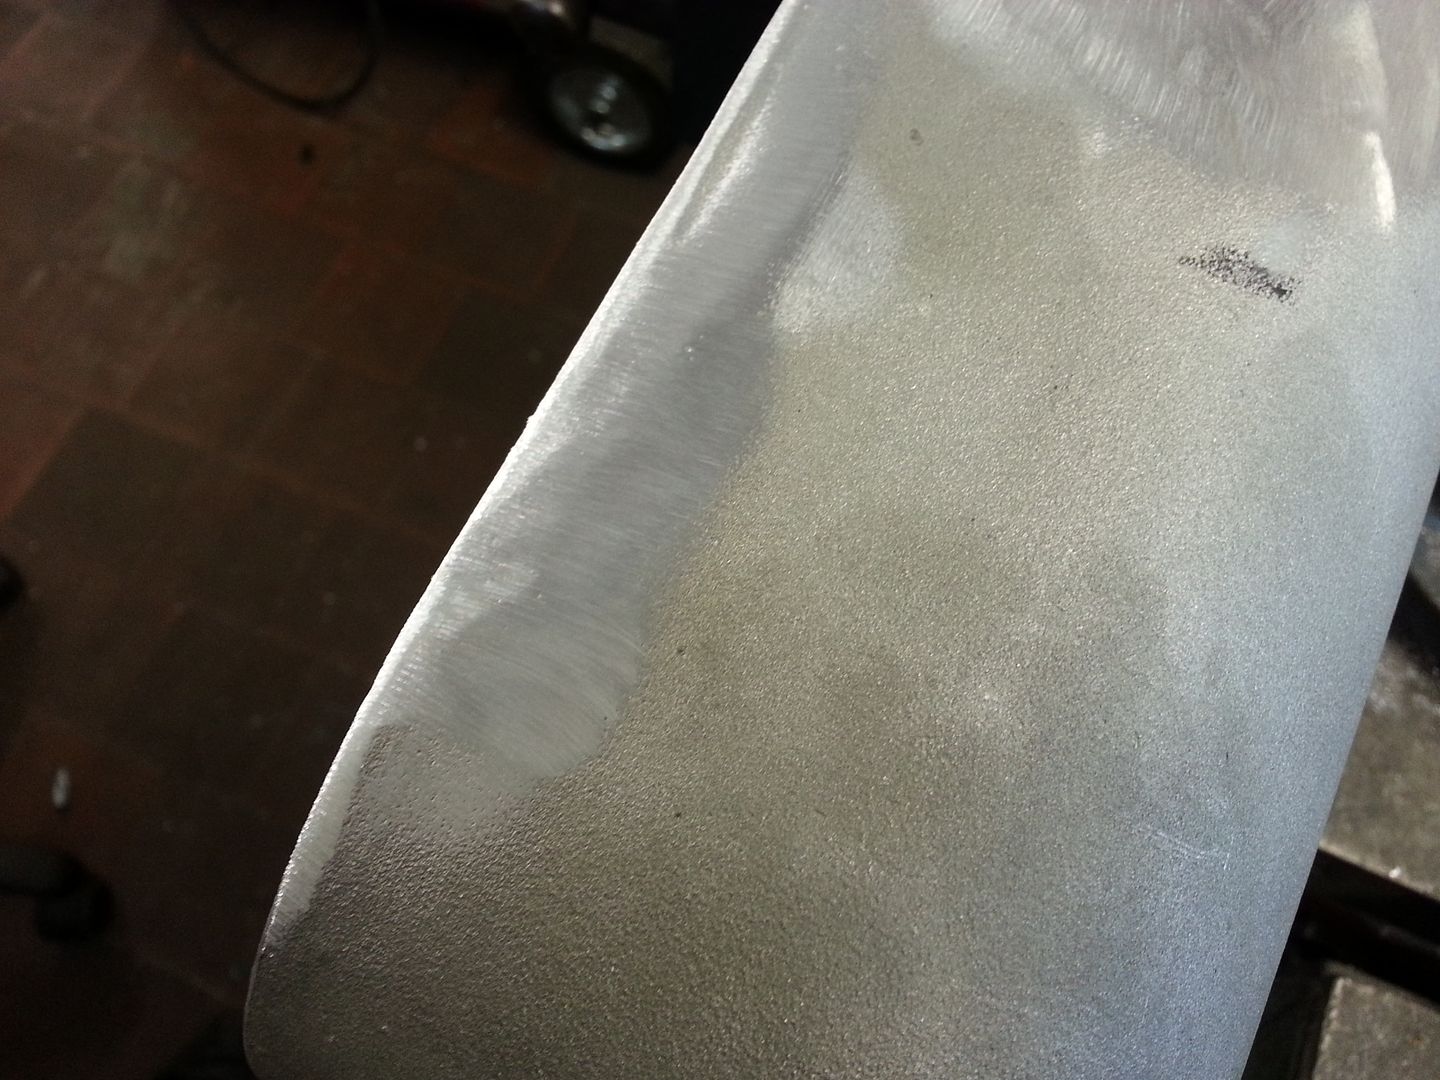
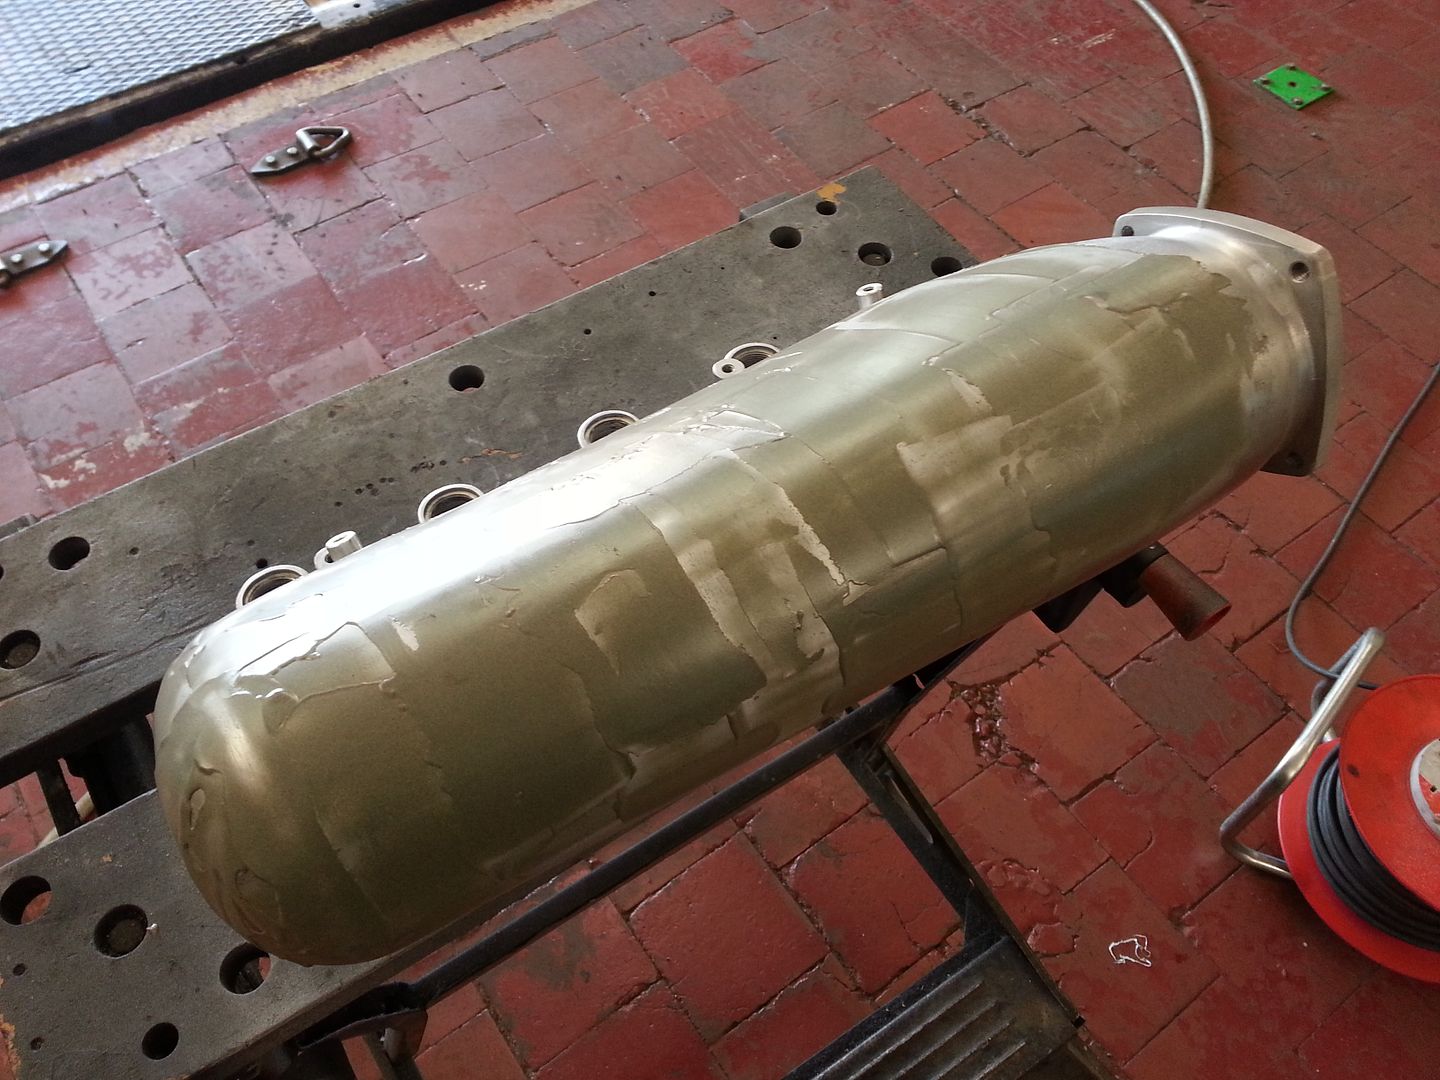
Excellent... now of course comes the 'fun' part of smoothing the texture of the plenum with lots of sanding :(

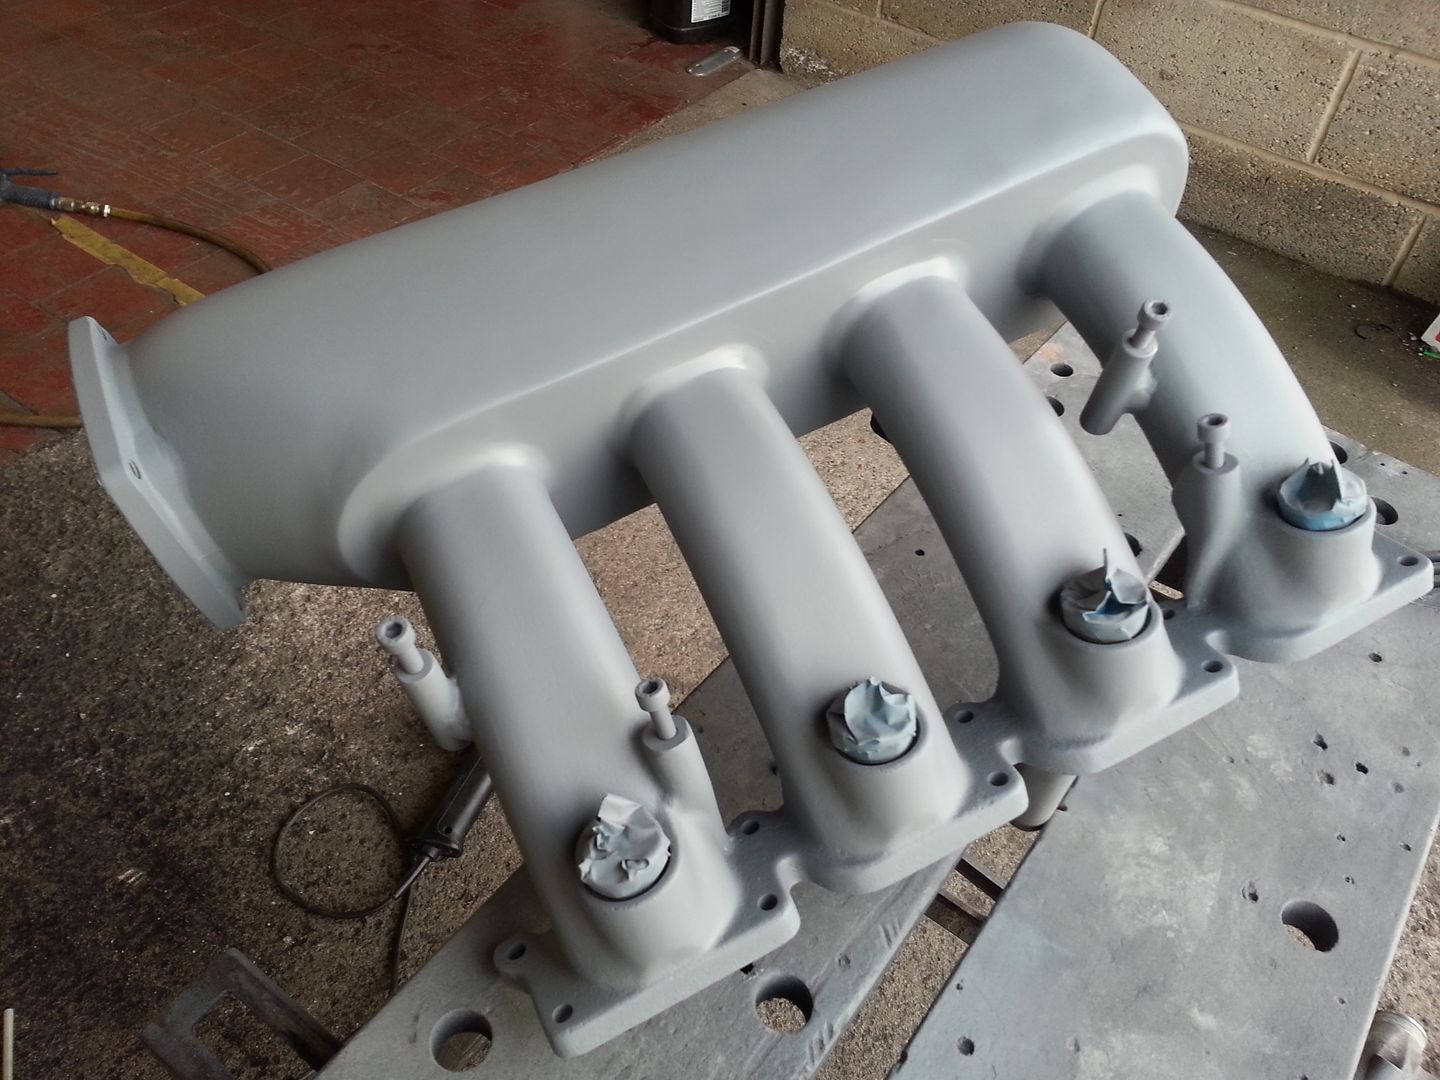
Also waiting on a bit of alloy plate to make the IAT sensor boss and vac ports and then of course welding the plenum to the runners... yay!

Big shout out to Bill of course for his TIG welding skillage and George for sorting out the threaded bar...

<tuffty/>
 

tufftybloke

Badger 5 Edition
Feb 28, 2009
657
0
Gloucestershire, UK
Grabbed a couple of hours this afternoon to have a play with the manifold as Nigel (machining bloke extraordinaire) popped round to the workshop and has taken the plenum away to make up a throttle body adaptor for it :thumbup:

After busily sanding, filing, porting and flap wheeling away the results are this...
20120804_151335.jpg


Filed the welds on the runners to fill and smooth...
20120804_172420.jpg


...and now ready for welding to the runners once the IAT boss and vac ports are done...
20120804_172450.jpg


George (another machining bloke extraordinaire) had dropped over the alloy posts he had machined up for me that will be used for the cover brackets... (not got a pic of those as yet...)

Nearly there...

<tuffty/>
 

tufftybloke

Badger 5 Edition
Feb 28, 2009
657
0
Gloucestershire, UK
Bit more done... got the posts for the cover clips welded on...
20120805_140145.jpg


Awkward to weld due to trying to get the torch into the gaps but Bill being the hero he is did a grand job...

...so no cover...
20120805_135932.jpg


...and cover on...
20120805_135304.jpg


Tried the injector rail to see what problems I might encounter with that... I already have spacers for the 630cc's which work fine on the std manifold but clearly they are too big for the 630's in the AEB mani as they don't even engage the seals...

So I then tried to push them right in and see where they ended up... still in need of a spacer...
20120805_140544.jpg


...but... something to think about for anyone else using this AEB runner setup with these slim style injectors is that they will go right through and drop the seal out the end...
20120805_140436.jpg


Will sort the spacers out when the mani is all ready to be fitted :D

<tuffty/>
 

wild willy

Full Member
Aug 4, 2003
2,323
0
Wales
Are you going wmi in the near future and if so does direct port injection float your boat.
Are you going for the r32 throttle boddy or sticking with the stocker.
 

tufftybloke

Badger 5 Edition
Feb 28, 2009
657
0
Gloucestershire, UK
Are you going wmi in the near future and if so does direct port injection float your boat.
Are you going for the r32 throttle boddy or sticking with the stocker.

I have WMI waiting to be fitted but need to get the inlet on and revised pipe work in place so I can see what room I have left to fit a tank and the pump...

I will be using it traditionally with a nozzle just past the FMIC as I am only really interested in the consistency WMI provides rather than trying to get the last ounce of performance out of the engine... keeping the IATs nice an low will do for me and it will be switched anyway so will only get used as and when I see an M3 to embarrass :whistle:

I sold my R32 TB a while back as I had gone back to the stock TB due to running issues which turned out to be that my spec had outgrown the map I had which is why I started the mapping from scratch this time...

While a larger TB is appealing its not high on the list but I has a casual eye out for one in case a barg turns up in which case I'll see if it makes a difference when fitted...

I am more interested in fine tuning the map to get the engine running at its best than chasing numbers... once the inlet is on and I have got the mapping where I want it for this stage in the developments then I'll be looking at a larger TIP and RS4 MAF in which case going to an R32 TB may well be required

<tuffty/>
 
Last edited:

S3 AKR

livin' the dream!!!
Jun 30, 2004
1,453
1
Colchester, Essex
To be totally honest, with all that you've done to the S3, I'd love to see it beat the M3 (it is the 414bhp, 4.0, V8, stupidly thirsty one). I always missed my 2001 S3, so I watch this thread closely - its a fantastic read.
 

tufftybloke

Badger 5 Edition
Feb 28, 2009
657
0
Gloucestershire, UK
No update as such as I am waiting on the rest of the bits for the inlet before I can finish it off... I had developed an odd issue with some part throttle situations where the it feels like I have a vacuum leak but the afr goes lean and getting a 17705 code... I had smoke tested the car last week but nowt showed up so I changed the plugs from NGK 8's to BKR7E's (copper plugs) and discovered the inlet mani bolts needed another 1/4 to 1/2 turn to tighten... I used new gaskets when refitting the inlet from the other week and they must have settled after a few heat cycles... worth checking...

The 'issue' has now gone and no more fault codes... yay!

Seeing as I only really post pics of my car in bits I thought I would add the following pic taken during our convoy to Audi's in the Park...
224372_161525230651321_1771508880_n.jpg


This rather groovy pic was taken by Bullymeister Photography... his Facebook page contains loads of pics of really nice cars so check it out...

https://www.facebook.com/bullyphotography

<tuffty/>
 
Last edited:

tufftybloke

Badger 5 Edition
Feb 28, 2009
657
0
Gloucestershire, UK
Took advantage of a decent evening to sort out my wastegate base pressure... currently under 'actuator' pressure (there isn't an actual actuator on an external wastegate) I see 9psi (0.6bar) which is not really enough on a setup like mine...

I couldn't remember what spring was in it so I grabbed a few off the shelf at Bills and hoped I would have enough to set it all up properly...

I used this chart for reference...
TialSprings.jpg


Removed the strut brace and charge pipe to get to the Tial... thankfully even though my turbo is a bit trickier to get too than a top mount turbo the wastegate is a bit easier :)
20120828_185032.jpg


Now the fun begins... anyone who has done this on a Tial will know what a **** of a job it is... its bad enough when the thing is off on the bench but I did mine in situe.. the little caps screws all come undone and the spring pressure is quite a shock...
20120828_185833.jpg


I had a copper spring in there which is rated at 0.5bar for the MVS at 1:1 pressure ratio... as most pressure ratio's a re a little higher than that mine obviously gained a little from that... so about 2psi up on the actual rating...
20120828_190750.jpg


Based on that I tried a combo of the grey spring and brown spring (you can use up to 3 different sized springs in the Tial)... that should give 0.9bar at 1:1 but was hoping it would be 1bar with the variance but... the grey spring is quite tall and basically due to the space limitation and a little help from the next door neighbour there was no way I could hold it compressed enough for long enough to get the bolts in :(
20120828_191017.jpg


So I used a maroon spring with the brown spring and managed to get the thing held down long enough to get the bolts in! phew!!! put the engine bay back together and of course... what external wastegate and large turbo???
20120828_195504.jpg


Took the car for a quick test drive on 'actuator' pressure only (unplugged the N75) and bingo... 1bar on the gauge... result... I also changed the spring in my super size DV from the white to the red... I was never happy that the spring had enough preload when the valve was assembled so I plonked in a couple of shims to add a bit which helps keep it shut however I did notice that when changing gear under WOT at high rpm I was getting a hint of compressor stall so rather than risk turbo damage (did sound cool though) and to keep the valve closed I swapped out to the red spring which is a little softer... no more flutter on gear changes now and 1bar boost to redline...

A Good evenings work but does mean I need to go back to the map and look at my boost maps as I suspect thats going to change a bit now so until I have dropped it down a bit I won't be running with the N75 connected just yet...

<tuffty/>
 

tufftybloke

Badger 5 Edition
Feb 28, 2009
657
0
Gloucestershire, UK
Actually managed to flash in a file tonight that I have being doing some more work on... done quite a few tweaks here and there and obviously needed to cap off the boost a bit as I knew it would go mental with the stronger springs in the Tial...

Capped off N75 to 70% as a start (was set to 90% previously) and initial runs produced a rather scary off scale boost reading over 2bar so clearly needed to be a bit lower lol...

Capped off at 50% and although still getting a spike to just under 2bar it settles down to around 1.5bar ish... although to be fair I was more concerned about what was happening on the road at the time

Only did a quick log just to see where everything was...
T118-001.jpg


Timing is a bit wiggy atm... getting pull as a result of the boost spike and slow recovery which I know I can fix but tbh I am pretty happy with where its currently at as a start point to finer tuning... LTFT's are currently sat at -3.1% which I can live with for now and to be on the safe side I have disconnected the N75 again until I can get a chance to log some more stuff and makes tweaks to bring the boost under control...

Other nice thing is the drivability... I have tweaked some stuff and off boost performance is much better than before... felt a tad flat before but feels nice now... more timing can be added below 3k to improve this more but will leave that for the dyno now I think...

Happy with the results... map is loads better than I remember previous ones were which goes to show how much the hardware changes had affected my original one... learning stuff all the time with this mapping lark which is quite exciting too...

Pending any emergency tweaks this will do now until the inlet manifold is on... I want to do the final (I say final but it won't be of course LOL) stage of tuning with the final hardware configuration all done so there are no nasty surprises..

Nearly there after all this time... be nice to finally draw a line under this 'stage' of her evolution :D

<tuffty/>
 
Last edited:

tufftybloke

Badger 5 Edition
Feb 28, 2009
657
0
Gloucestershire, UK
Minor update... Bill is hopefully going to weld up the manifold if he finds a spare 5 mins this week (ta mate :D) and I have been looking at the scaling for the S4 MAF tube too...

Plotting the various sets of MLHFM data you can see the differences between the two main sensors in use (040 for narrow band ME7 and 049 for wideband ME7.5... the RS4 has a different sensor again)... Early S4's used a Bosch sensor where later ones use a Hitachi... I used an A-Box file to get the Bosch data from which uses the 040 sensor...

First, a comparison of RS4, S4 (Bosch 040), S3 (APY and AMK) and an A3 (AUM)...
maf_comp_007_zps1f242095.jpg


Next a direct comparison of S3 sensors... APY (040) maxes at 276gs while AMK/BAM (049) maxes at 292.58gs... same size tube...
maf_comp_006.jpg


Thanks to Kev for helping with working a few things out... I had already worked out that the percentage increase in surface area between the S3 MAF (69mm ID) and the S4 MAF (76mm ID) was just over 20% but didn't think it would be as simple as just 'increasing' the figures this way but to cut a long story short it kinda was... Kev did the calcs and plotted against my existing data (I work with data all day long and simply couldn't be arsed...) and bingo.. a plausible set of data to use for the MAF scaling...
maf_comp_003.jpg


On the 040 sensor the S4 MAF maxes out at 335gs/418bhp... theoretically if I have got the maths right then the S4 tube with my 049 sensor in it will be good for 351gs/438hp which is more than enough for my setup...

This should work well with the 90mm TIP I have planned... to give you an idea of the increase in size I am currently using 76mm OD tube (smaller than Bills K04 TIP!!!)... here is a 76mm OD pipe next to the 90mm OD pipe I am going to use...
20120915_121743_zpsb88d3c9b.jpg


Hoping to get the manifold mostly done this weekend and the revised charge pipework cut ready for welding...

<tuffty/>
 

tufftybloke

Badger 5 Edition
Feb 28, 2009
657
0
Gloucestershire, UK
Bill welded up my inlet for me this week... (thanks big man!!)...

20120922_1353580_zps05de720d.jpg


20120922_135414_zps46818621.jpg


...and the IAT sensor boss and the vacuum outlet plate (not yet drilled and tapped)...
20120922_135431_zps089651d8.jpg


As mentioned in a previous post the throttle body adaptor...
20120922_135648_zps0ddf00bf.jpg


Did a bit of work to grind down the welds and tested it for leaks... (all good on that front)...
20120922_145549_zpsfcc93222.jpg


Stuff to be used... chemical metal for filling pits/scratches and smoothing out the welds, etch primer and filler primer...
20120922_152328_zpscb5cd8cb.jpg


Slap the chemical metal on (I used a little too much lol)...
20120922_154725_zps7a65e35a.jpg


...after (a lot of) sanding...
20120922_162916_zpsab3c8744.jpg


Etch primed and marked up spots that needed a little more attention...
20120922_163551_zps2b509fe6.jpg


Chemical metal applied to the runner welds to smooth them out...
20120922_170059_zps787616c8.jpg


...bit more primer and bingo....
20120922_181023_zps5141f4c2.jpg


Hopefully I will get around to painting it tomorrow and will be sorting the charge pipes out for Bill to weld next weekend

<tuffty/>
 
Nimbus hosting - Based solely in the UK.