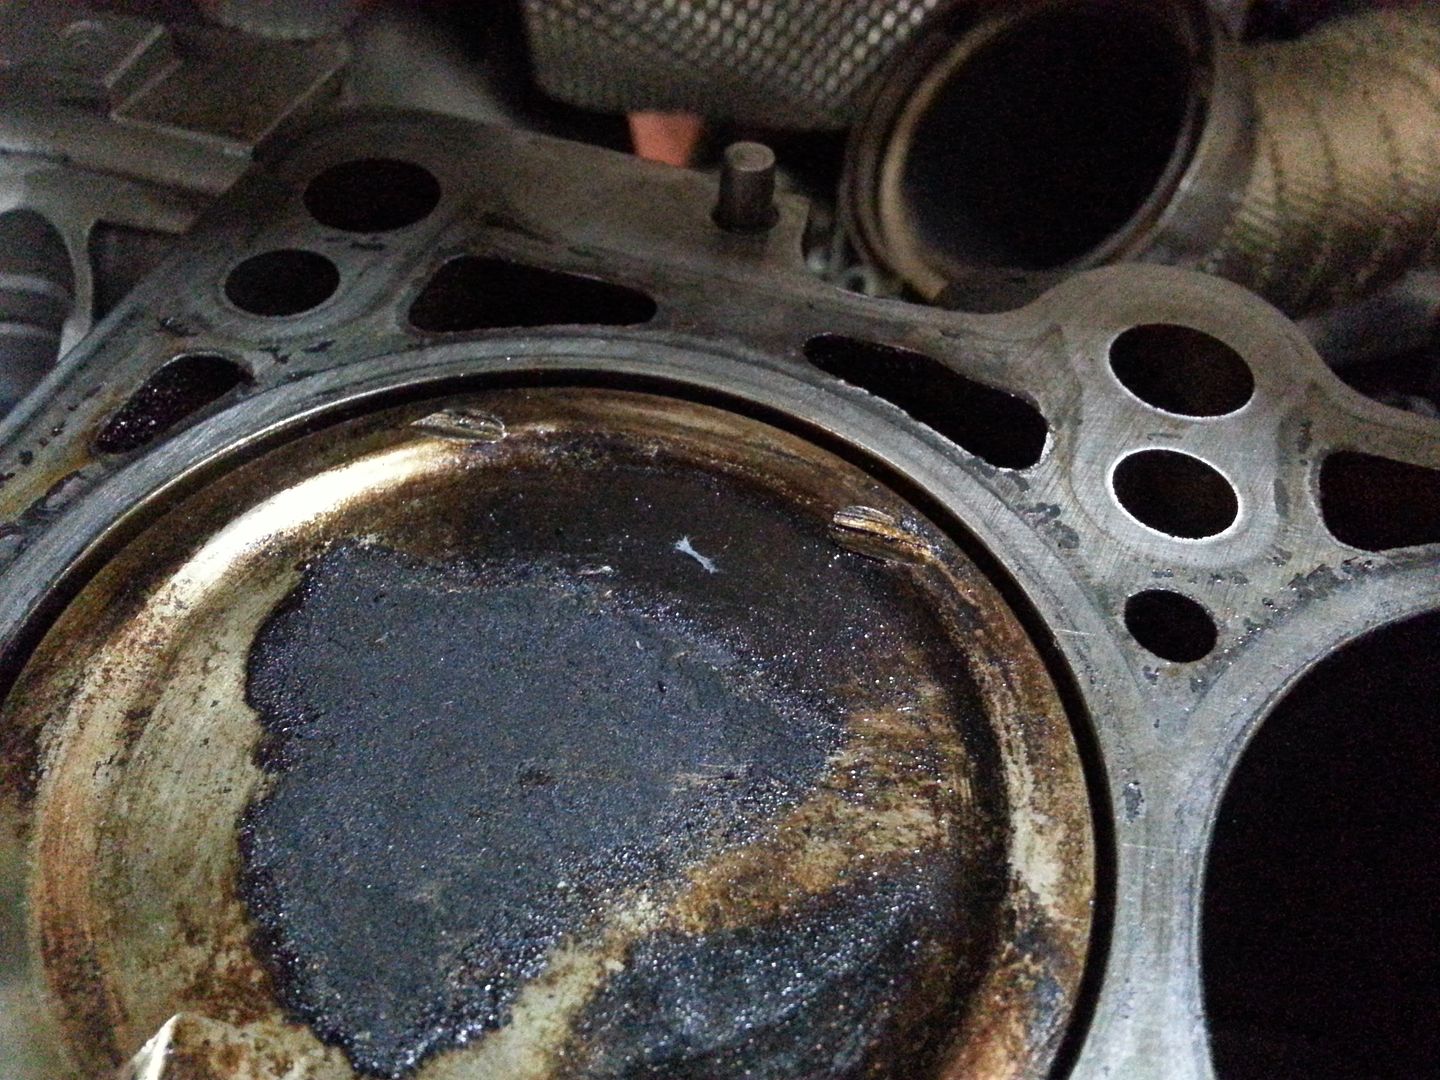
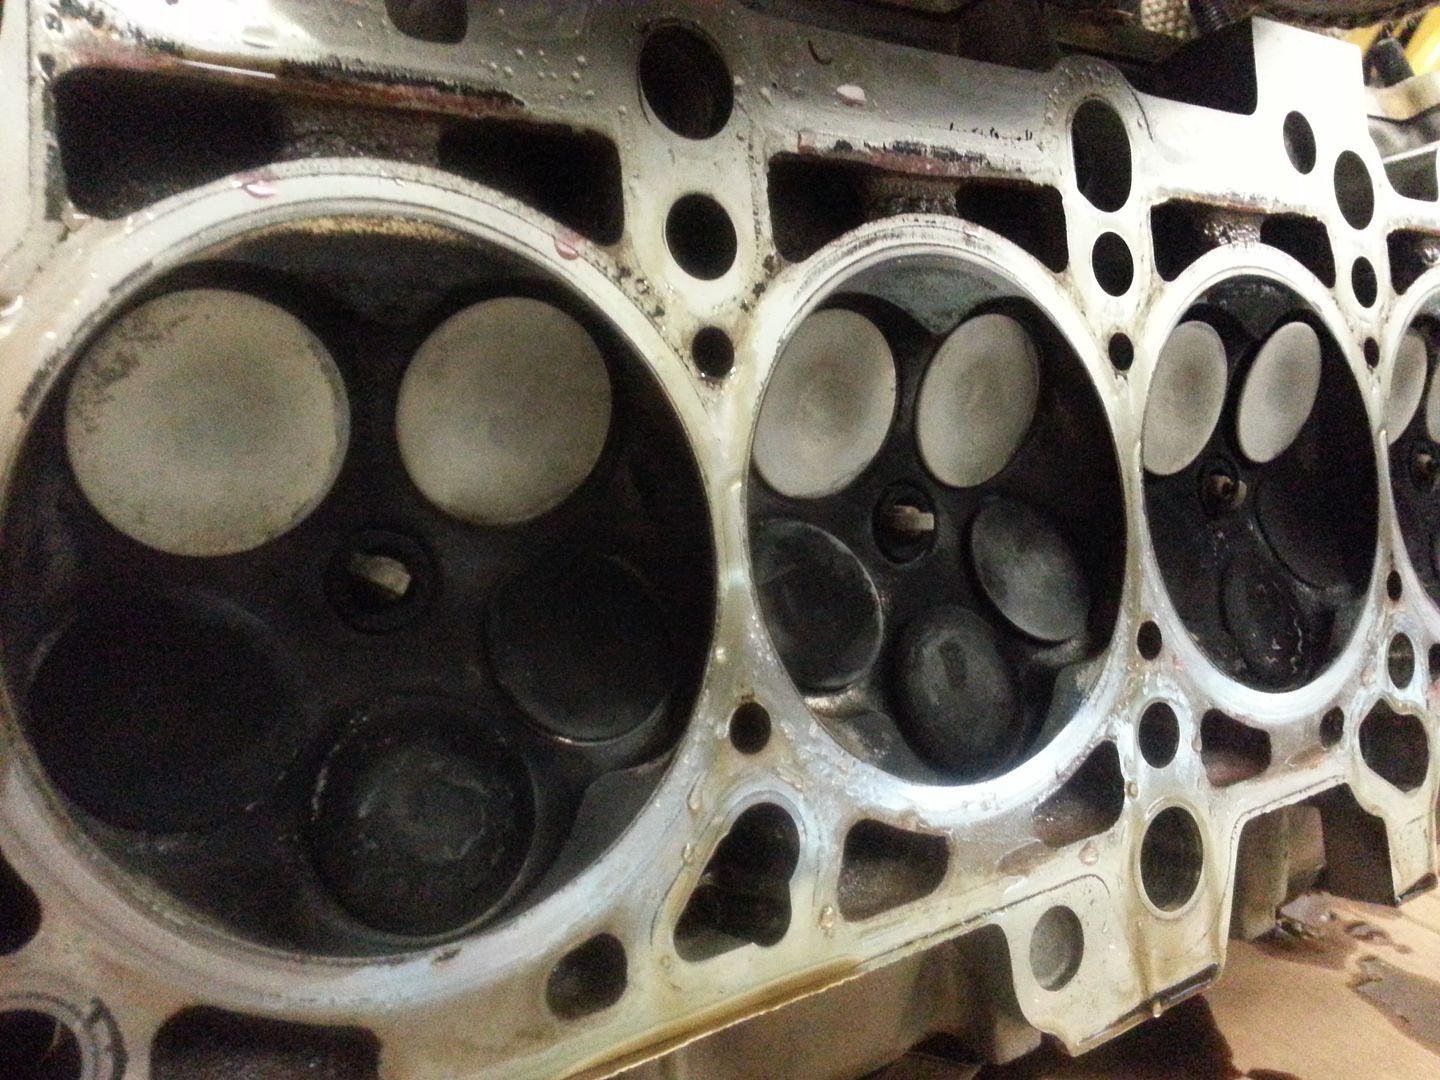
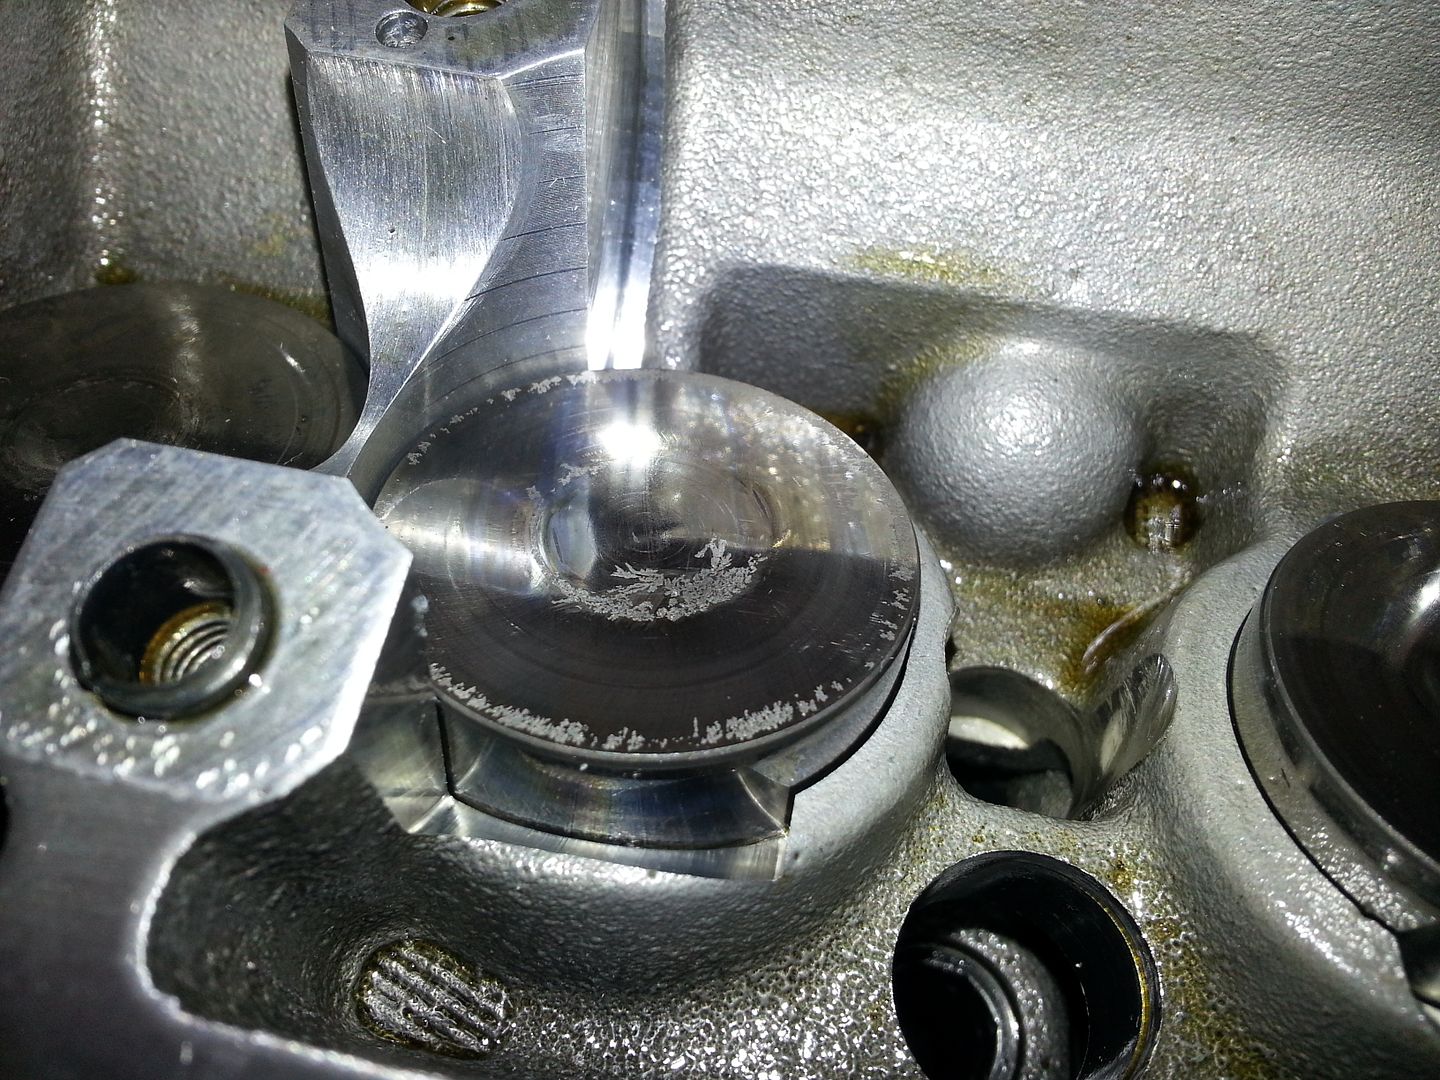
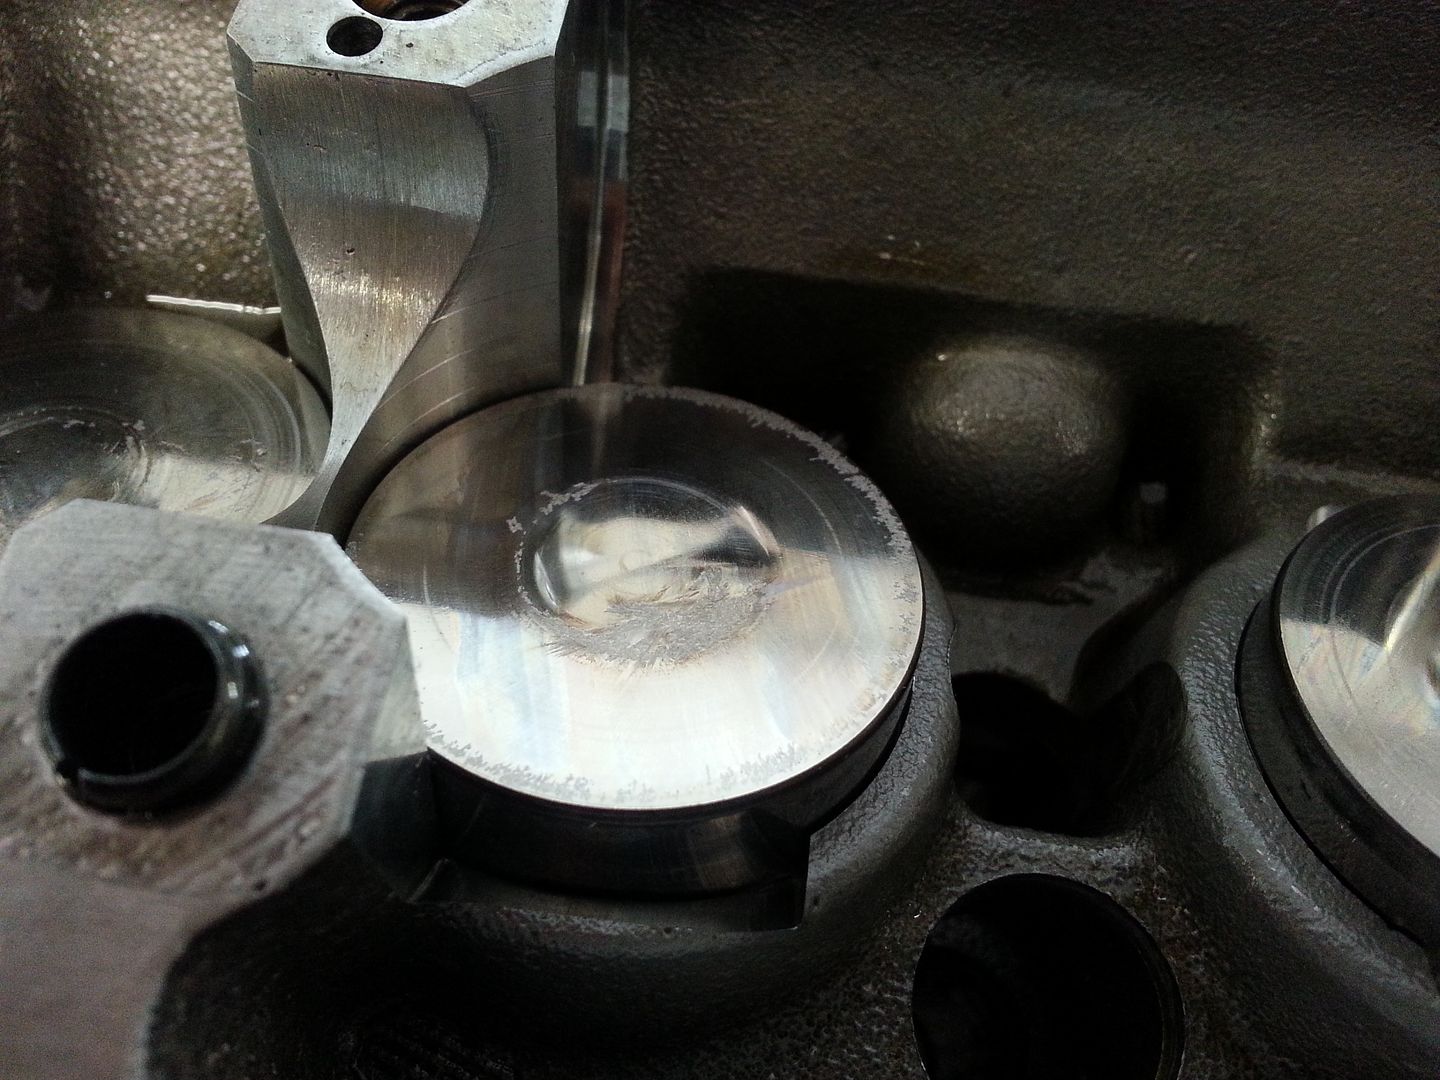
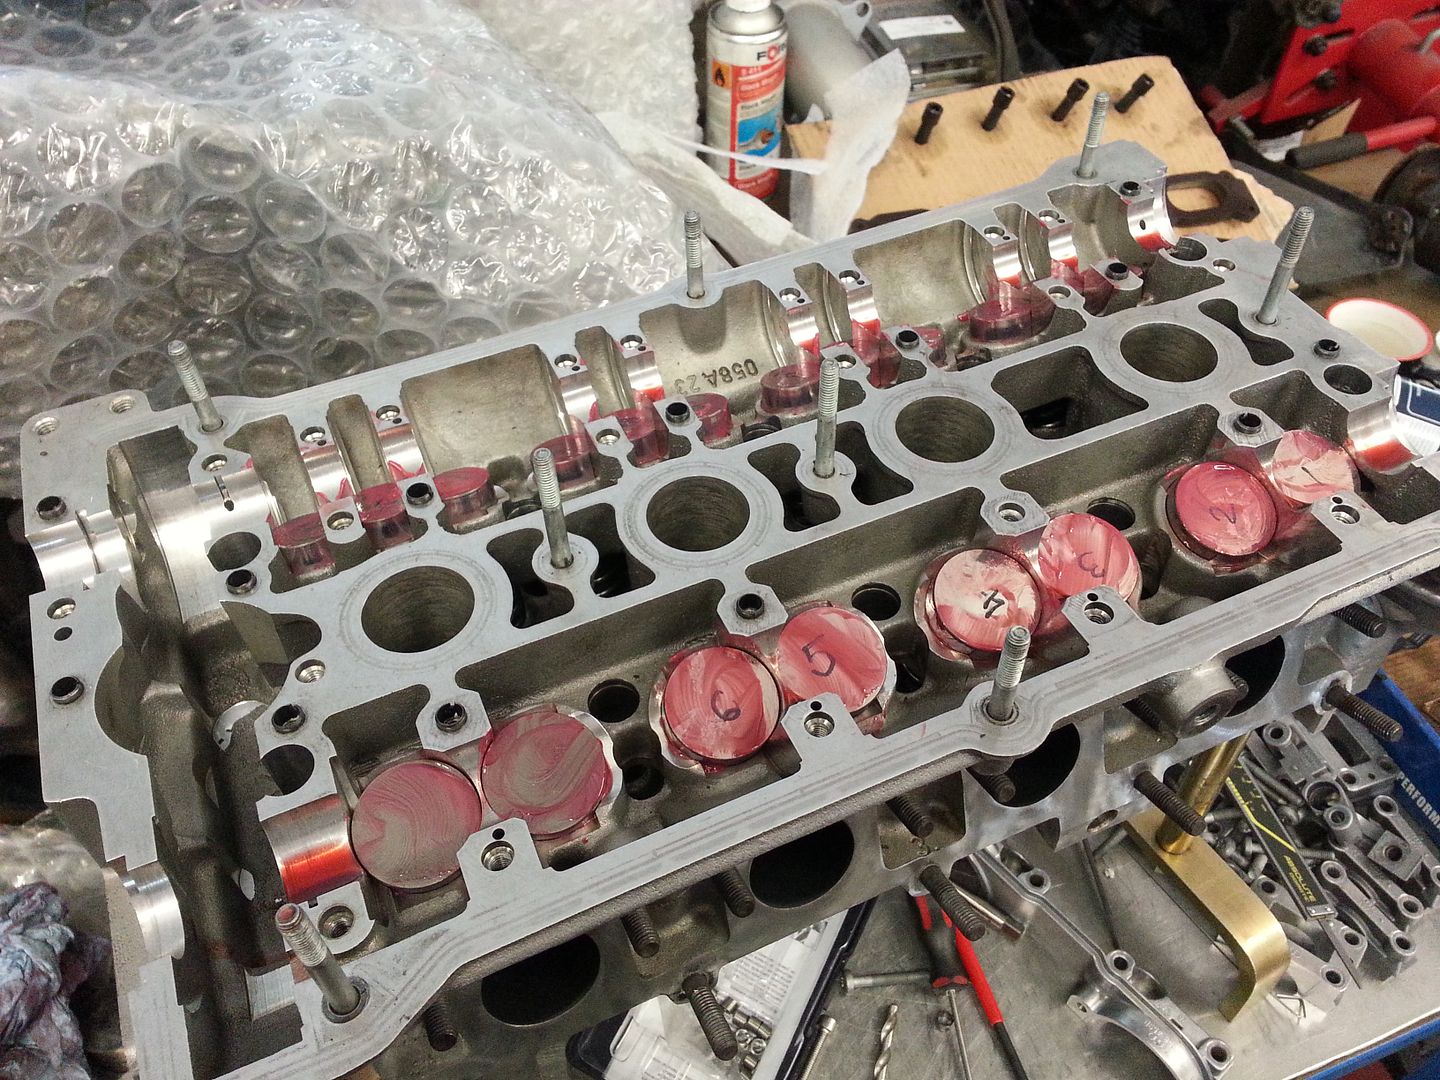
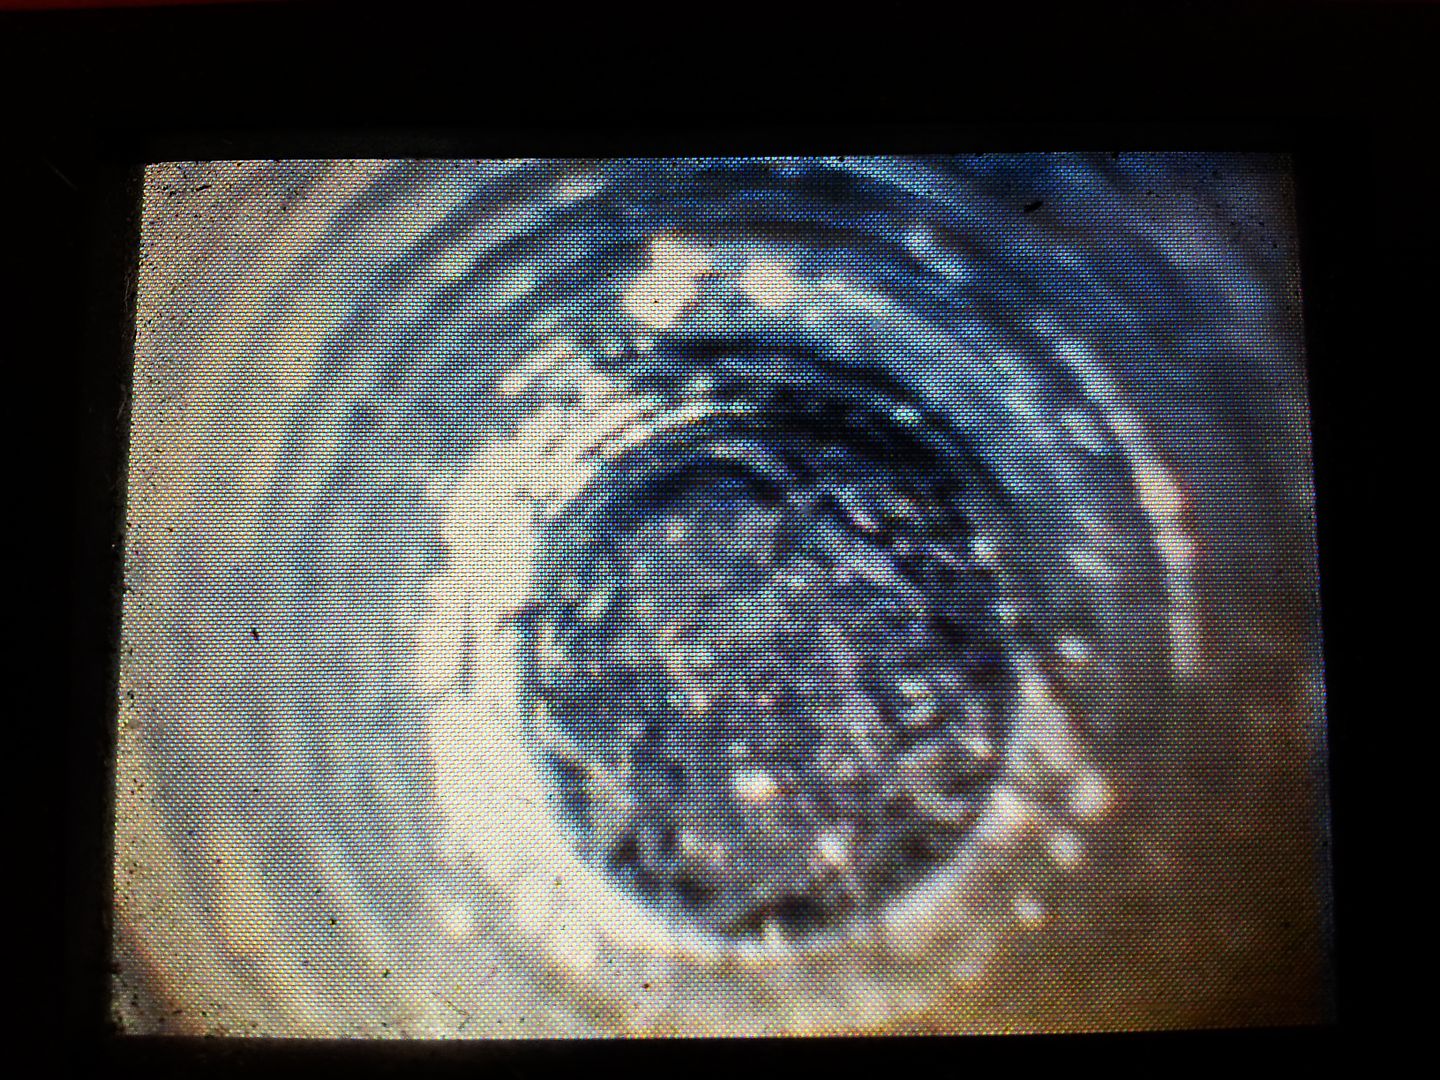
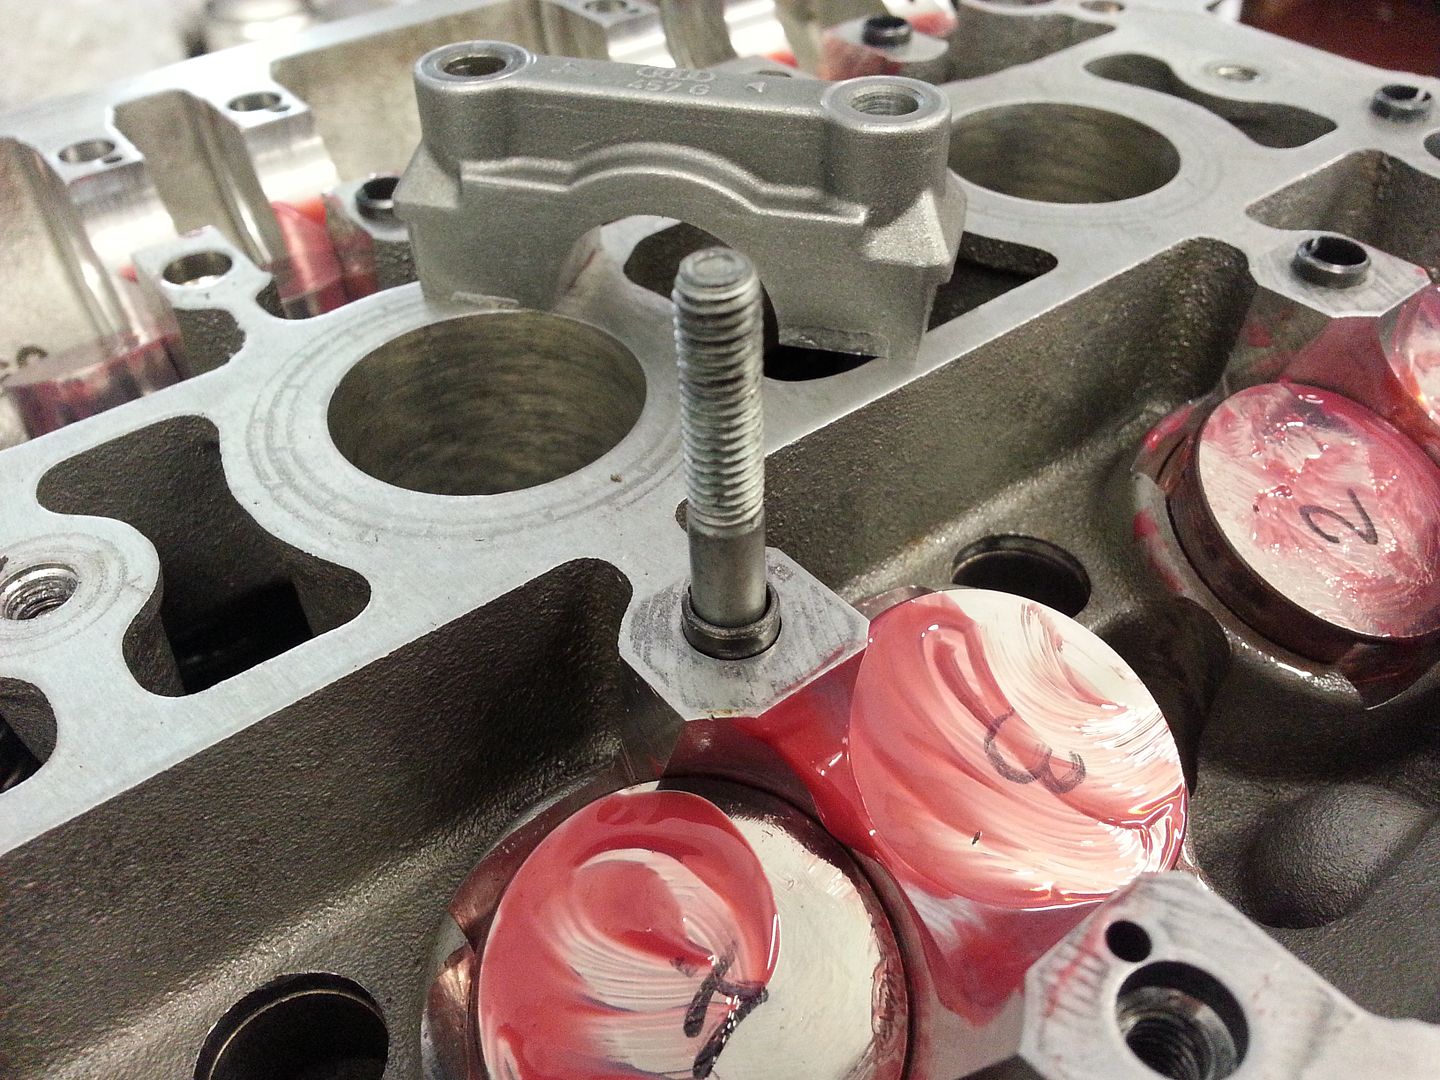
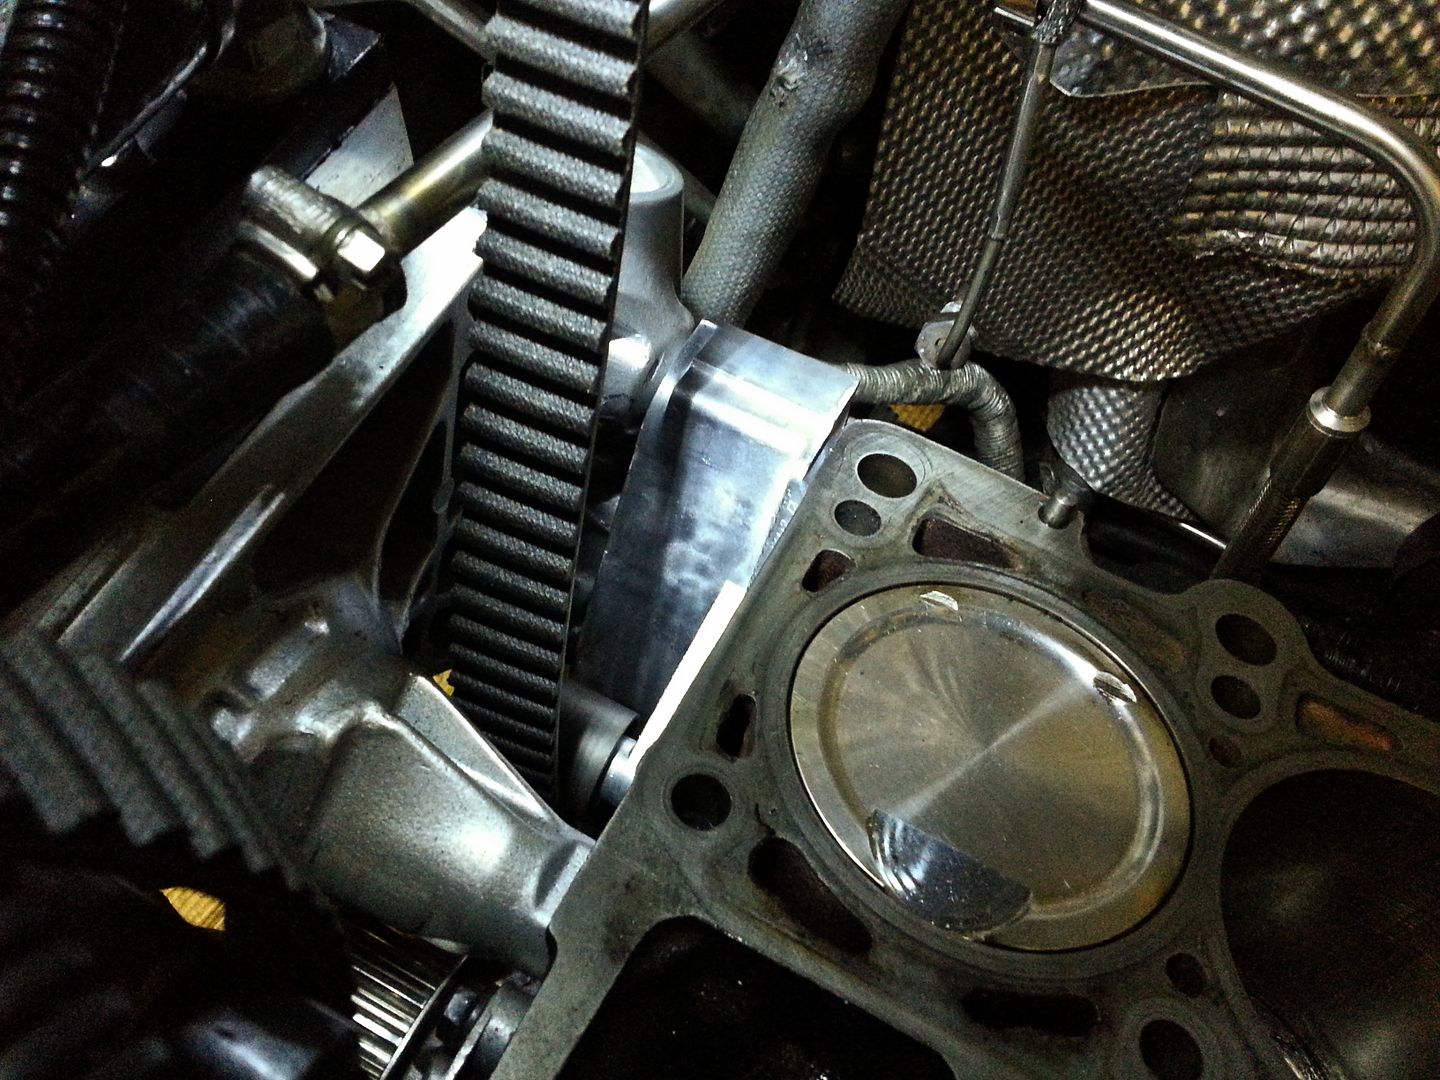
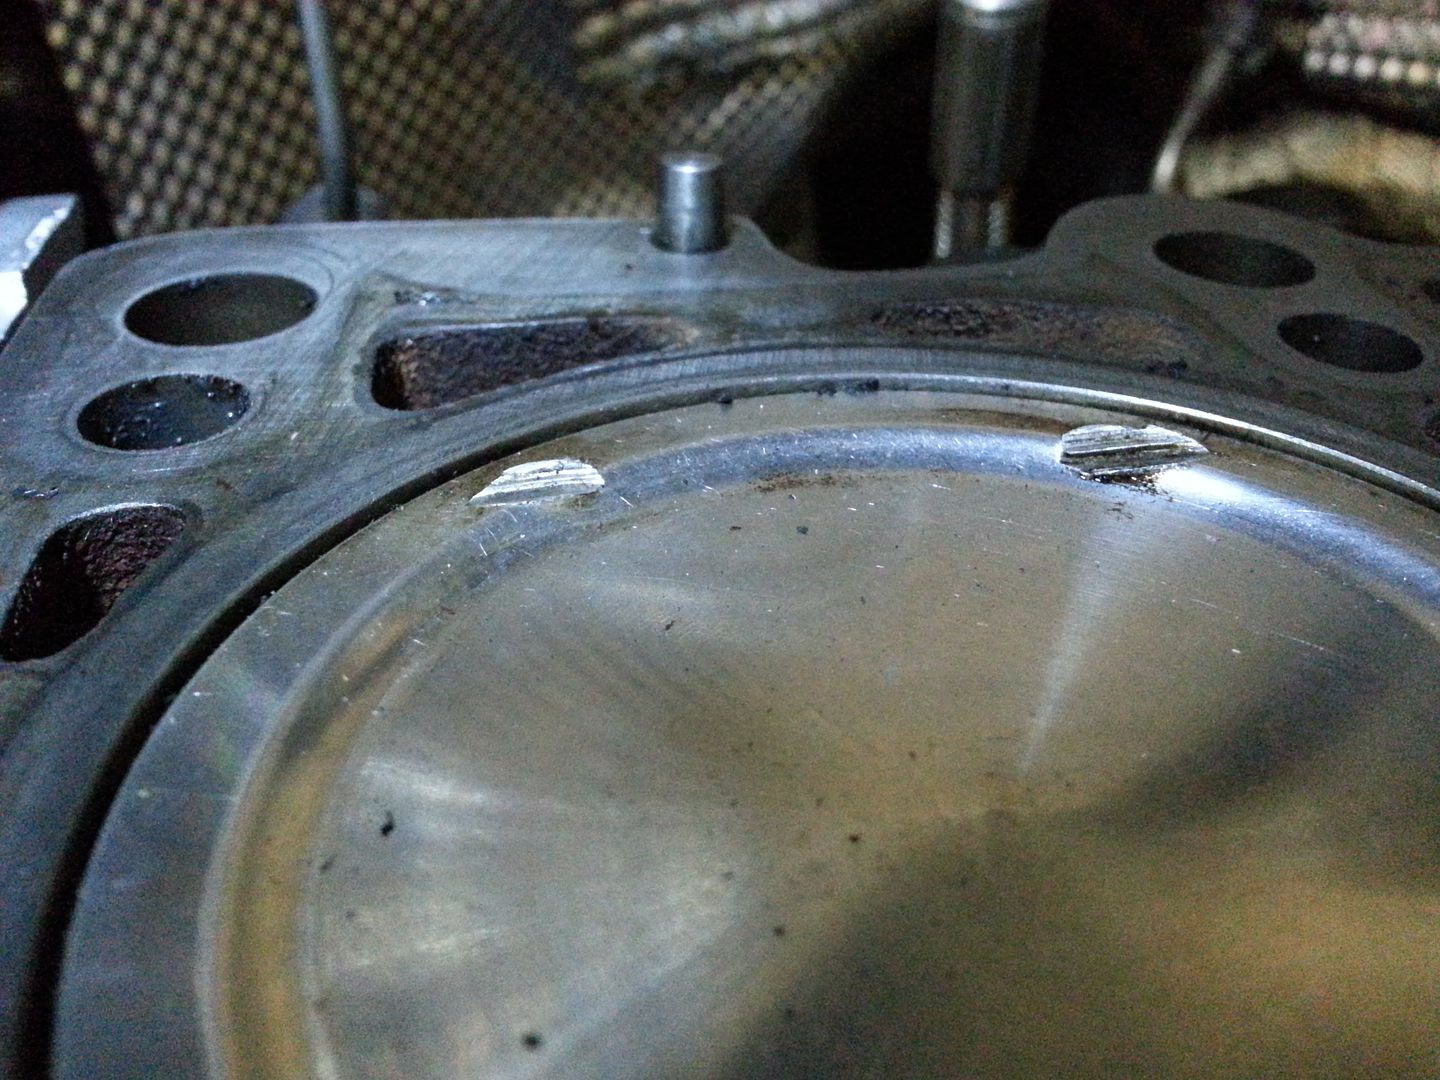
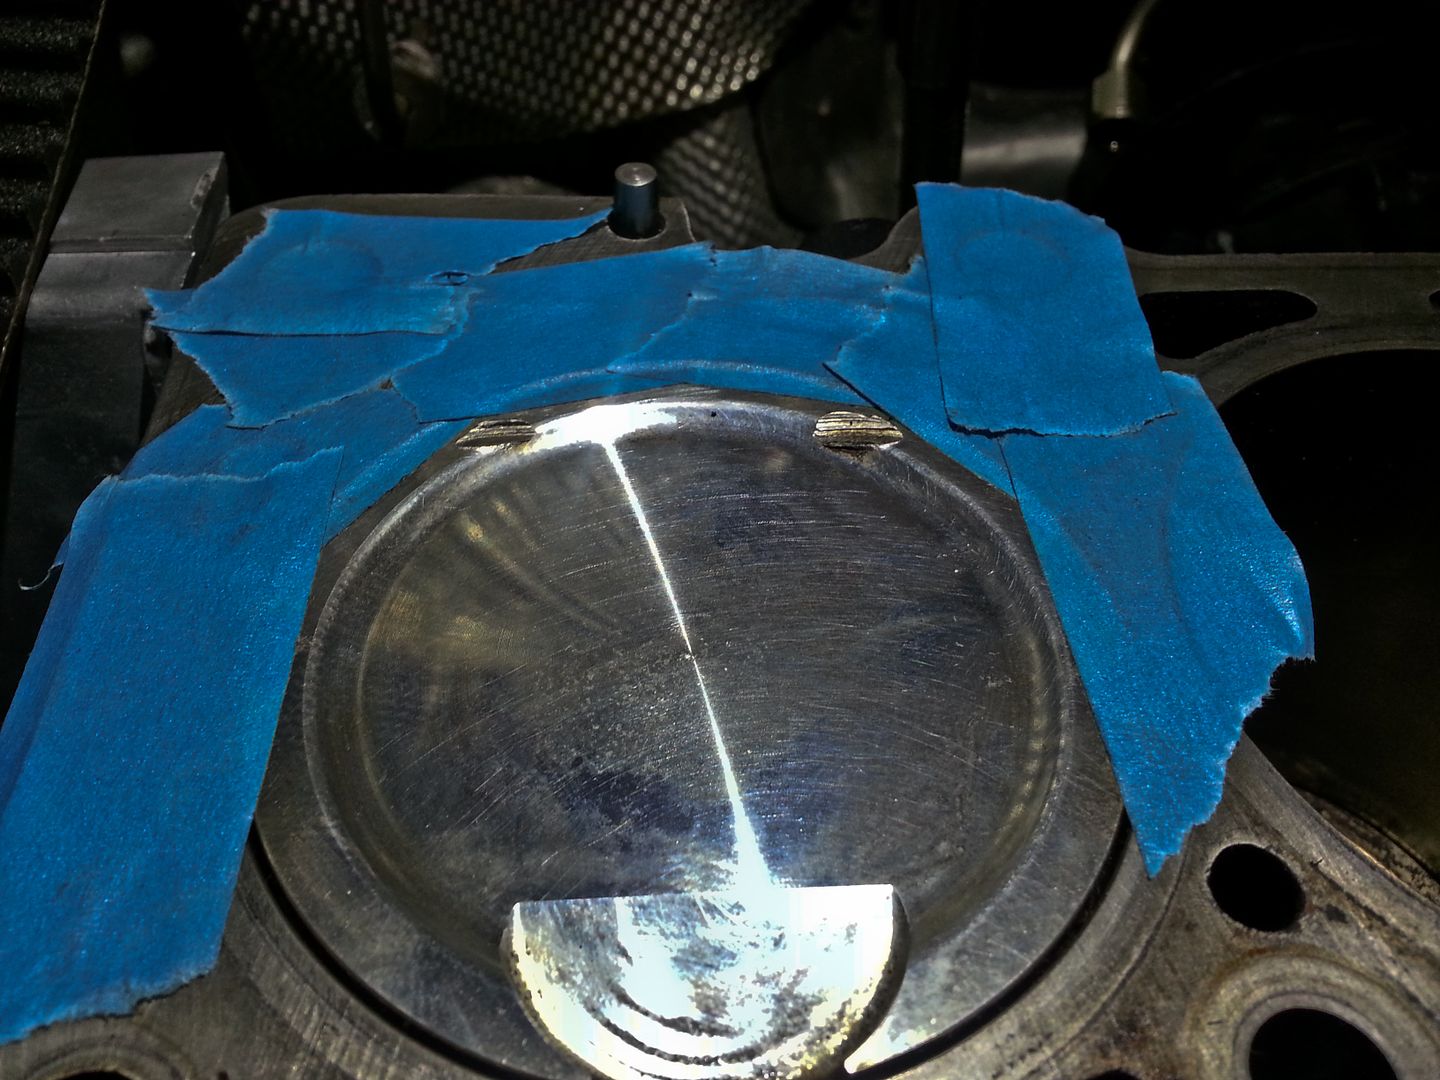
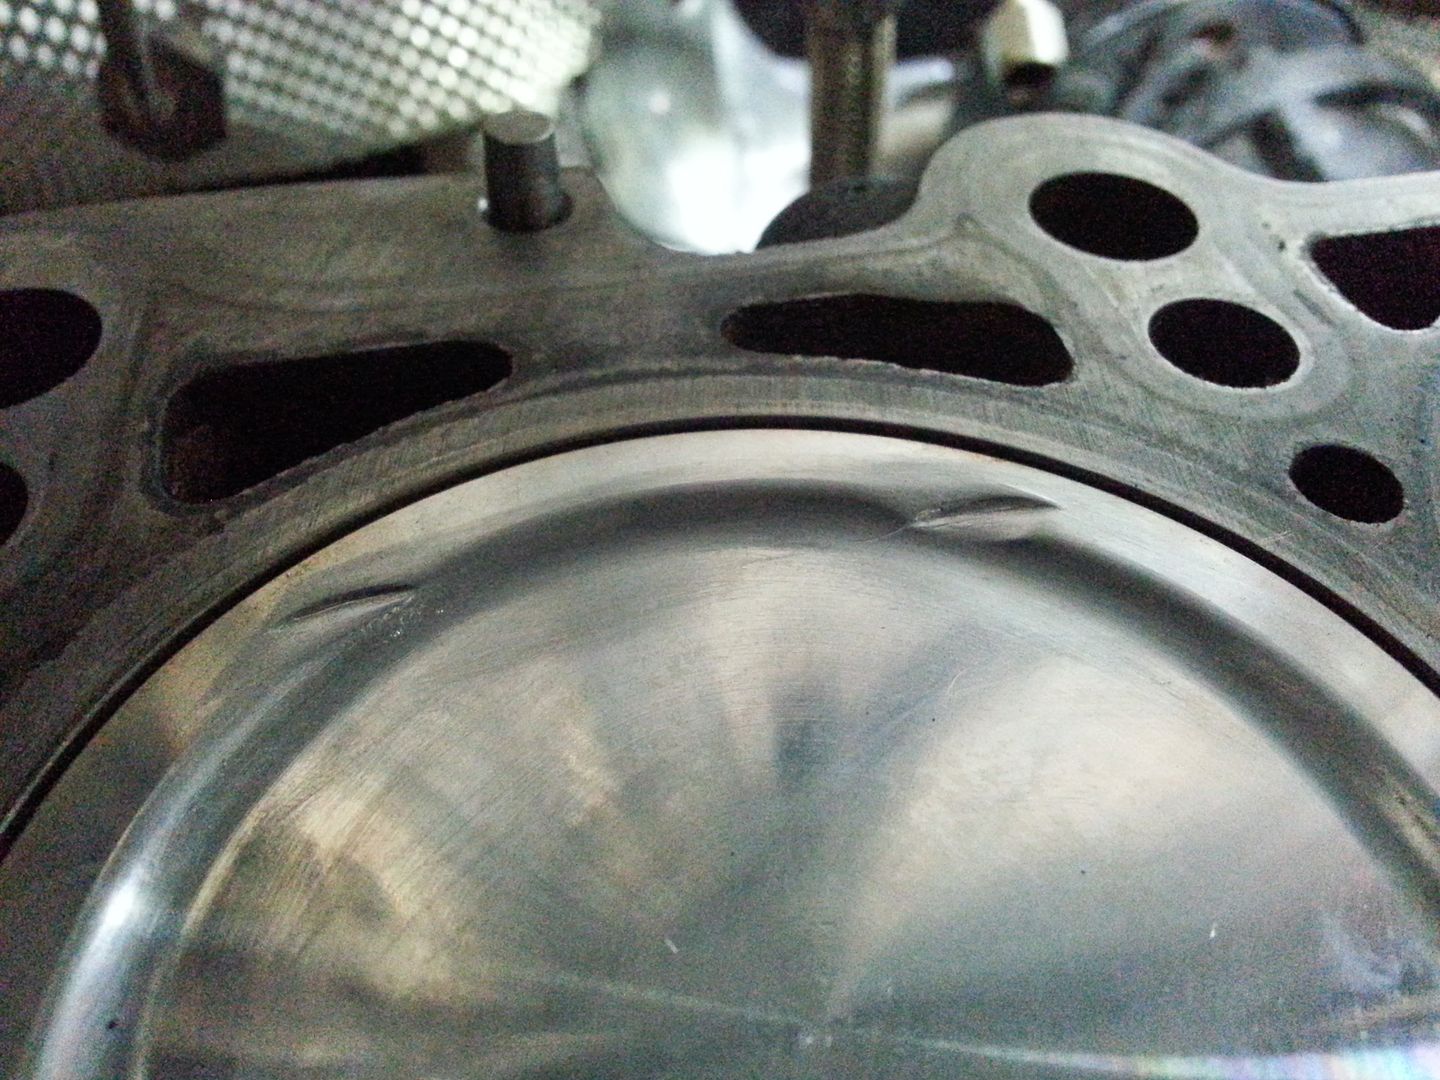
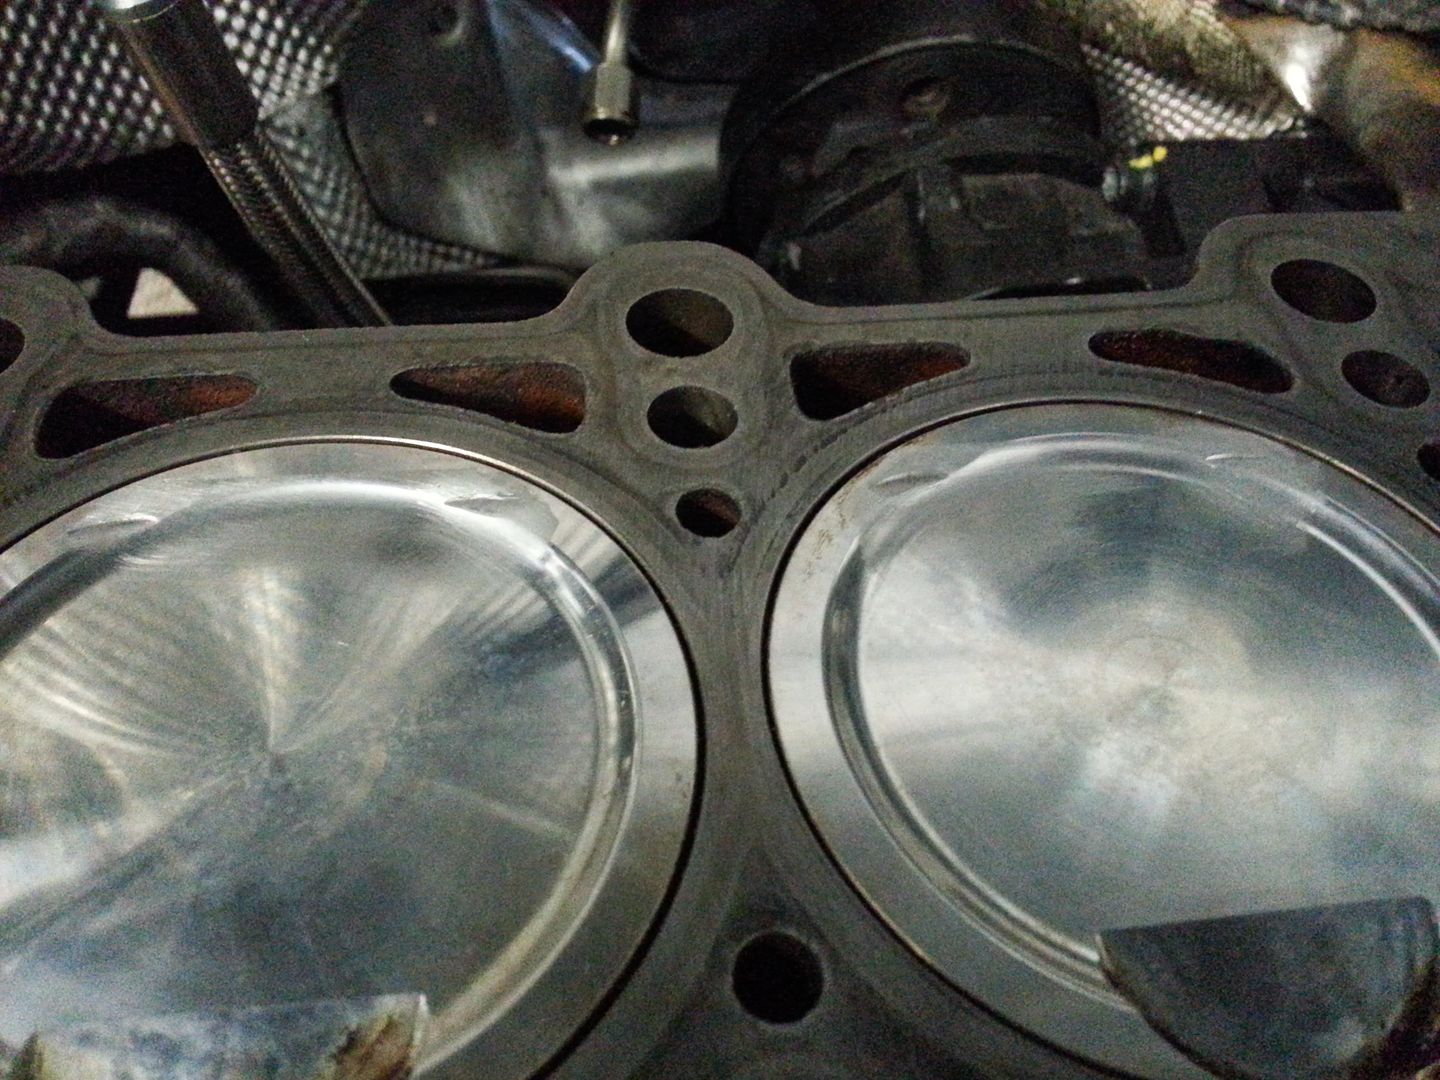
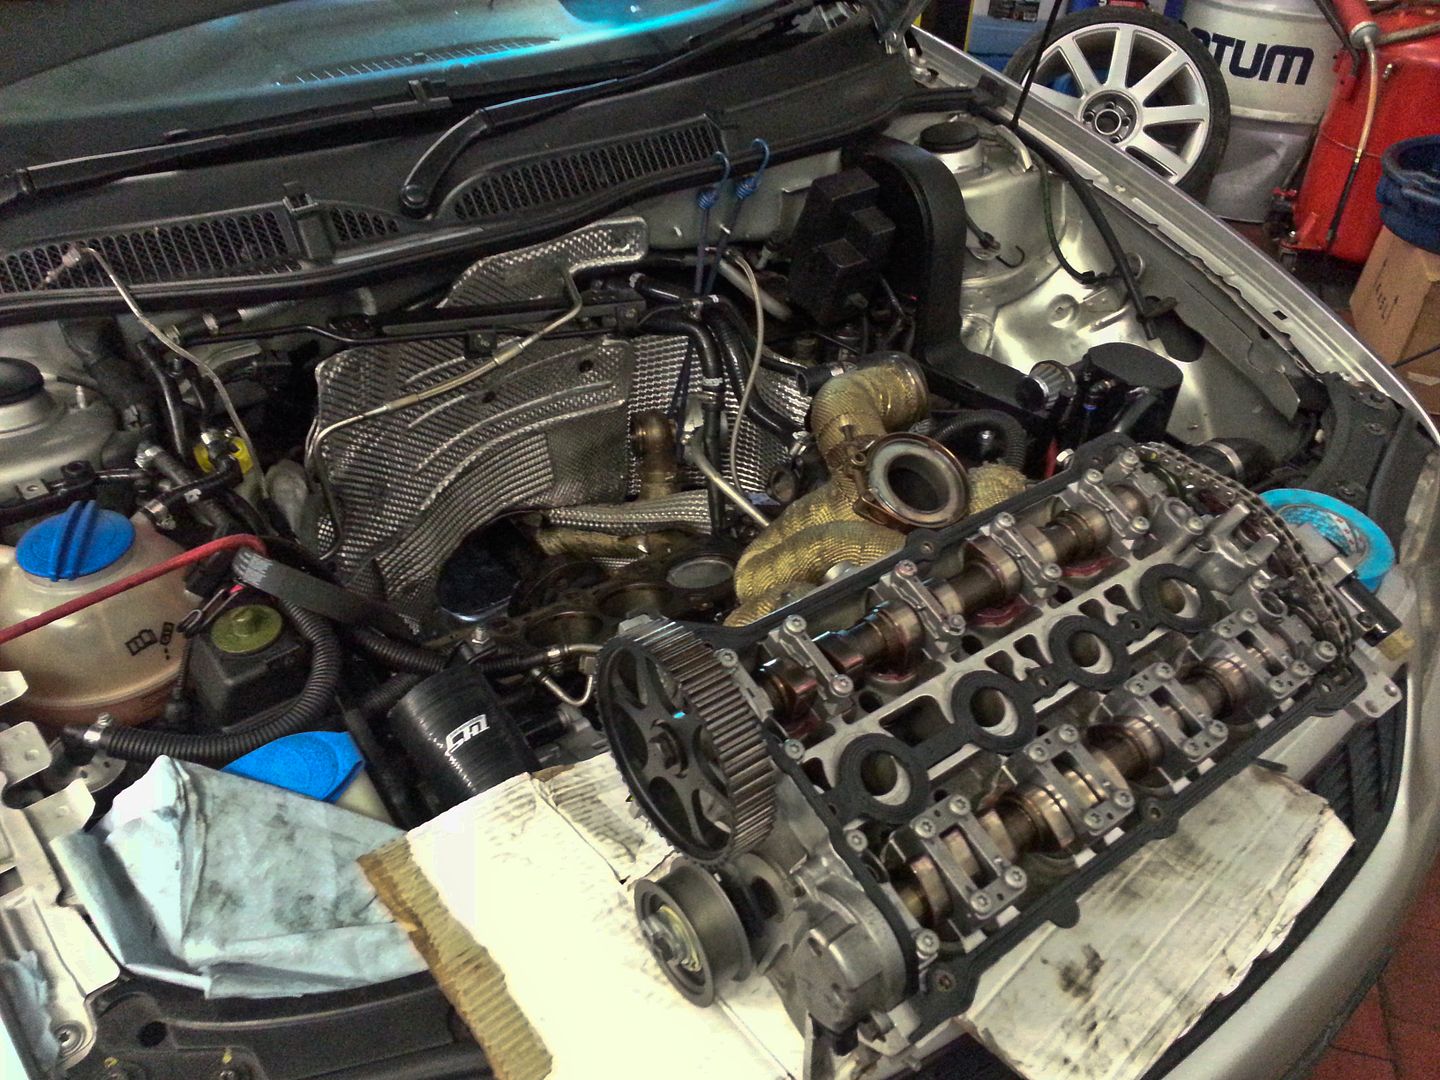
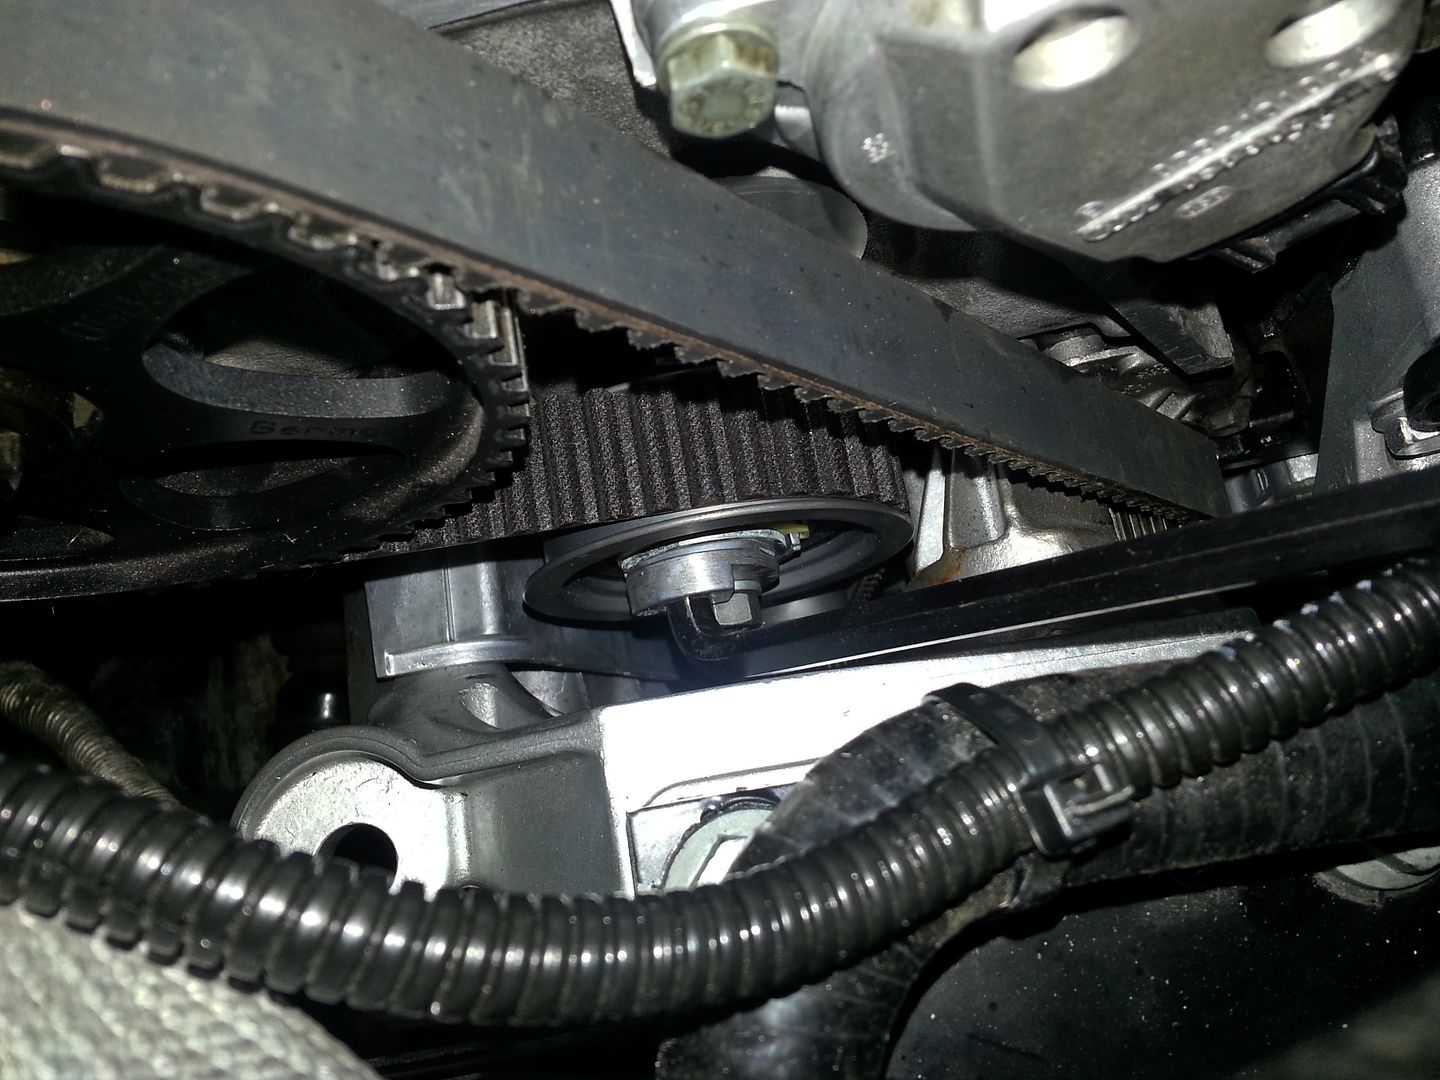
Curse you and your endoscope thingy. Only joking it was my own fault. I seen yours and got one as I thought that it would be a good idea to check out my AWT 1.8t engine that had been out on the timing and has also got a failed timing chain tensioner. Anyway I inspected the piston crowns and couldn't see valve to piston crown interaction damage but couldn't see enough of the piston crown edge or the cylinder wall. I put a mirror attachment on and it fell off when I bumped the end of it against the piston  . I managed to fish the plastic collar out with another attachment but gave up on the mirror for tonight, I'll try it again on Monday when my brain has come up with a plan while I sleep. I think my engine has either been running to hot (whitish silvery deposits all over the crown) or it's aluminium deposits from the cam chain eating into the cam cover. Compression test was good at 150psi after two rotations and 165 psi after six with 5psi max cylinder pressure difference. I hope that cheered you up me dropping I mirror into the cylinder. I thought laughing was better than crying, I don't really want to take the head off.
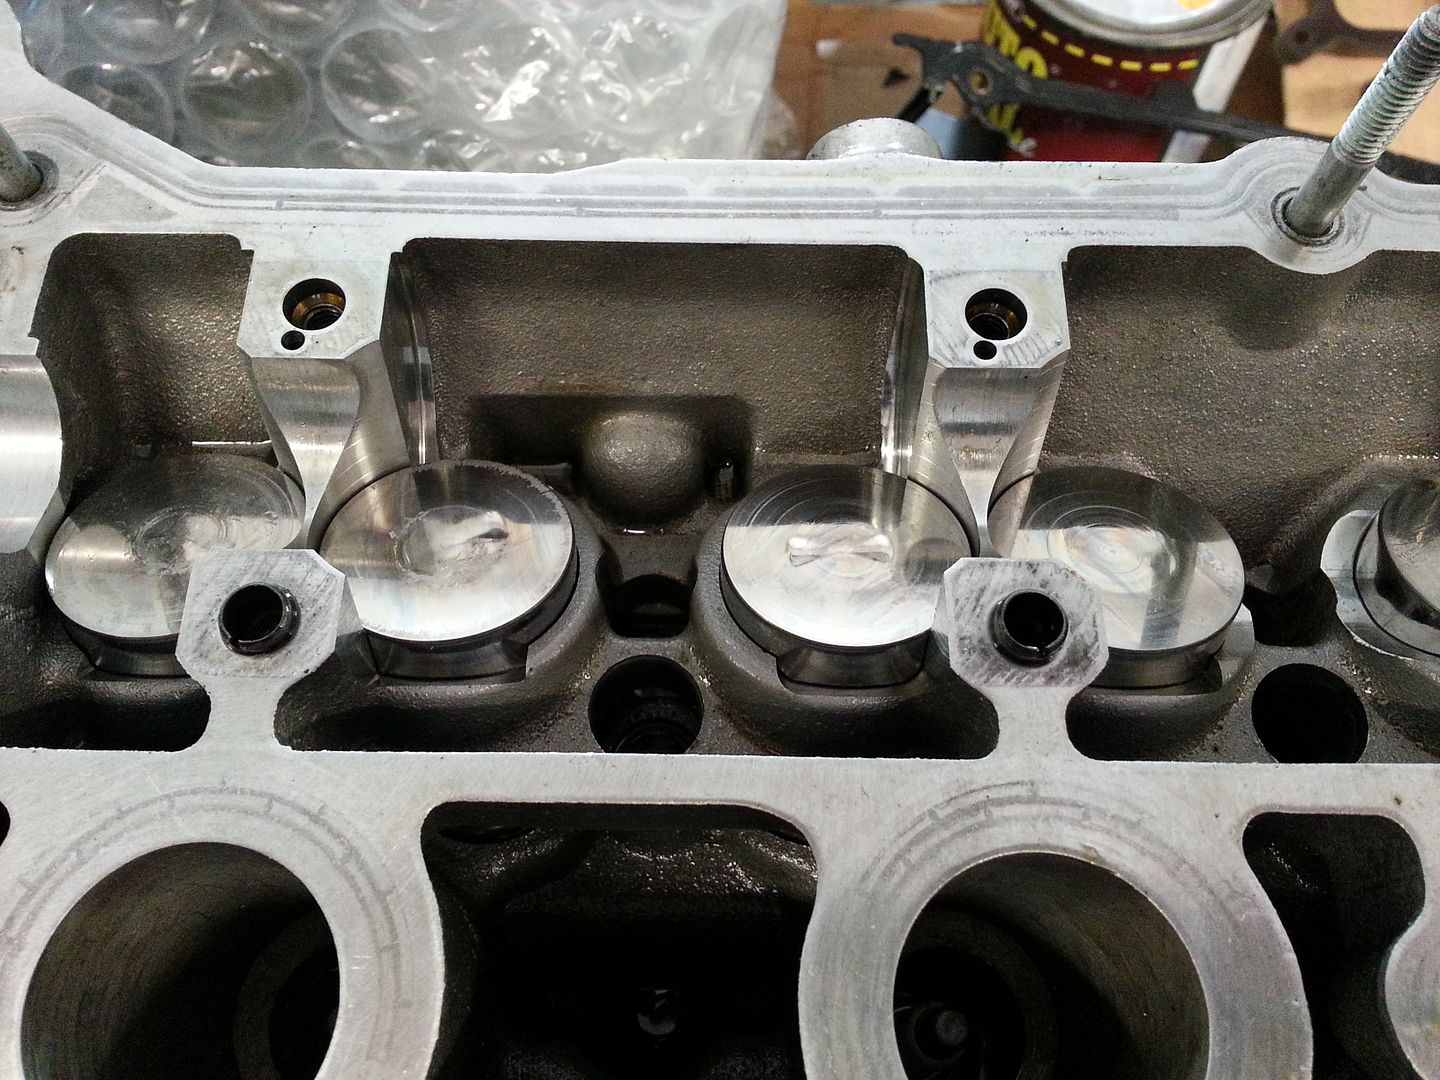
Are you going to flatten back the high spots on the piston crown to prevent potential hot spots that could cause running problems or cause a blow out. Would it need rebalanced after that? There is a company that does Nitron CA coating that creates a thermal barrier to protect whatever you get coated. It may offset the need to flatten back the high spots. Or you could do both. All the best with the mini refurb.
. I managed to fish the plastic collar out with another attachment but gave up on the mirror for tonight, I'll try it again on Monday when my brain has come up with a plan while I sleep. I think my engine has either been running to hot (whitish silvery deposits all over the crown) or it's aluminium deposits from the cam chain eating into the cam cover. Compression test was good at 150psi after two rotations and 165 psi after six with 5psi max cylinder pressure difference. I hope that cheered you up me dropping I mirror into the cylinder. I thought laughing was better than crying, I don't really want to take the head off. Are you going to flatten back the high spots on the piston crown to prevent potential hot spots that could cause running problems or cause a blow out. Would it need rebalanced after that? There is a company that does Nitron CA coating that creates a thermal barrier to protect whatever you get coated. It may offset the need to flatten back the high spots. Or you could do both. All the best with the mini refurb.
Last edited:
")