Davros
Guest
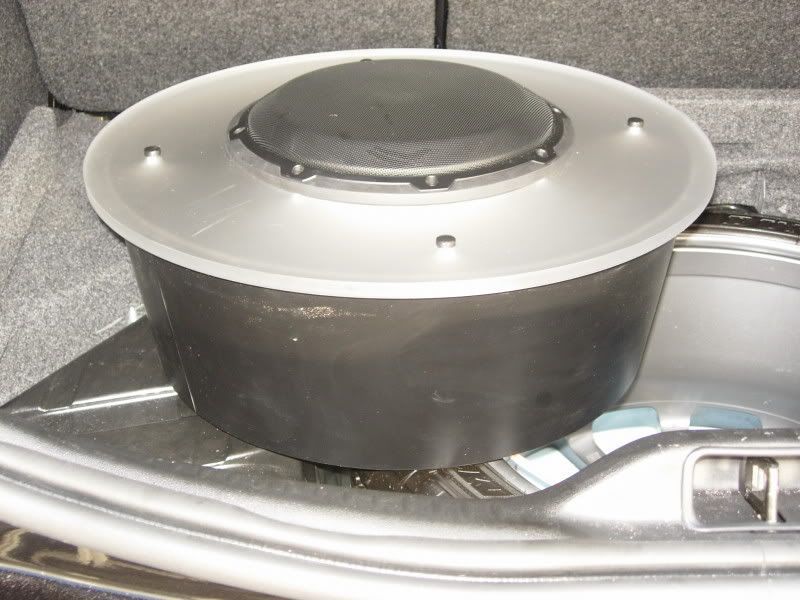
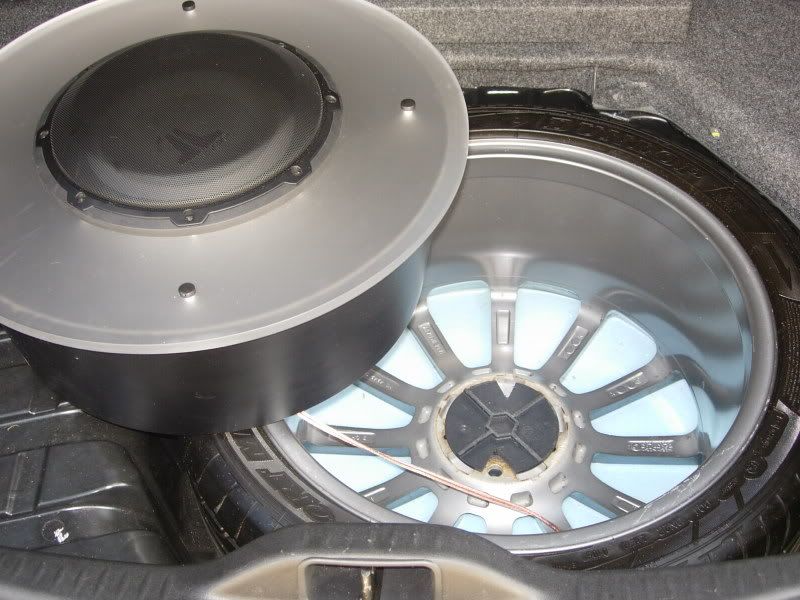
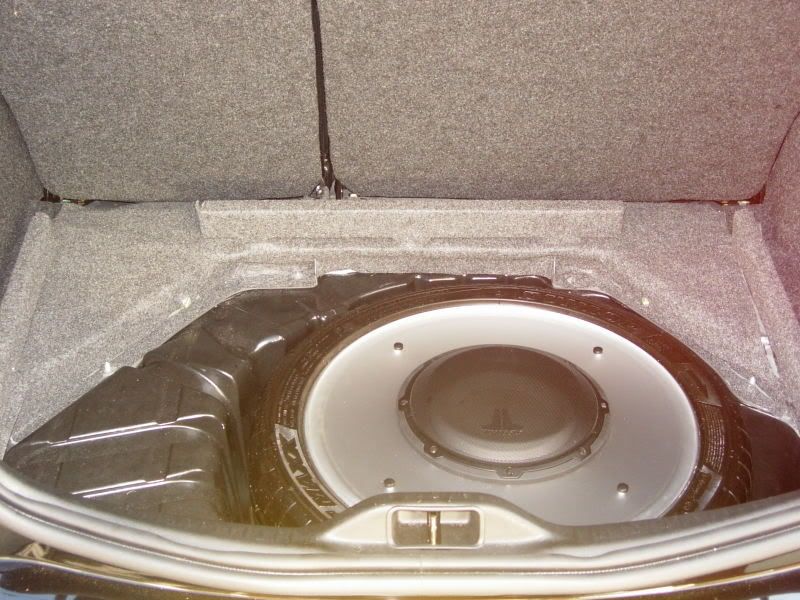
After fitting a pair of Infinity 652.7i speakers in the front doors (much better sound quality then the stock speakers…there are various threads on this), I found it needed (a bit) more bass, so decided to fit a FLI 12” active sub in the boot. It’s fairly compact, and being all-in-one it’s easy to take out when I need the boot space again. Its also cheap, and sounds amazingly good for the price. I’ve only had it set to about ½ gain with the bass boost on 0, and it’s more than loud enough!
Anyway, I spent pretty much a whole day, dawn til dusk fitting it (with not much to go on), and thought it might be helpful to share my method with you guys (and spare you the pain and frustration of having to work it out yourself). I wanted to cause as little damage (i.e. none) to the car as possible, and have everything completely reversible for when I come to sell it. I’m afraid, I forgot to take any photos while I was doing this, so I’ve tried to be as descriptive as possible!
Tools you’ll need (from what I can remember):
Screwdrivers – Flat Bladed, Phillips and Torx (star-shaped)
Scissors
Pliers
A lever for removing trim (I used a butter knife wrapped in insulation tape)
A couple of sockets (for disconnecting the battery)
Sandpaper (just a little bit)
I’d recommend getting an amplifier wiring kit, this should contain all the cable you need.
Removing the head unit
The head unit doesn’t use standard radio keys, and I’d imagine if the dealers would sell you them, they wouldn’t come cheap, so you can make your own.
Cut an old credit card lengthways into 2 x 1cm wide strips, and slot these into the two rectangular slots under the display, unclipping retaining clips.
Cut an old margarine tub lid (needs to be thin, but fairly stiff, I found this ideal) into 2 x 2.5cm wide strips. Cut the ends to a point (like and arrow), then round this off. These will slot into the thin gap between the h/u and the heater controls, about 5cm in from each side. If you get this right, you should be able to feed the strips in, and unclip some retaining clips.
Then get two credit cards, and use them as levers around the h/u panel to ease it out. This shouldn’t require much force if you’ve released all four clips.
Running the Power Cable into the cockpit
The power cable has to be run all the way from the +ve terminal of the battery to the amp. With much searching, I found a route from the engine compartment into the cockpit. You’ll need to remove the battery first. First remove the -ve terminal, then the +ve (this will prevent it sparking). To prevent the alarm going off when you disconnect the battery, ensure the car is unlocked, and the doors closed (you also won’t be able to unlock it once you’ve disconnected the battery!).
Next, unscrew the bolt on the left-hand side of the battery, which secures a retaining plate, then lift out the battery.
Behind the battery, you’ll see a black rubber thing with a large loom of wire going into it, looks a bit like a cow’s udder with a nipples poking out of it (I kid you not). With a pair of scissors, snip off one of the nipples, and feed in the power cable (not connected to the battery yet).
In the passenger side footwell, you’ll need to remove the panel below the glovebox (it has holes in it for heater jets) – these require a torx screwdriver bit). Then, if you look upwards, on the wall between the engine bay and footwell, you should see your power cable poking out. Pull this through leaving enough length to reach the battery terminals.
Getting a line-level signal
The factory h/u doesn’t have any preamp or subwoofer out connections, so you’ll need to tap the speaker leads. Many amps have a hi-level input, designed for speaker connections, but I opted to use a line level converter (from FLI) to convert the signal down from speaker level to a level acceptable for line inputs – supposedly this gives you better quality sound. This is a little box with 4 thin cables sticking out of one side and 2 rca inputs on the other – cost £7.50 on ebay.
You’ll need to remove the glove compartment next – there are 2 screws in the wall behind the flap, 2 near the front on each side, and another in the middle, and another 2 underneath the glovebox, where the cover was that you removed above. Behind the glovebox, on the right hand side, you should be able to find a little opening that leads to the back of the h/u. I fed the 4 cables from the line level converter through this opening (it was too small for the box itself). These 4 cables then need to be spliced into the speaker outputs from the h/u. I used some snap lock connectors from Maplin. Basically, you run the cable you are tapping through it along with the new leads, then clamp it up with pliers, for a (semi)-permanent connection. Connect the 4 wires to the RR+, RR-, RL+ and RL- connections (there’s a sticker on the top of the h/u to guide you) as per the instructions with your line level converter.
Connecting the remote cable
The remote cable connects to a switched 12V supply, which turns the amp on when power is applied, and off when not. The only one I could find on the h/u was the one for the CD changer (see the label on the h/u). I already had Dension ice>link installed for my iPod, so I tapped this wire (it was green) using a snap lock connector, you could do the same if you have a CD changer installed. If you have neither, you will somehow have to run a wire from the appropriate terminal.
Connecting the Ground cable
The ground cable needs to be connected to the chassis of the car. I used one of the cargo net loops on the side of the boot. Unscrew the 2 cargo loops on that side of the boot and pull up the carpet (it’s pretty stiff) on the side of the boot. There will be a metal bracket behind, where the cargo loop screws into. With some sandpaper, sand all the paint off the front of the bracket around the hole (you will need good metal-to-metal contact). Then screw the cargo loop bolt through the ground cable loop, into the bracket, and but the carpet back, with the wire sticking out from under it.
Running the cables to the boot
You must run the audio cables separately from the power and remote cables, to avoid interference. I ran the remote cable across the glovebox cavity to where the power cable comes out, then ran them together down the passenger side of the car, under the heel trims (plastic sills). These panels are all fixed with clips, and are a bugger to get off, and you are likely to break some of these metal clips as you go (so may have to get some more from a dealer!) With the panels removed, you can lay the cables underneath, they will come out beside the rear seat base. Remove the rear seat bases by pulling upwards at the front of the right and left sides, then push the base backwards and lift it out. Then you can route the cables to the boot, and tape them down under the seat.
2 rca cables (may be joined together) must be run from the line level converter to the amp. I ran mine down the middle of the car, a: because I couldn’t see a way to route them over to the driver’s side, and b: because removing the left sill panels really p*ssed me off. The panel at the front / passenger side of the centre console is fixed with metal clips again, so pull this off, and route the RCA cables behind it. I then just tucked the cable under the side of the centre consol, under the rear mat and up under the seat base. You may be able to run it under the carpet, but this will require (much) more trim removal!
You should now have a +ve power cable from the battery, a ground fixed to the chassis, a remote attached to the head-unit, and RCA cables from the line level converter. You can either connect these directly to the amp, or as I did, use a Vibe fastplug for the +ve, ground and remote cables, so that I can easily take the sub out for more boot space, without having to disconnect the battery etc. The three wires simply have to be cut, the insulation removed, and be screwed into the fastplug’s terminals.
Last things last
The very last thing you should do is connect the battery to the +ve power cable. The cable should have an in-line fuse (no higher rating than the one on your amp) no more than 18” from the battery terminal. I put the power cable terminal around the nut on the +ve terminal. Last of all put in your fuse, and cross your fingers! Oh yeah, and put your car back together!
The end result is fantastic, with the FLI reinforcing the Infinities perfectly, and music sounding exactly as I wanted it to, without having to change the head-unit.
If you’ve got any questions, let me know!


 ! i spent hours trying to find a route through the bulkhead, trying to thread through various holes with no luck, eventually found about the grommet behind the battery on a MkV Golf forum! Also, like the idea of connecting the power cable to the fusebox rather than the battery terminal, much tidier - might have to do a bit of fiddling this weekend!