
I was asked how to change the leds and make a guide to do it ") so here is something i scrapped together lots of pictures.
so here is something i scrapped together lots of pictures.
You will need flathead screwdriver and a t25 torx screwdriver, the correct leds a soldering iron with a small tip and solder with flux inside and ofcourse a steady hand which i did not have
here is the leds you will need-
these ones are for the centre warning lights and the needles - https://www.crazyleds.co.uk/PLCC-2-3528.html
these ones are for the guage backlights and the lcd screen - https://www.crazyleds.co.uk/PLCC-2-90-SIDELED.html
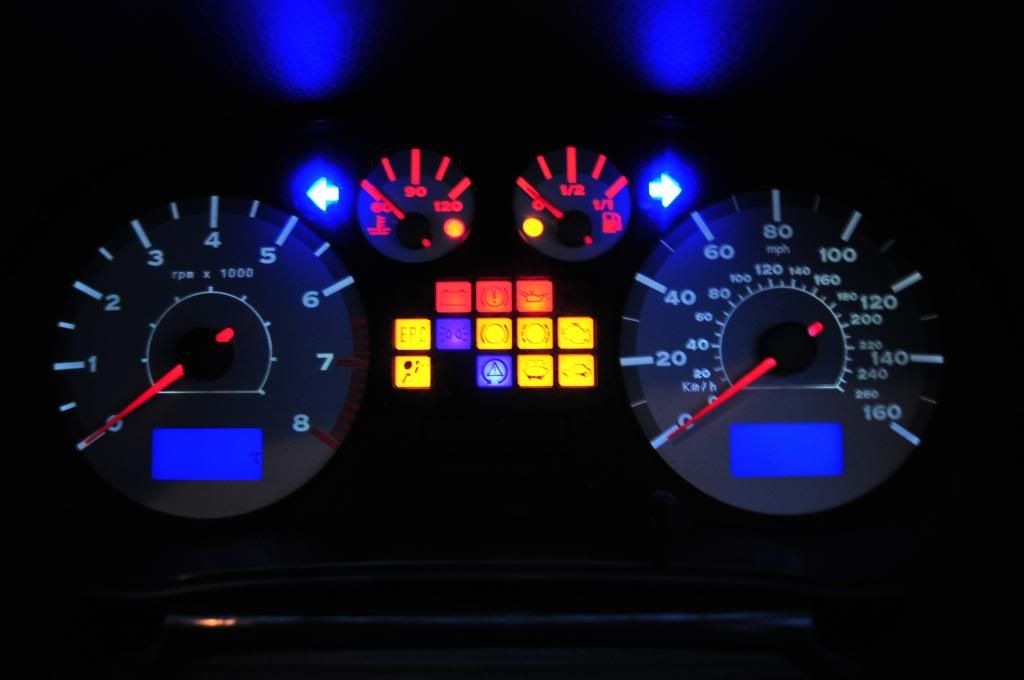
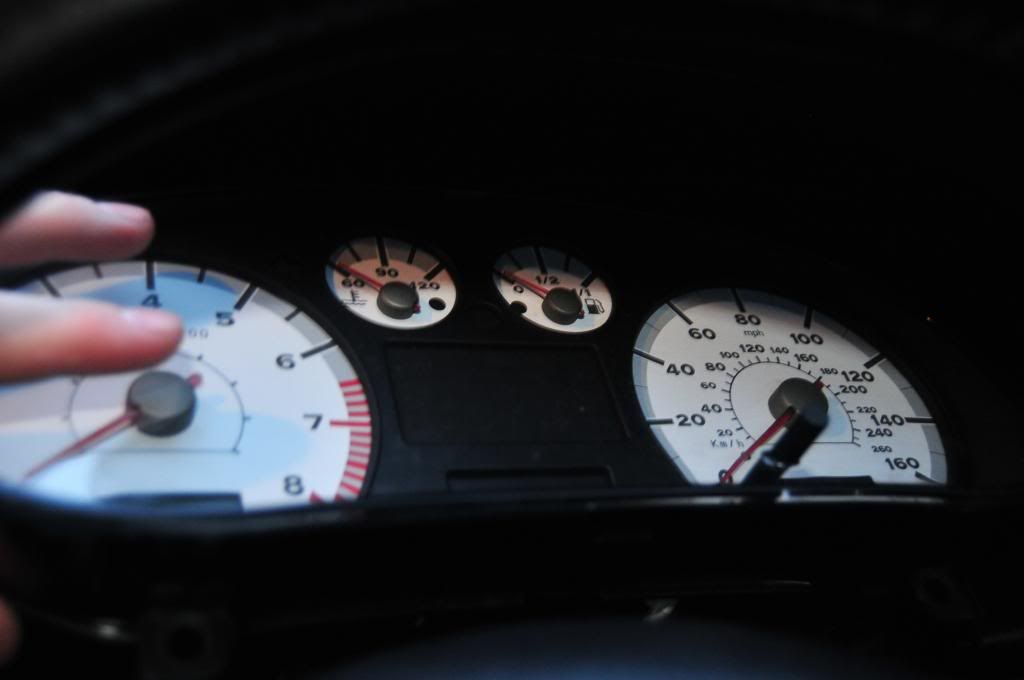
this is what we are aiming for if your doing the same colours as me. i havnt yet decided if im going to keep these colours yet.
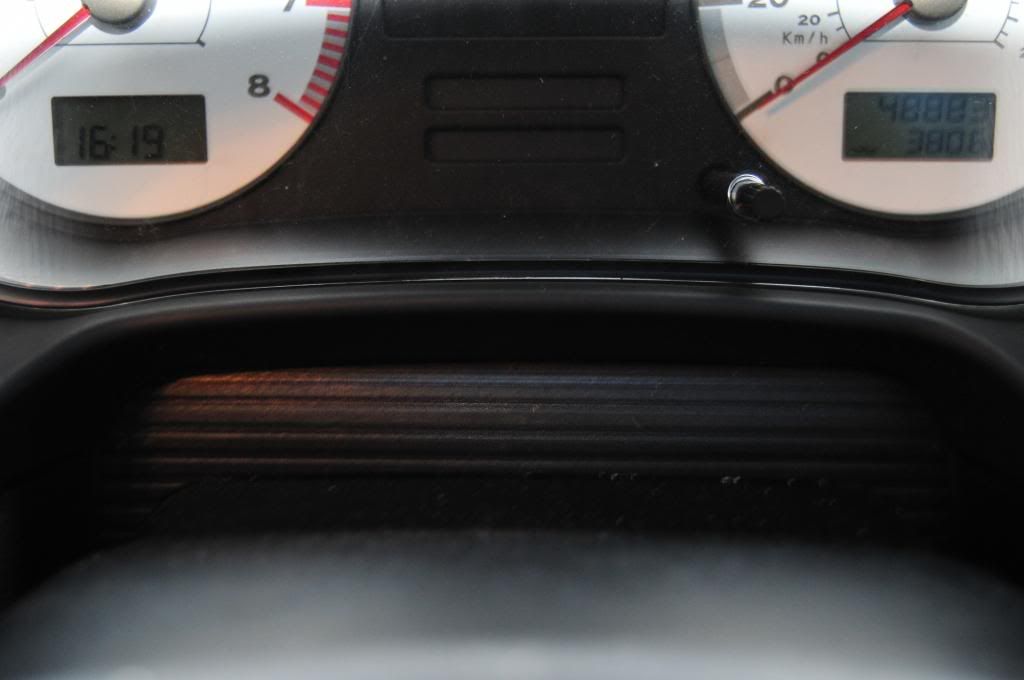
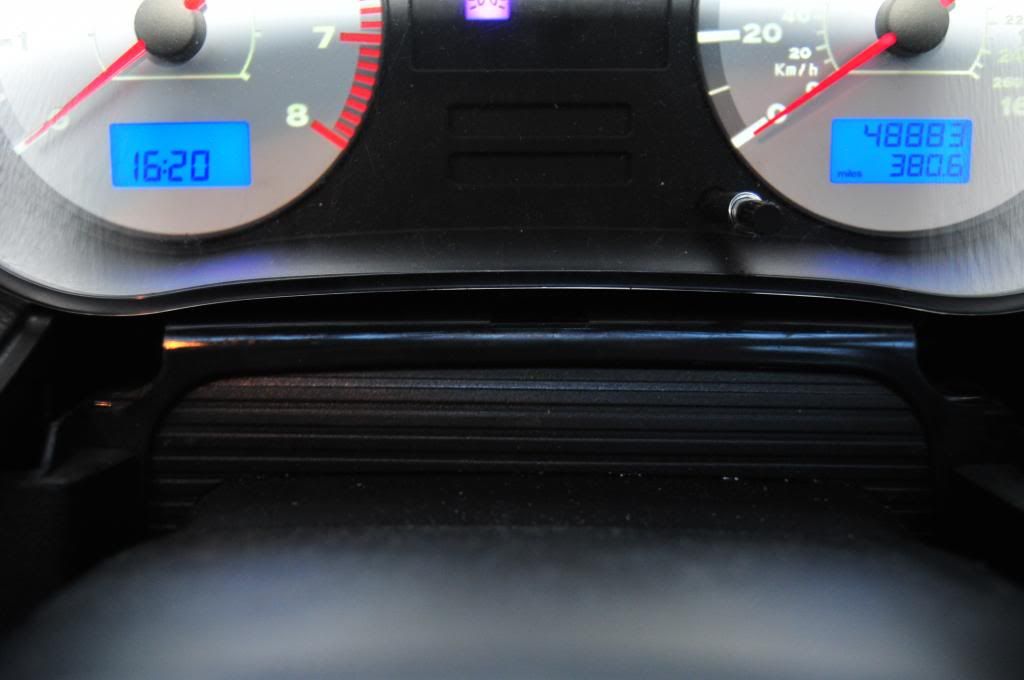
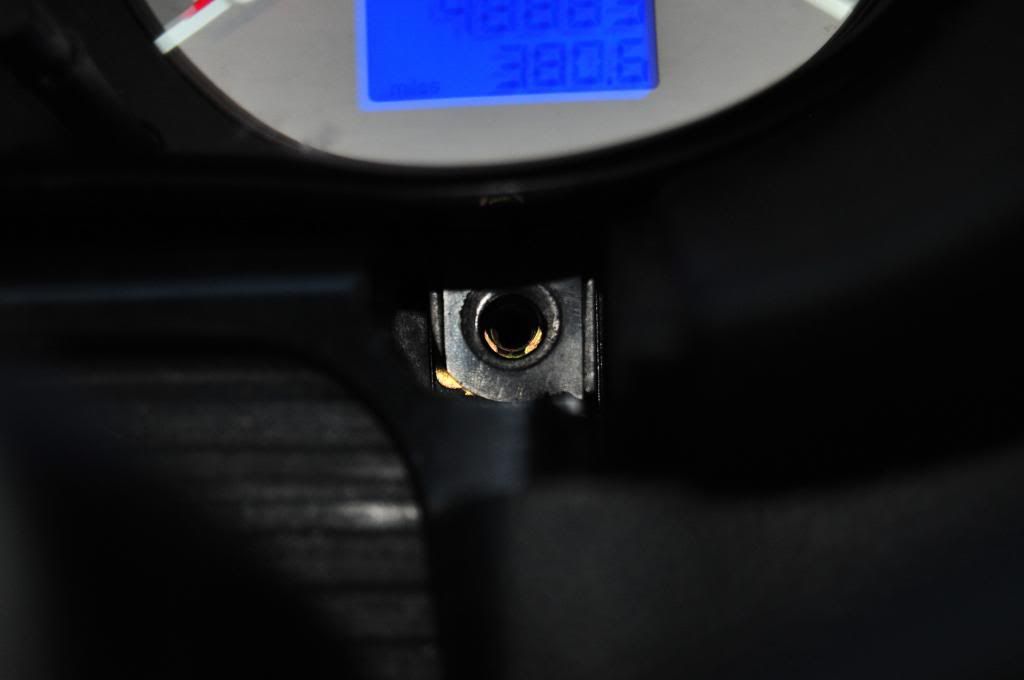
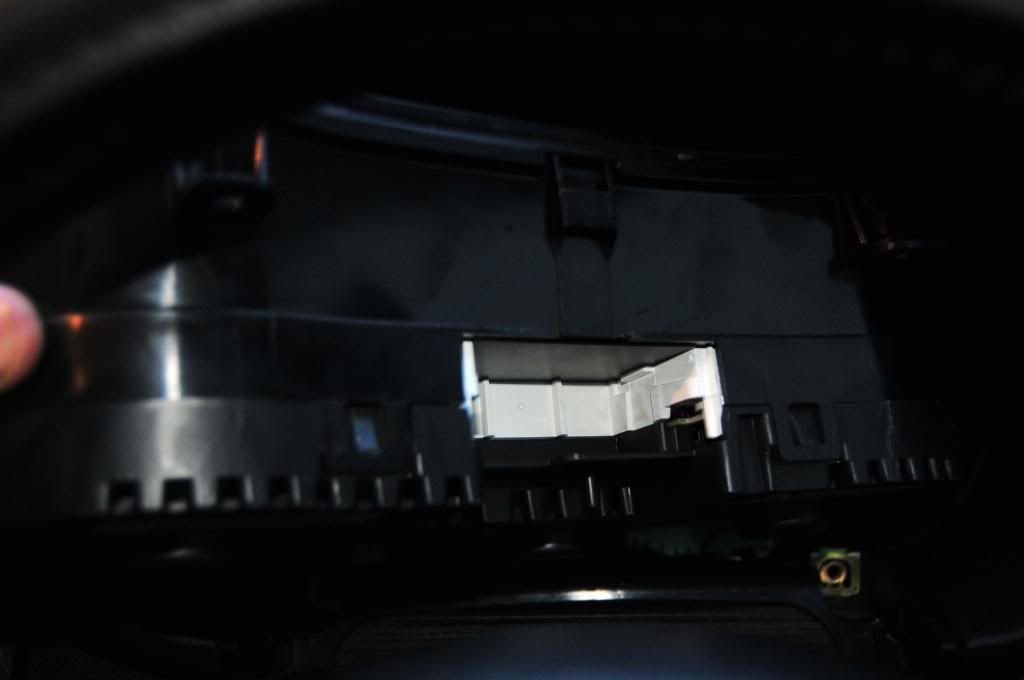
ok so first this is to remove the plastive trim under the cluster it just pulls out.
behind this trim is 2 screws that hold the cluster in remove them they are t25 torx screws.
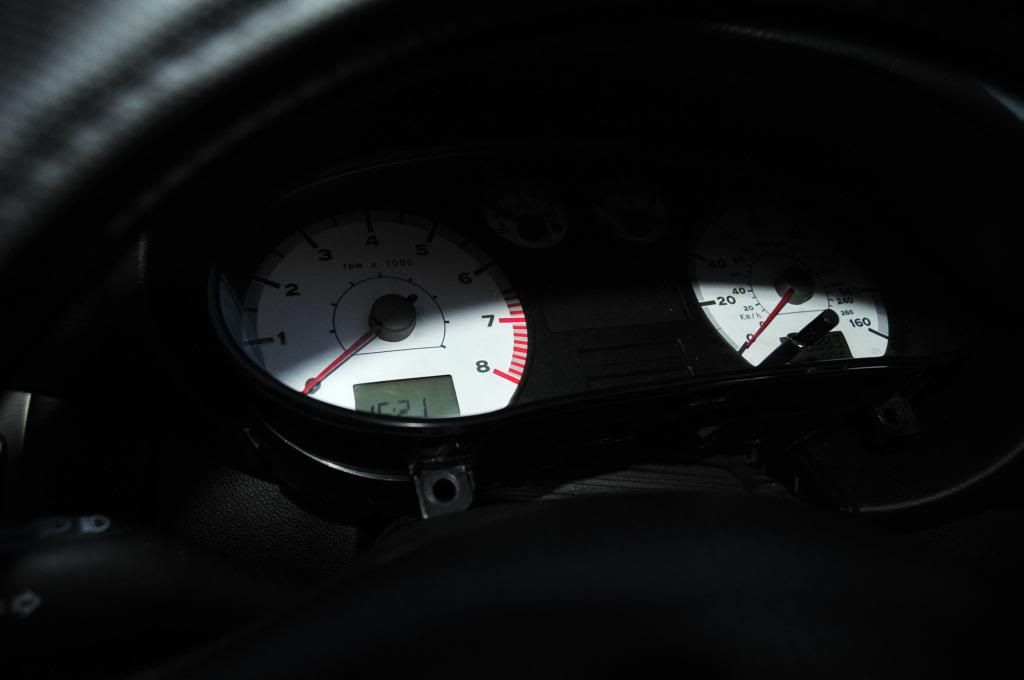
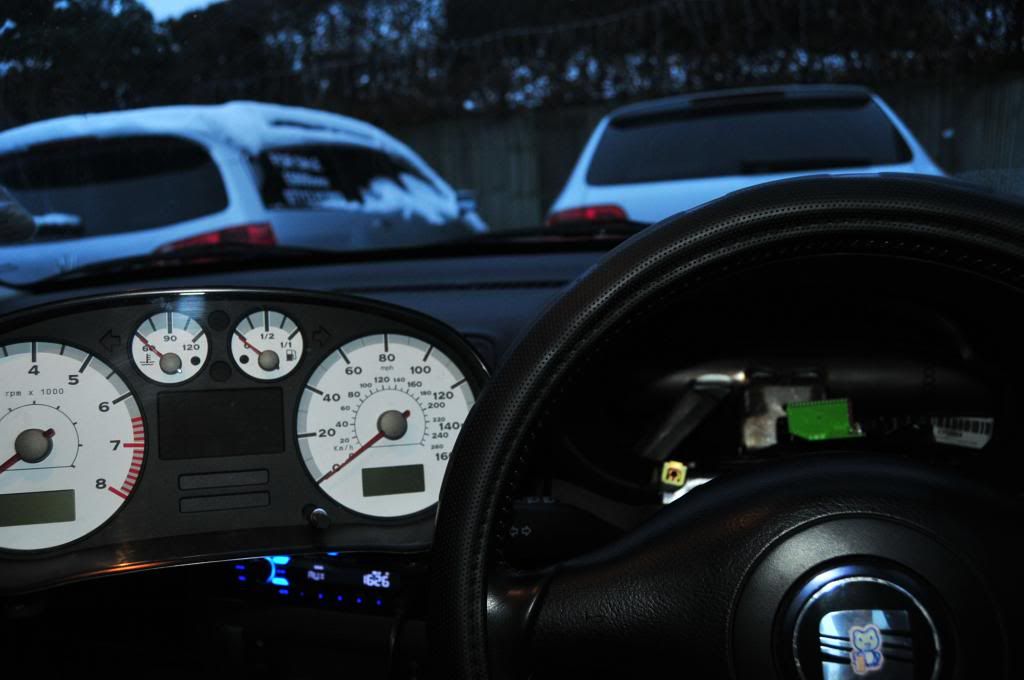
the dash then pulls forward, spin it to the right you will have to lower and extend your steering wheel.
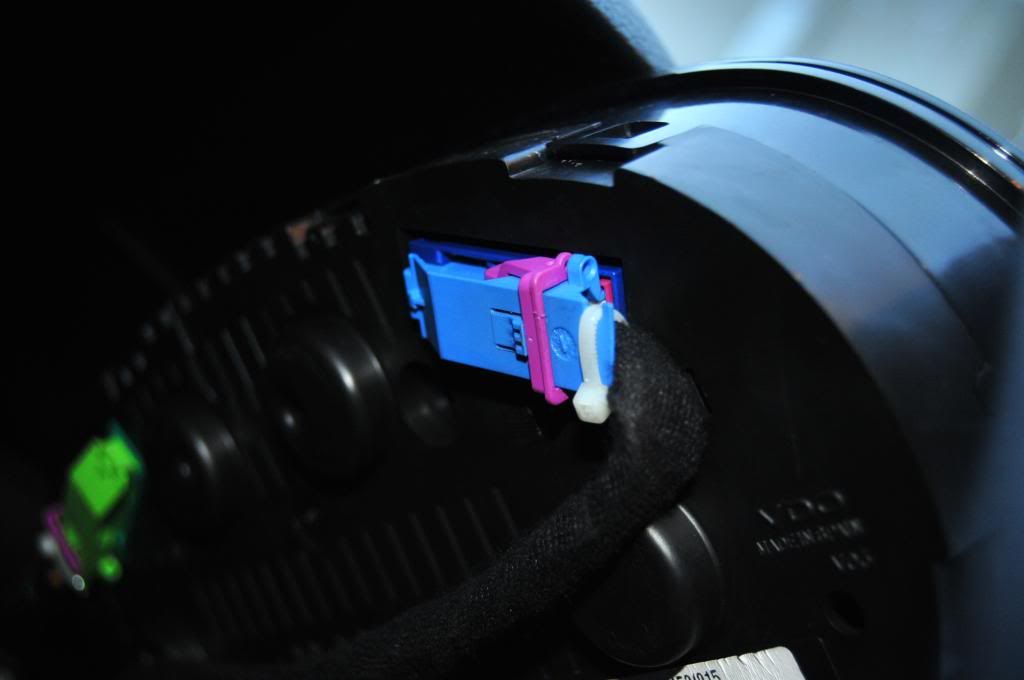
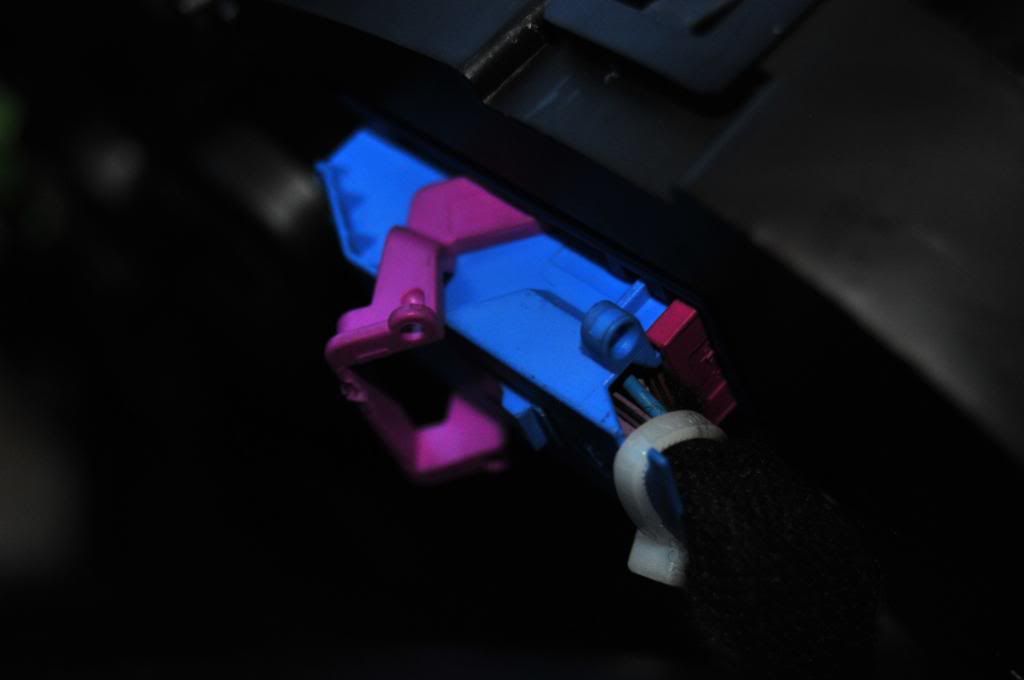
behind the dash is 2 plugs blue and green, the first to remove is the blue plug.
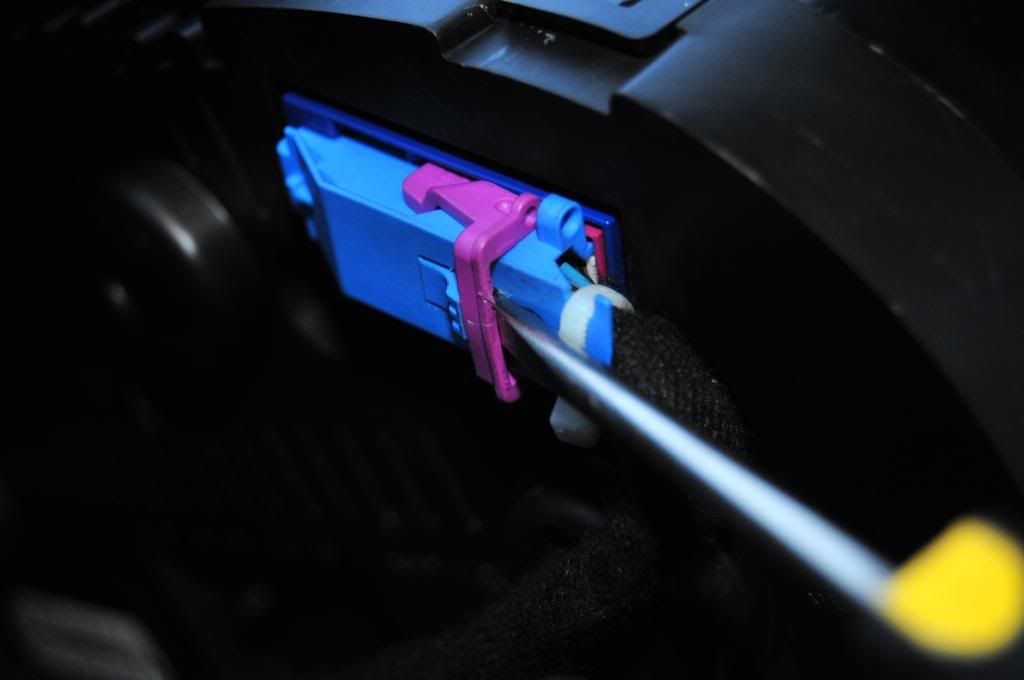
wedge a flathead screwdriver under the clip as shown then with your finger push striped wedge down and lift the purple tag which will also raid the plug.
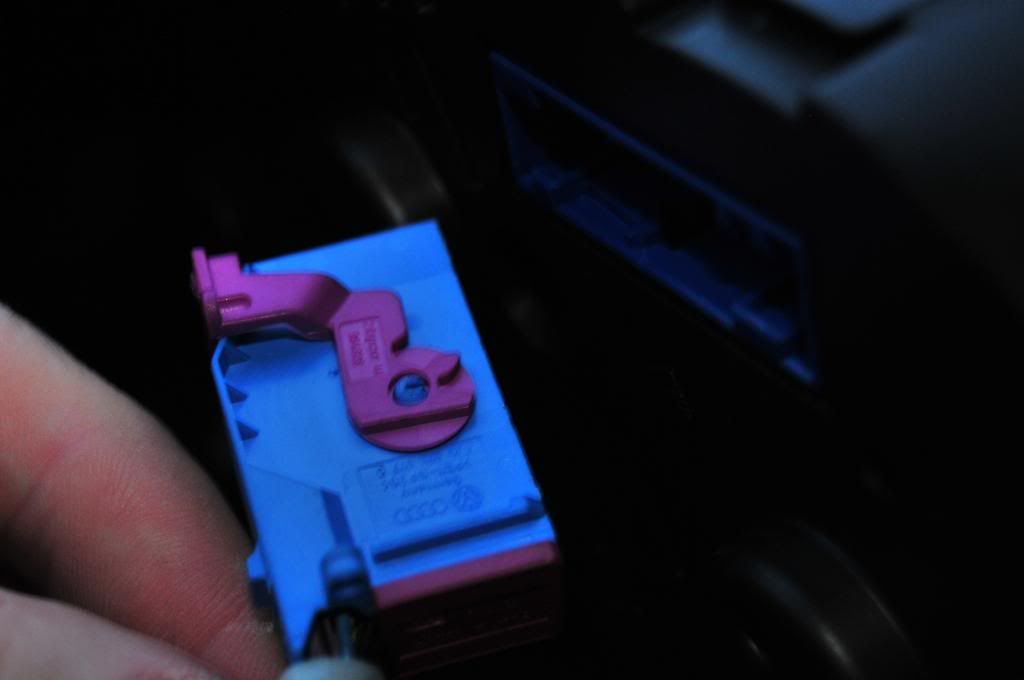
to do the green plug pull the dash forward and rotate it upwards then to remove the plug is the same as the blue plug.

Jingle jangle and the dash should now be out.
now to take the dash part do it in a clean tidy place i used the kitchen table
there are tags around the dash lens cover, i used a screwdirver to lift the first tag then i used my finger for the rest.
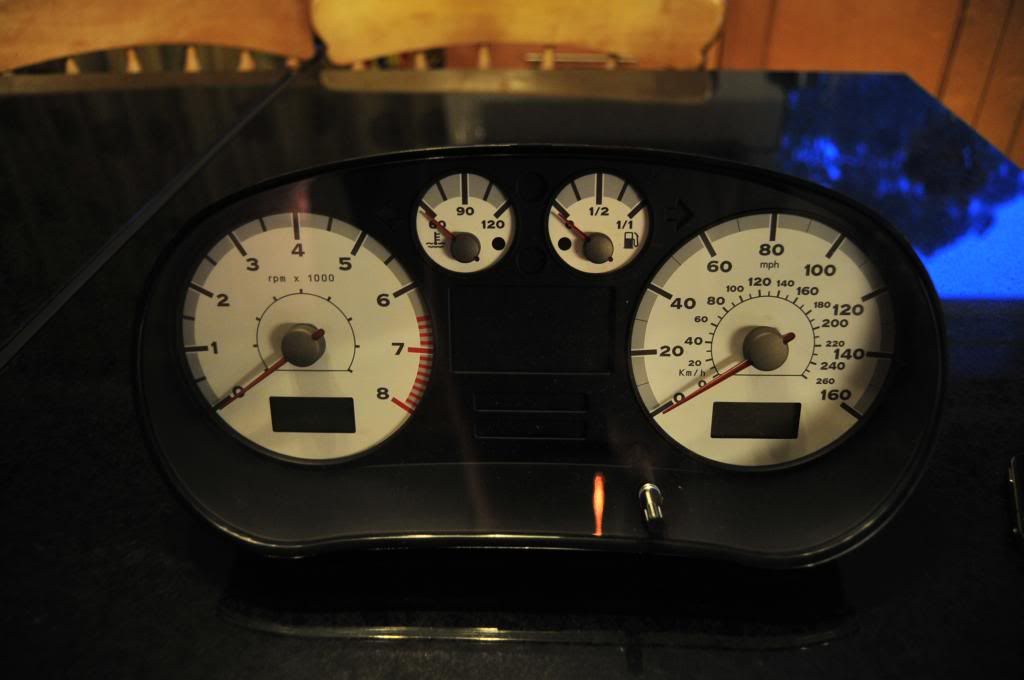
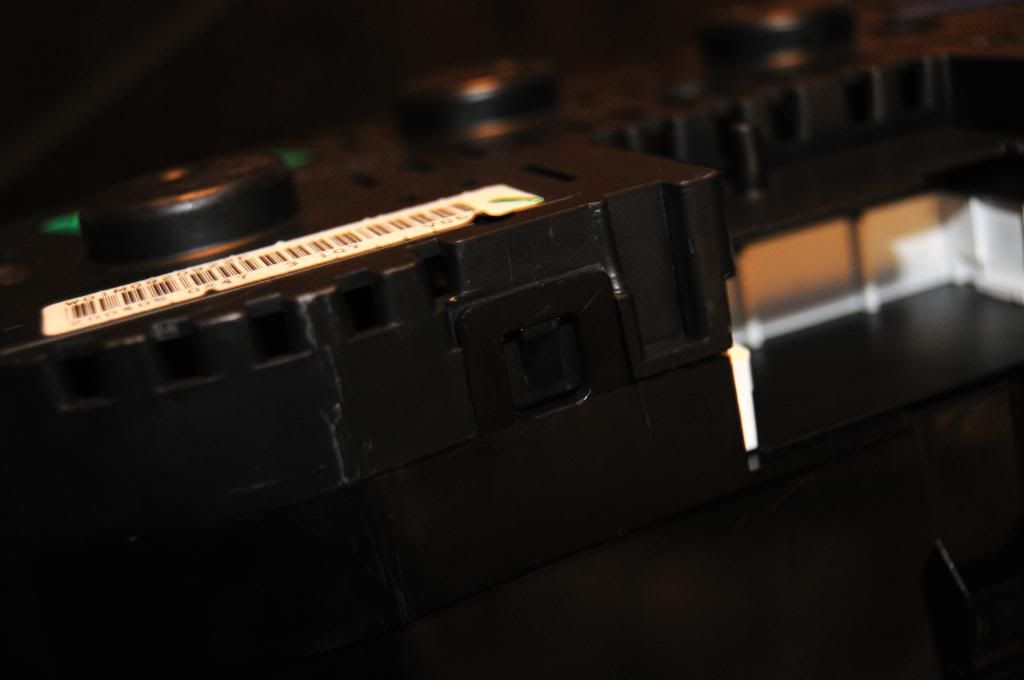
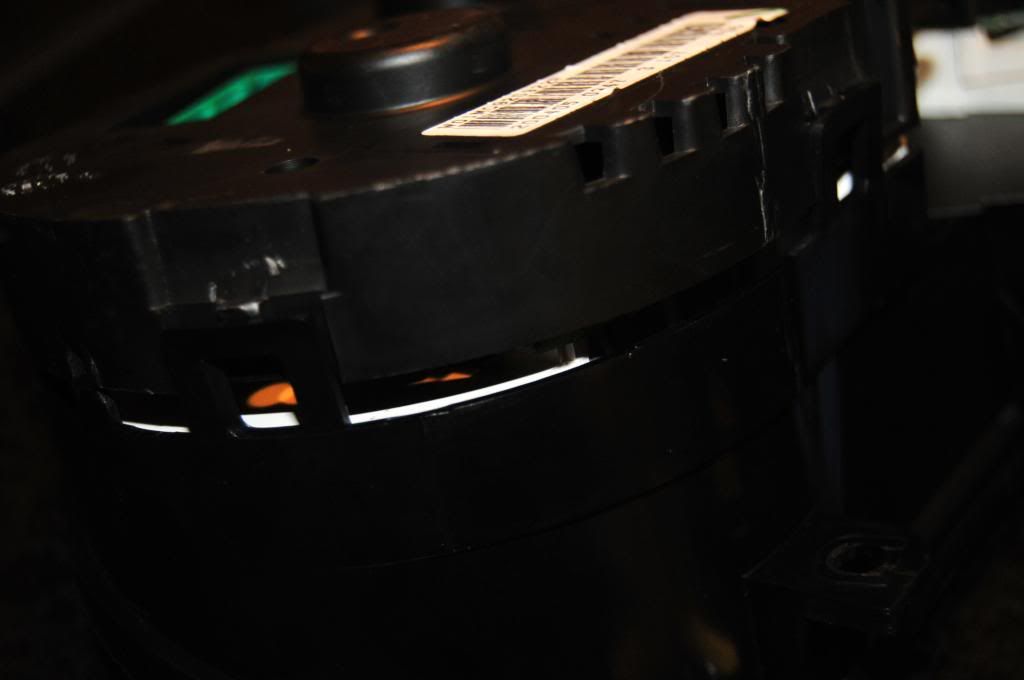
cluster should now look like this..
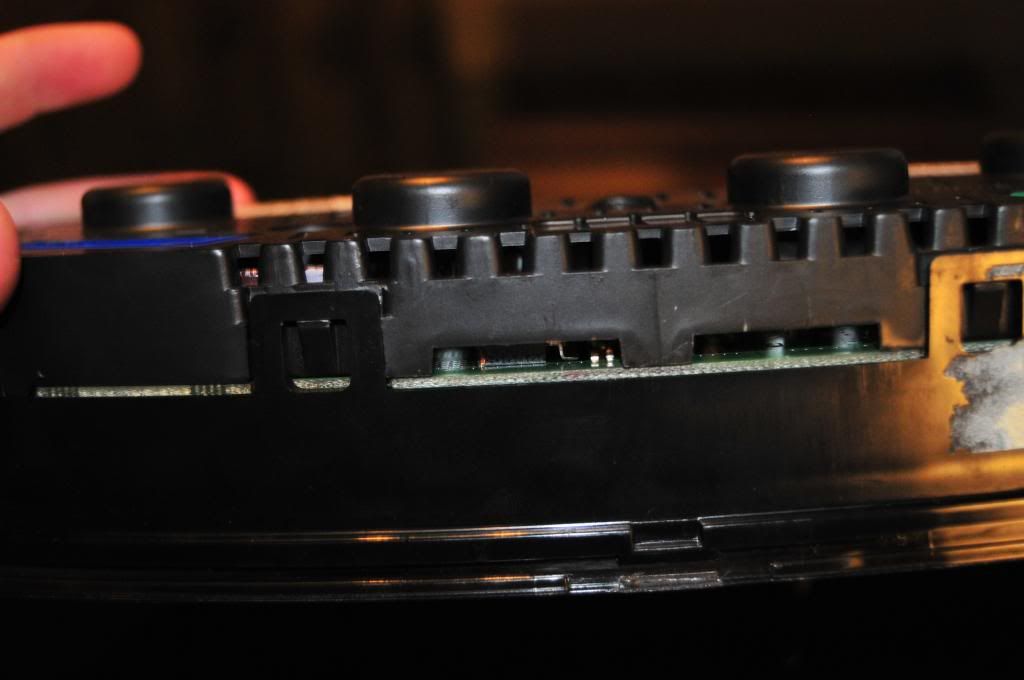
the black plastic on the cluster just pull off and you should be left with the insides that look like this
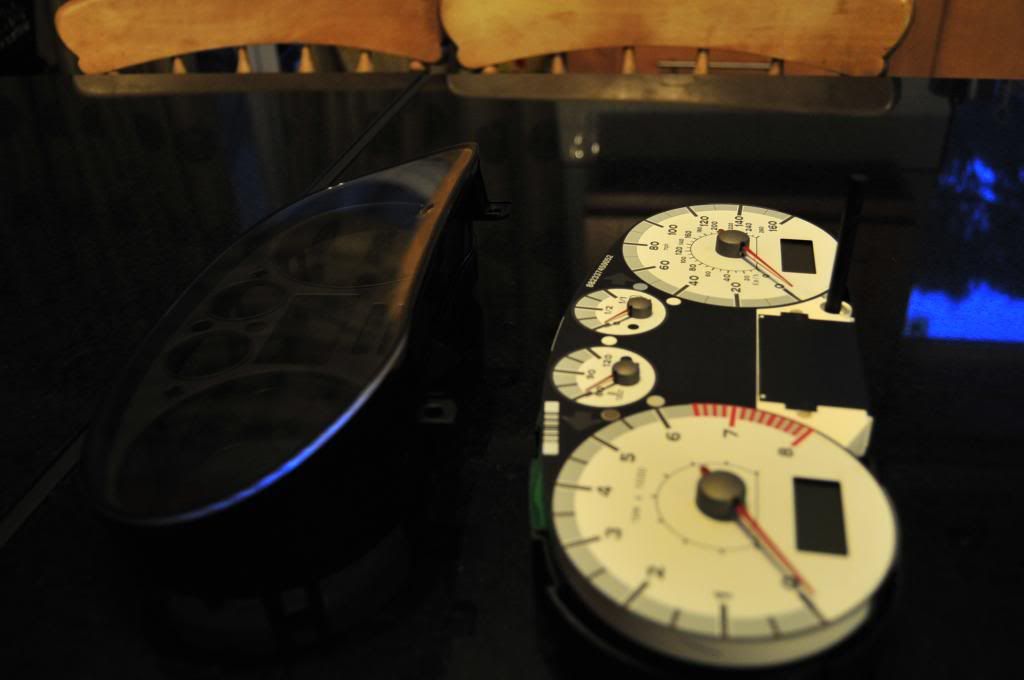
removing the dials is next, took me a while to figure it out but its simple, grab it firmly (clean hands or you will muck up the facia plate) and twist it up and anti-clockwise dont be scared
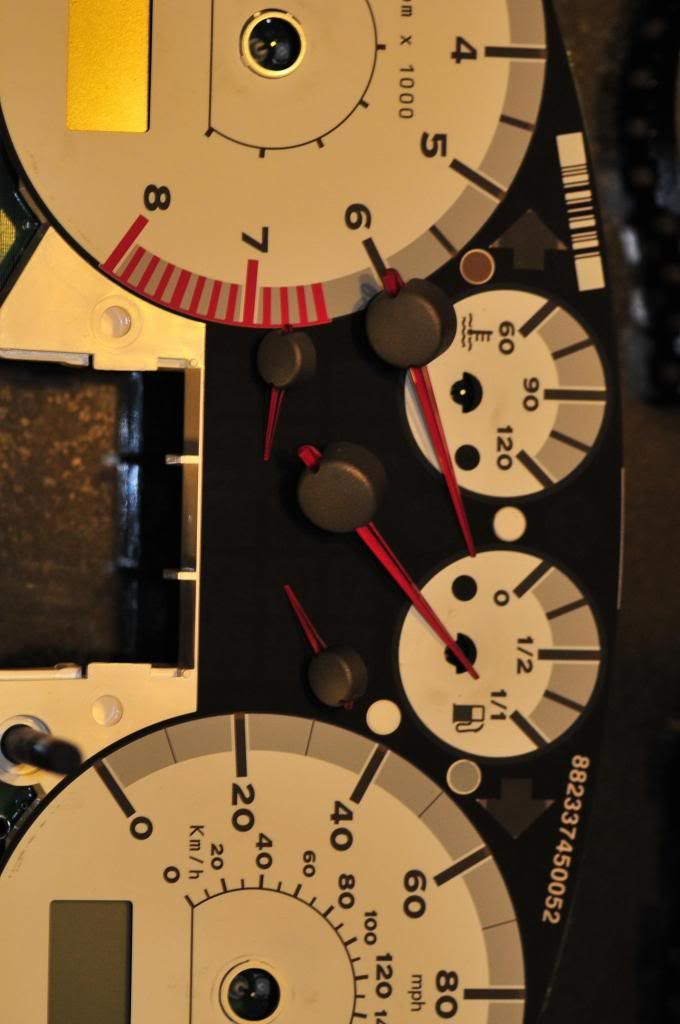
then remove the facia plate and you will look like this
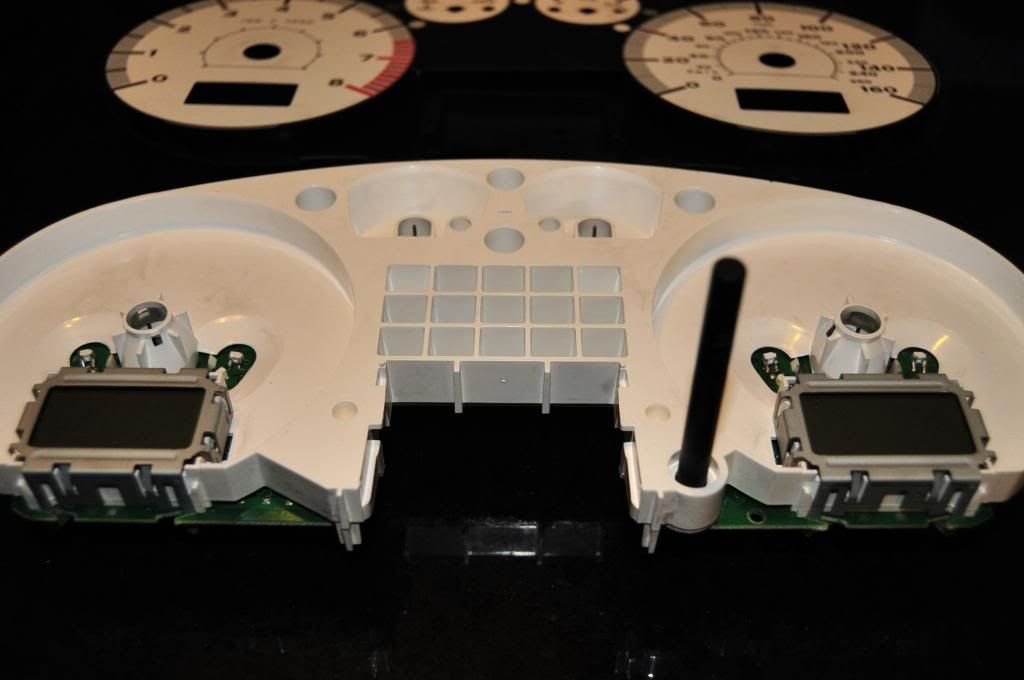
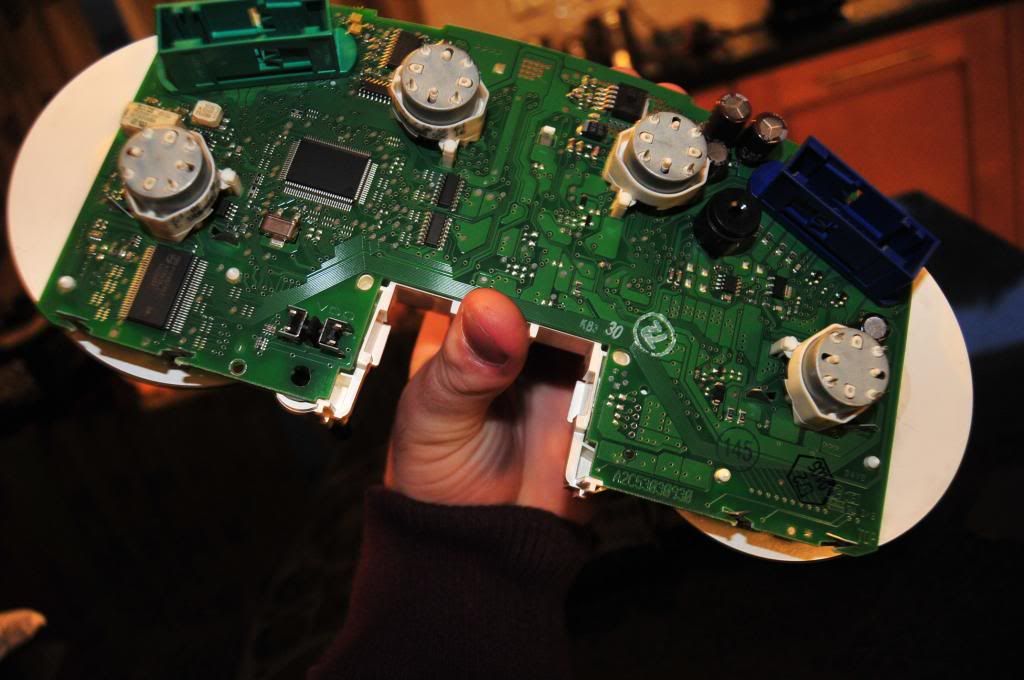
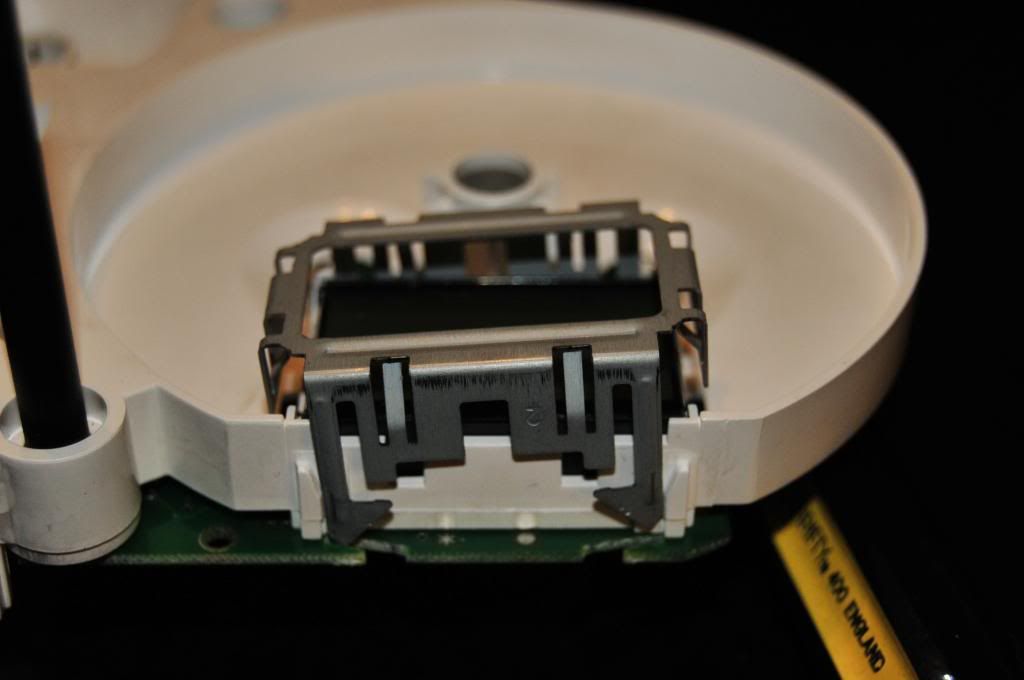
turn it over and you will see 2 silver cages holding the lcd screens in twist the four tags so that the cages slide down and out (be carefully to not drop the lcd screens they somtimes fall out but dont need to come out)
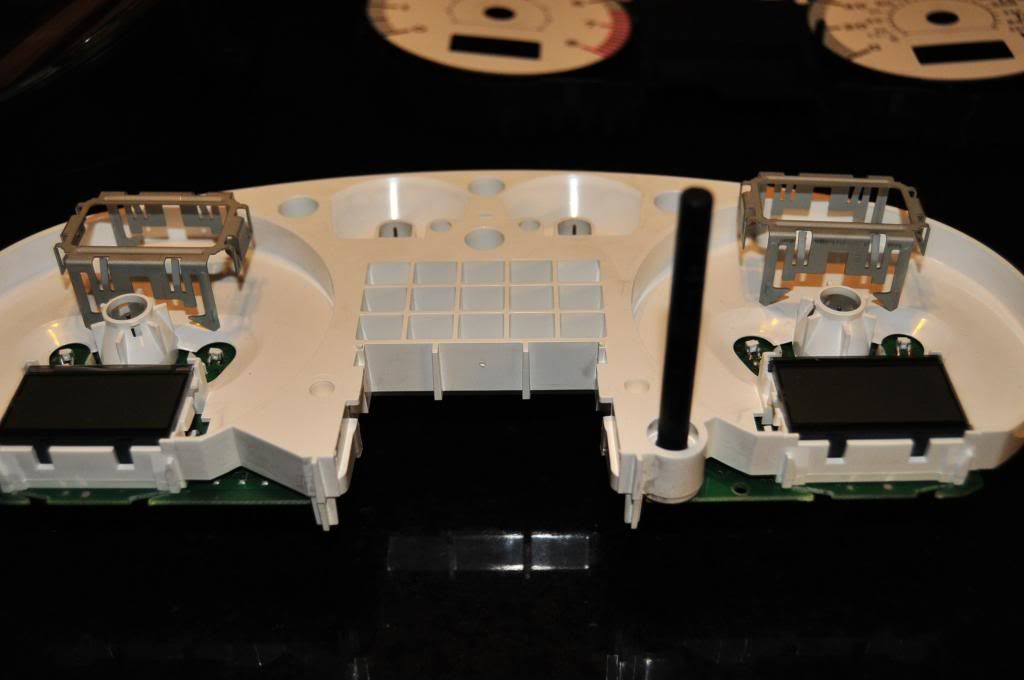
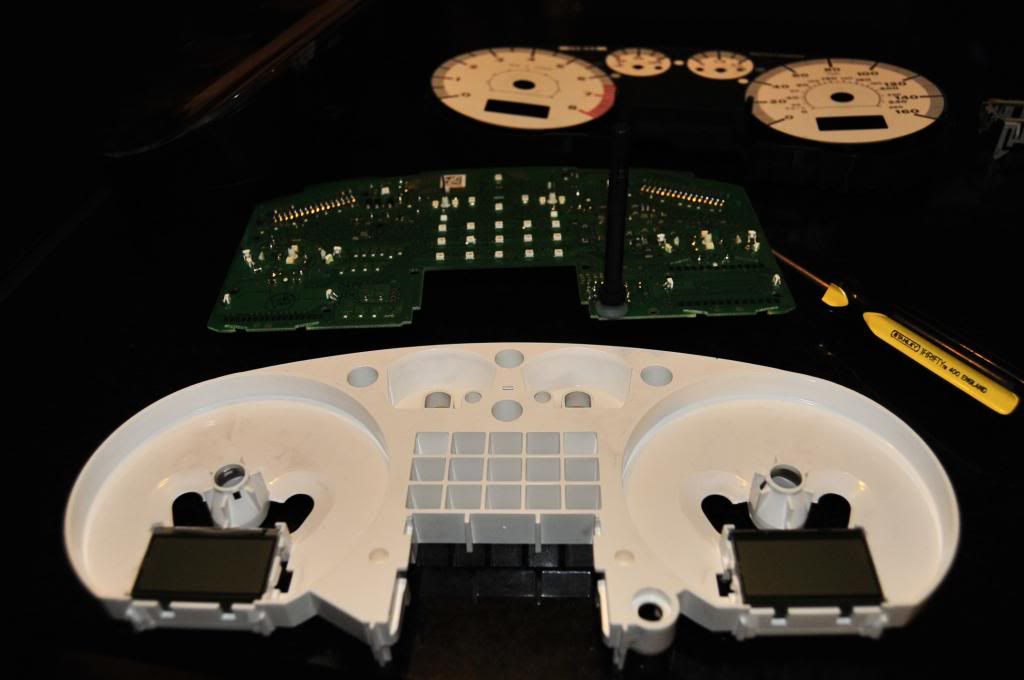
the circuit board and white housing will now split and look like this
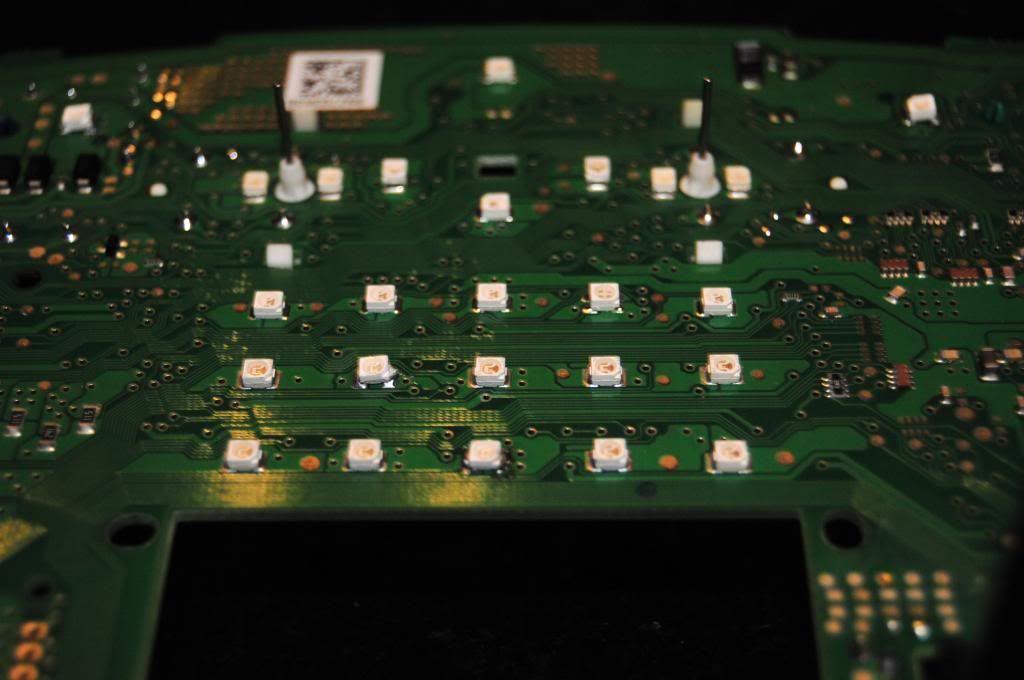
next up is the leds
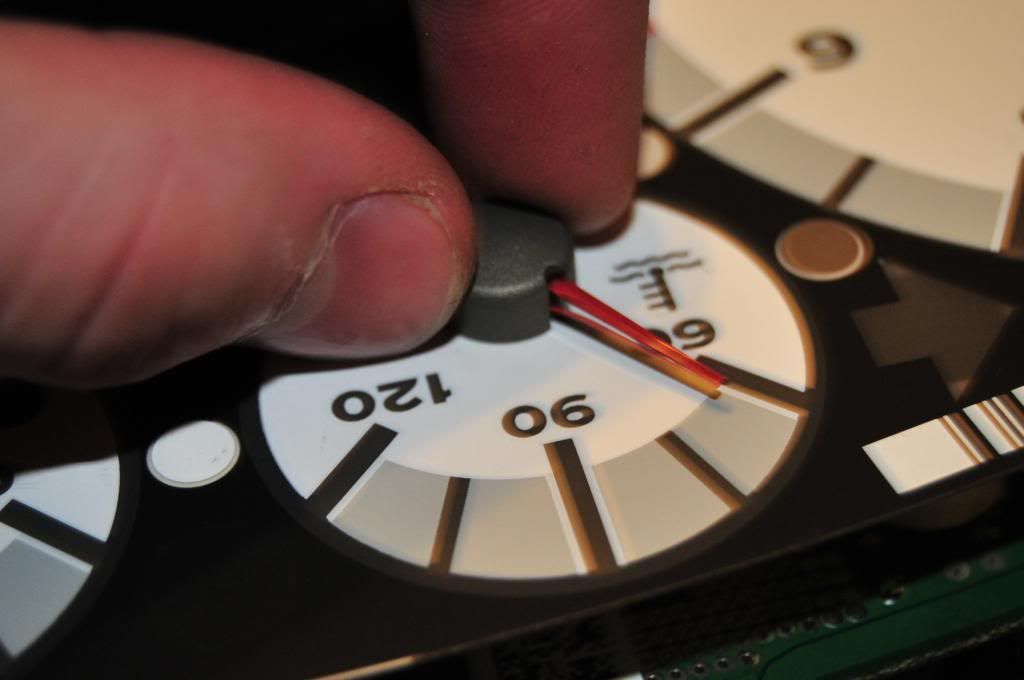
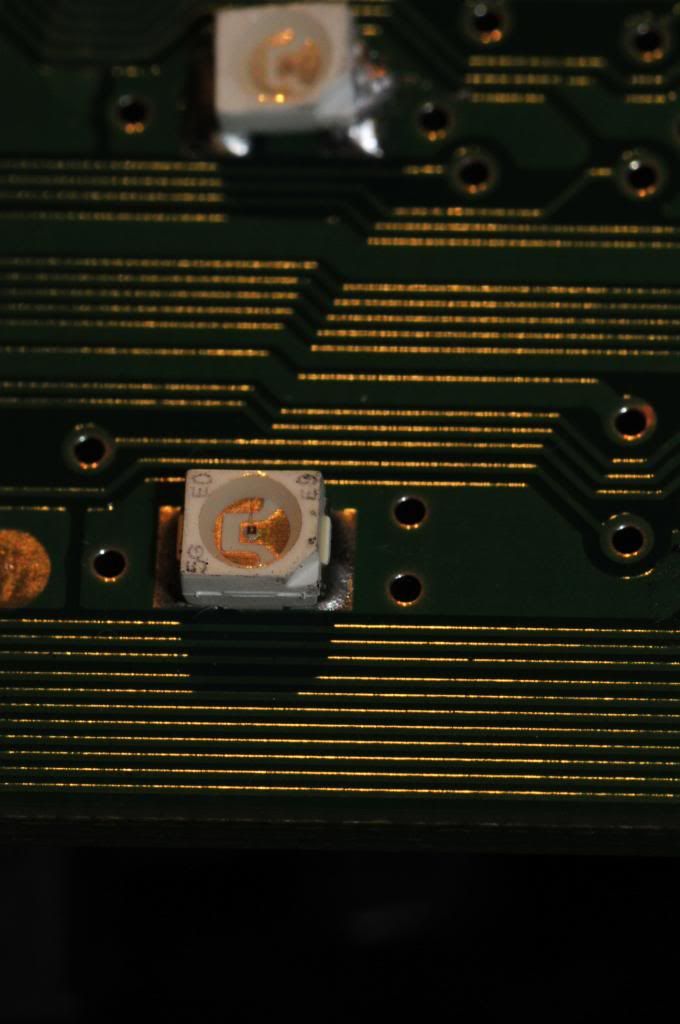
decide which ones are you going to replace. and with a soldering iron heat the solder that holds the led down to the circuit board, i surgest getting a friend who has used a soldering iron before with a steady hand. in the picture you will notice that the led has a corner cut out this shows the polarity of the led as they can only work one way, before you remove the current led take note of the corner cut so when you solder the new one on its in the right postion
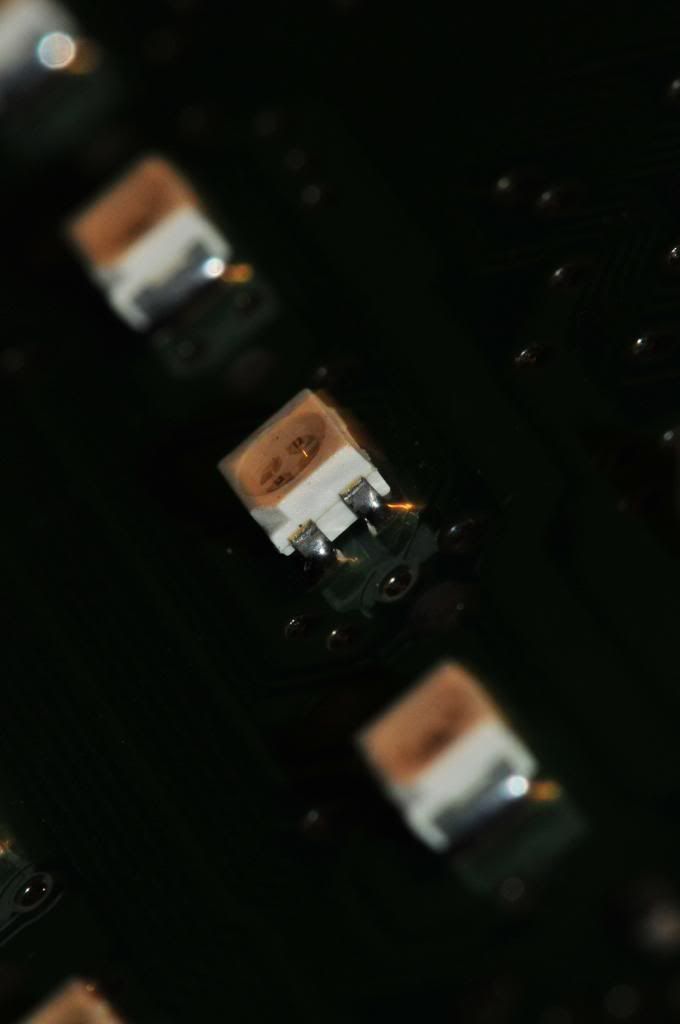
to remove the led head up the solder holding it down on one side then tip it up to the left or right then heat the solder holding the other from underneith the led this works best i found.
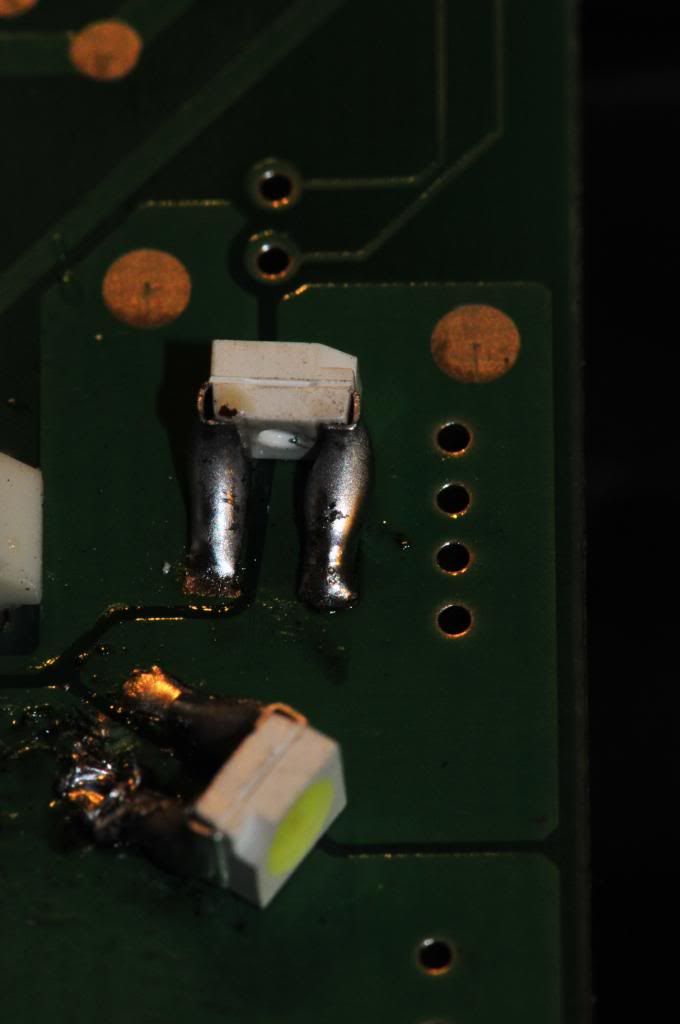
the leds for the lcd screens and the guage backlights are different as they are made to stand on there side, on my board i didnt know this until i split it apart but i still used the flat leds but it was alot fidlyer and took me a few tries, heres how mine came out. ignore the bottom its not as messy as it looks like it is.
once you have soldered all your leds back in clip the circuit board into the car and test them before you put it all back together as you may have some not correctly working.
once your happy put it all back together in the reverse order and your a happy bunny
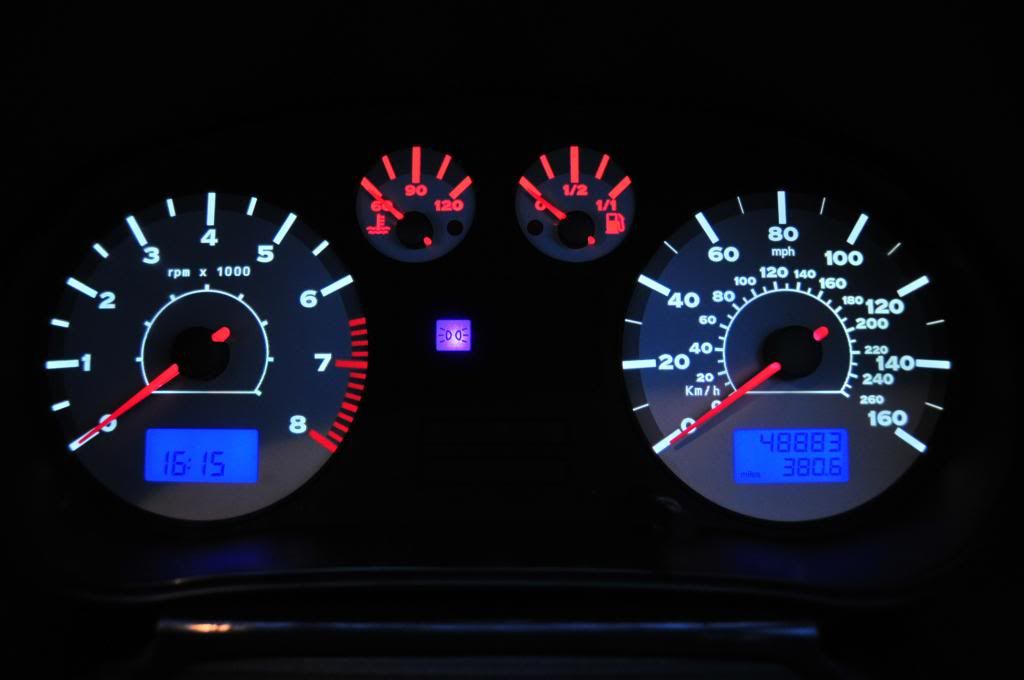
heres my finished result, i changed the tcs light to uv so it doesnt blind me with uglyness, i changed the indicators to blue for fun and the ugly green sidelight to uv also the backlights which and lcd screens blue, i left the fuel and temp red because there is not a different led for the dial and backlight i like it though i will change it to white later on in the future hope this noob guide helps everyone interested
Josh Waudby, Seat leon Fr 180 Auq
so here is something i scrapped together lots of pictures. You will need flathead screwdriver and a t25 torx screwdriver, the correct leds a soldering iron with a small tip and solder with flux inside and ofcourse a steady hand which i did not have
here is the leds you will need-
these ones are for the centre warning lights and the needles - https://www.crazyleds.co.uk/PLCC-2-3528.html
these ones are for the guage backlights and the lcd screen - https://www.crazyleds.co.uk/PLCC-2-90-SIDELED.html
this is what we are aiming for if your doing the same colours as me. i havnt yet decided if im going to keep these colours yet.
ok so first this is to remove the plastive trim under the cluster it just pulls out.
behind this trim is 2 screws that hold the cluster in remove them they are t25 torx screws.
the dash then pulls forward, spin it to the right you will have to lower and extend your steering wheel.
behind the dash is 2 plugs blue and green, the first to remove is the blue plug.
wedge a flathead screwdriver under the clip as shown then with your finger push striped wedge down and lift the purple tag which will also raid the plug.
to do the green plug pull the dash forward and rotate it upwards then to remove the plug is the same as the blue plug.
Jingle jangle and the dash should now be out.
now to take the dash part do it in a clean tidy place i used the kitchen table
there are tags around the dash lens cover, i used a screwdirver to lift the first tag then i used my finger for the rest.
cluster should now look like this..
the black plastic on the cluster just pull off and you should be left with the insides that look like this
removing the dials is next, took me a while to figure it out but its simple, grab it firmly (clean hands or you will muck up the facia plate) and twist it up and anti-clockwise dont be scared
then remove the facia plate and you will look like this
turn it over and you will see 2 silver cages holding the lcd screens in twist the four tags so that the cages slide down and out (be carefully to not drop the lcd screens they somtimes fall out but dont need to come out)
the circuit board and white housing will now split and look like this
next up is the leds
decide which ones are you going to replace. and with a soldering iron heat the solder that holds the led down to the circuit board, i surgest getting a friend who has used a soldering iron before with a steady hand. in the picture you will notice that the led has a corner cut out this shows the polarity of the led as they can only work one way, before you remove the current led take note of the corner cut so when you solder the new one on its in the right postion
to remove the led head up the solder holding it down on one side then tip it up to the left or right then heat the solder holding the other from underneith the led this works best i found.
the leds for the lcd screens and the guage backlights are different as they are made to stand on there side, on my board i didnt know this until i split it apart but i still used the flat leds but it was alot fidlyer and took me a few tries, heres how mine came out. ignore the bottom its not as messy as it looks like it is.
once you have soldered all your leds back in clip the circuit board into the car and test them before you put it all back together as you may have some not correctly working.
once your happy put it all back together in the reverse order and your a happy bunny
heres my finished result, i changed the tcs light to uv so it doesnt blind me with uglyness, i changed the indicators to blue for fun and the ugly green sidelight to uv also the backlights which and lcd screens blue, i left the fuel and temp red because there is not a different led for the dial and backlight i like it though i will change it to white later on in the future hope this noob guide helps everyone interested
Josh Waudby, Seat leon Fr 180 Auq
Last edited: