Well, first post and its a how to -
This is a common problem as i have had 3 Seat locks with this problem so i thought i'd address it.
This may not be the first guide, but this is my version.
I have found that the problem is down to the hinge pin, either it clogs up with dirt or rusts which inhibits the movement.
Tools you will need (or find useful) include:
10mm socket - Remove lock from boot
Pliers - Pull hinge pin
Hammer - Tap out hinge pin
Drift punch/small screwdriver - Tap out hinge pin
Torx T20 driver - Remove trim screws
Abrasive pad/sand paper/metal polish - Remove corrosion and prep hinge pin
Drill - Spin hinge pin against abrasive
Long life/general purpose grease - Lube and protect various parts of lock
Step 1 - Remove Tailgate trim:
Remove the two tail light access panels, there should be one T20 screw beneath each - remove them.
Take off the panel covering the latch, there will be two more T20's - remove them.
One last screw in the handle of the tailgate trim, once removed there will be 10 strong metal clips holding the trim panel in place, it's a little hard to get it started but once you get a corner lifted the rest should follow.
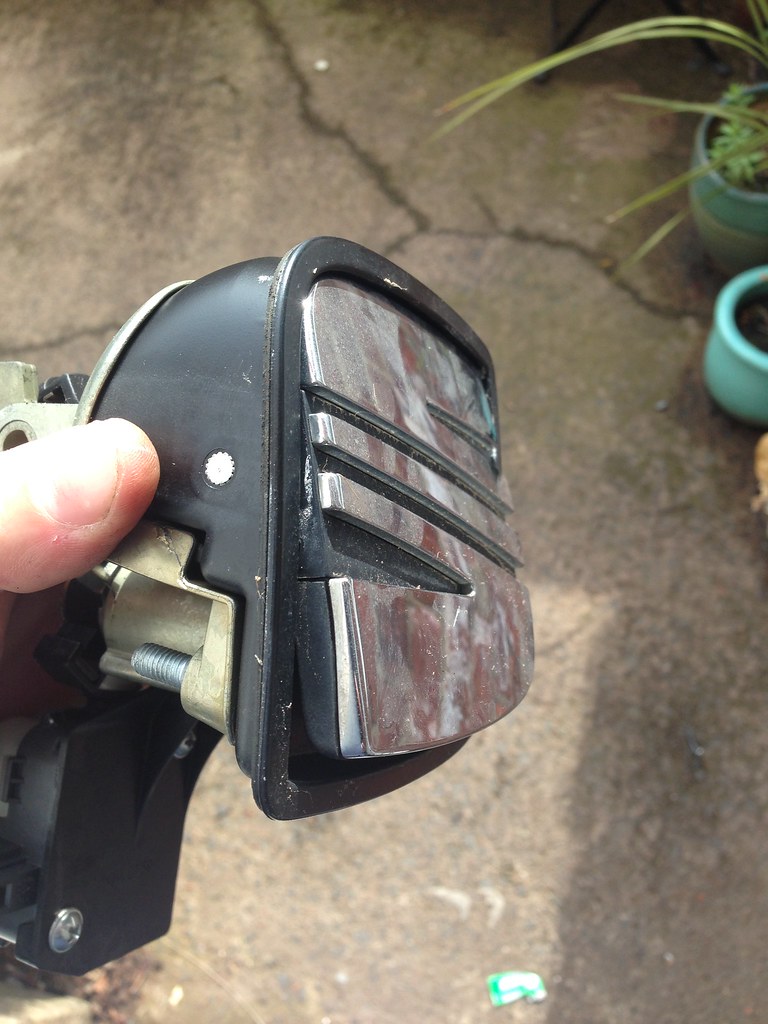
Step 2 - Remove the lock mechanism:
There will be three 10mm nuts holding the lock into the holder, remove these along with the electrical connector, then pop the latch interconnect out of the the ball joint.
The lock and motor should slide out of the boot.
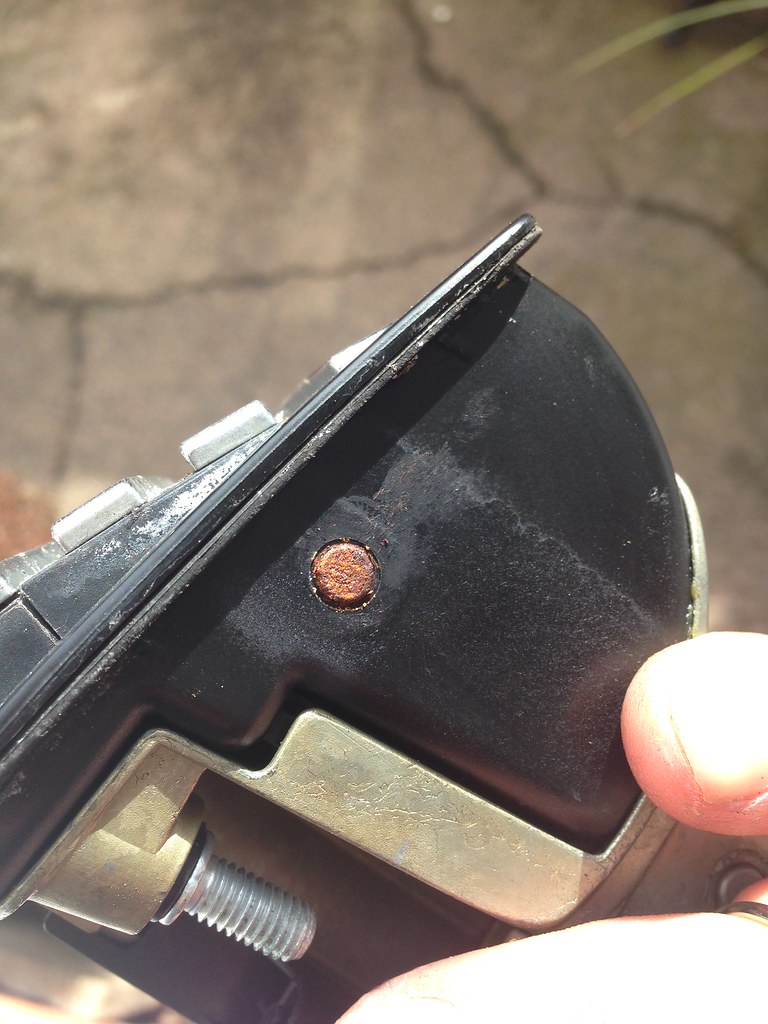
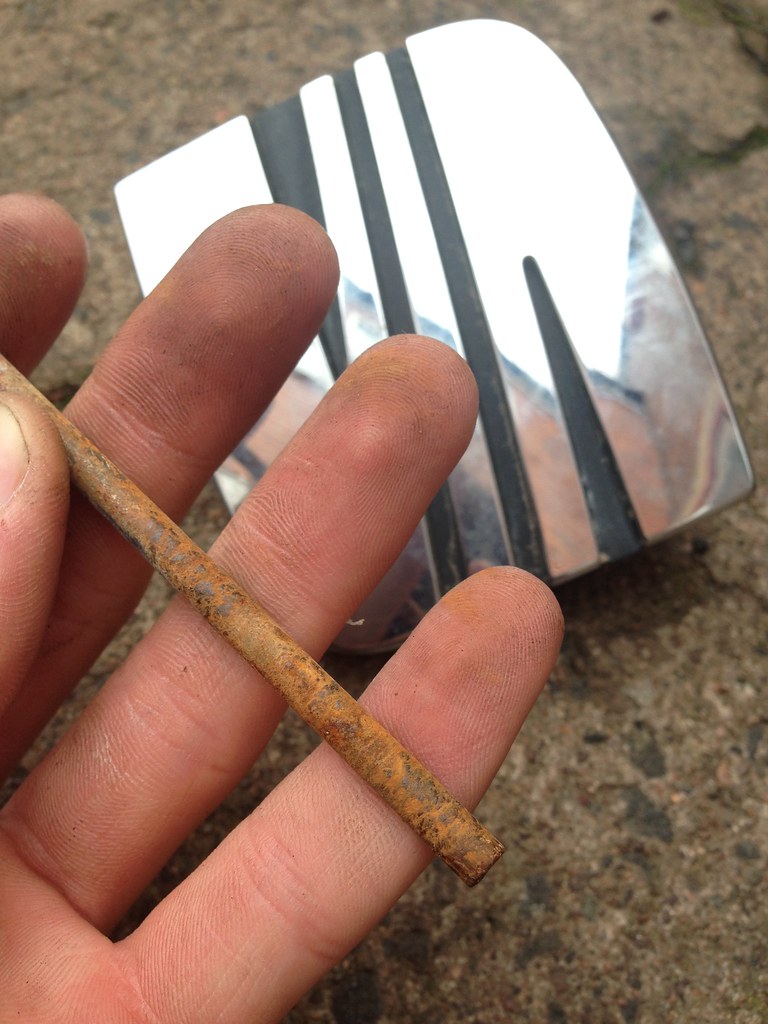
Step 3 - Knock out the hinge pin:
Identify the knurled side from the rounded side, use the hammer and punch or small screwdriver to knock the pin out from the NON-knurled side so it does not travel through the assembly.
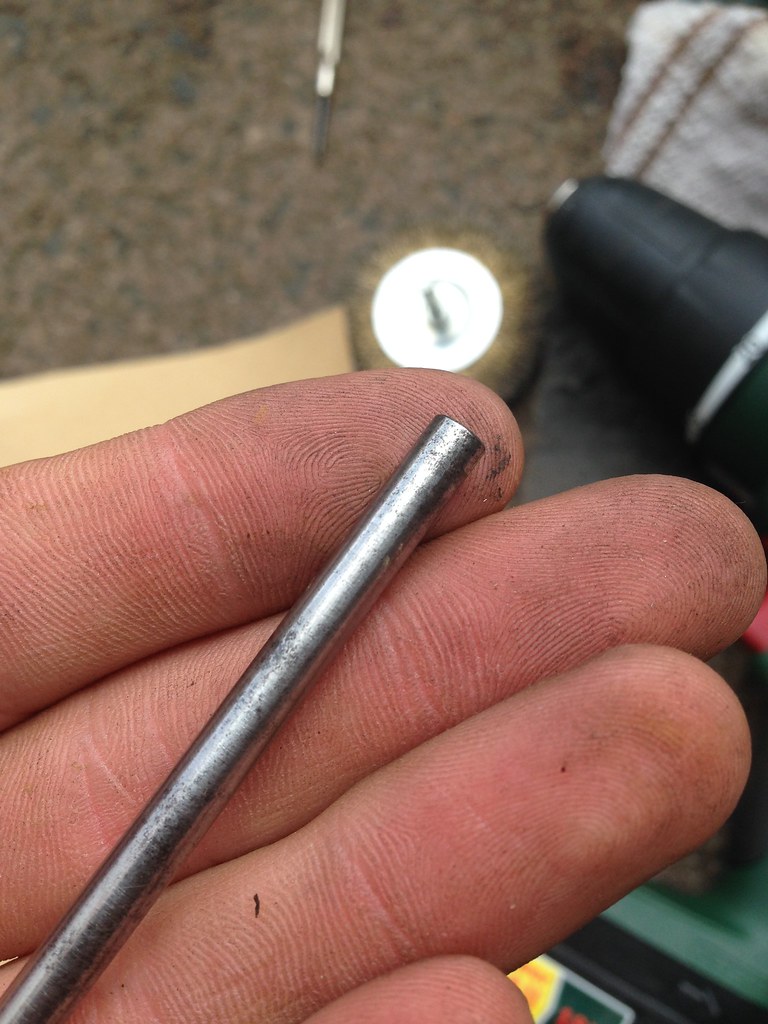
Step 4 - Clean:
While everything is out, take the time to clean out the inside of the lock mechanism and the spring.
Insert the extracted pin into the drill and spin it in the abrasive weapon of choice, be careful not to sand off the knurles on one side of the pin.
Once the pin is free of corrosion it is time to re assemble.
Step 5 - Lube it or lose it:
Apply grease to all moving parts - coat the spring, inside the handle where the pin slides through and the pin itself.
Step 6 - Reassemble:
Place the handle section into the base part and align the holes.
Slide the pin through with the knurled side last and tap it flush, dab grease on either side of the pin to prevent corrosion and assemble in reverse order
This is a common problem as i have had 3 Seat locks with this problem so i thought i'd address it.
This may not be the first guide, but this is my version.
--- I will add pictures when i have made enough posts ---
I have found that the problem is down to the hinge pin, either it clogs up with dirt or rusts which inhibits the movement.
Tools you will need (or find useful) include:
10mm socket - Remove lock from boot
Pliers - Pull hinge pin
Hammer - Tap out hinge pin
Drift punch/small screwdriver - Tap out hinge pin
Torx T20 driver - Remove trim screws
Abrasive pad/sand paper/metal polish - Remove corrosion and prep hinge pin
Drill - Spin hinge pin against abrasive
Long life/general purpose grease - Lube and protect various parts of lock
Step 1 - Remove Tailgate trim:
Remove the two tail light access panels, there should be one T20 screw beneath each - remove them.
Take off the panel covering the latch, there will be two more T20's - remove them.
One last screw in the handle of the tailgate trim, once removed there will be 10 strong metal clips holding the trim panel in place, it's a little hard to get it started but once you get a corner lifted the rest should follow.
Step 2 - Remove the lock mechanism:
There will be three 10mm nuts holding the lock into the holder, remove these along with the electrical connector, then pop the latch interconnect out of the the ball joint.
The lock and motor should slide out of the boot.
Step 3 - Knock out the hinge pin:
Identify the knurled side from the rounded side, use the hammer and punch or small screwdriver to knock the pin out from the NON-knurled side so it does not travel through the assembly.
Step 4 - Clean:
While everything is out, take the time to clean out the inside of the lock mechanism and the spring.
Insert the extracted pin into the drill and spin it in the abrasive weapon of choice, be careful not to sand off the knurles on one side of the pin.
Once the pin is free of corrosion it is time to re assemble.
Step 5 - Lube it or lose it:
Apply grease to all moving parts - coat the spring, inside the handle where the pin slides through and the pin itself.
Step 6 - Reassemble:
Place the handle section into the base part and align the holes.
Slide the pin through with the knurled side last and tap it flush, dab grease on either side of the pin to prevent corrosion and assemble in reverse order