Leon Cupra R & Replacement - CD changer/Boot box tray FOR SALE!!!

vwbassett

Joined the Dark Side
Aug 13, 2007
963
53
Surrey
Interior tweeks

After seeing a recent post of the dirt cheap price of the storage trays on ebay i couldnt resist but pick one up. Main reason being is I have a box of bits in the boot that just gets in the way all the time. Only problem with getting the tray is that the previous owner fitted 6x9's that ive never been too fond of as im not massively into my music. This meant I had to get a replacement shelf so I sourced a cheap grey one off ebay and went all artistic with some of Halfords finest matt black. I had my doubts but it looks brand spanking new and you really wouldnt know its been painted.
21032010274.jpg

With all the items ready today i decided to get it all in. Sounds a simple task right. It really wasnt as the interior trim is just a pain in the ass to remove and the previous owner made a real mess of things wiring in the speakers, he used amalgamating tape that had a sticky tar finish and left almost no wire from the door speakers to repair the original wiring. Two hours later and i got all the wiring tested, soldered up, heat shrinked and then protected properly just like it originally was. A long job but with the new sprayed shelf and the tray holding all the bits it looks really neat and just what I wanted. With the 6x9's out i expected a slight loss in speaker quality but infact i think its better than before as the past owner used such a thin cable that then joined to thick speaker cable that i think it dropped the power available.
21032010275.jpg

21032010276.jpg


Next job for the weekend was an overdue oil service which had crept up to 8k slightly off the planned 6k mainly due to the string of bad weather. Even though I only need the two items its still pretty pricey with mobile 1's 5w30 ESP at £40 even on trade along with a genuine filter. Now its lower it is a slight pain to jack the car up but with the oil filter socket its still an easy job.

I've just noticed the rear pads and disks could do with changing - any recommendations?
Adam
 
Last edited:

JamJay

California Bound
Productive weekend there, shame about our weather on Saturday though! Good decision on the 6x9s, they're really not needed in the LCR, they're generally an easy uprgrade for cars with no sound system at all where people don't mind having an overly bassy, distorted sound. IMO they have too much going on for one speaker, separate tweeter, mid range & subwoofer is a much better setup.

I wouldn't bother going too flash for the rear brakes, the Brembo's at the front do about 80% of your braking. I would recommend going for a standard setup again TBH, or slotted discs and standard pads. Perhaps consider some 10 or 15mm wheel spacers for the rear, they'll help the rear stability under hard braking no end, I have noticed a great improvement.
 

vwbassett

Joined the Dark Side
Aug 13, 2007
963
53
Surrey
Cheers guys. Everything is now ready for a full on detail next week. Got three bits to try out - tar remover before some Bill Hamber clay and a drying towel along with the usual gear and see if i can get a stunning result. Also needs a fairly heavy polish and i wont be using autoglym super resin polish as it just seems to mask scratches rather than remove.

On a side note if anyones interested the above shelf with 6x9's is up for cheap along with a fusion sub, box and amp - see for sale section for details.
 

vwbassett

Joined the Dark Side
Aug 13, 2007
963
53
Surrey
Detail - Part 1 - Exterior

Its my first week off in a few months and with the sun shining i decided to get on with some detailing.

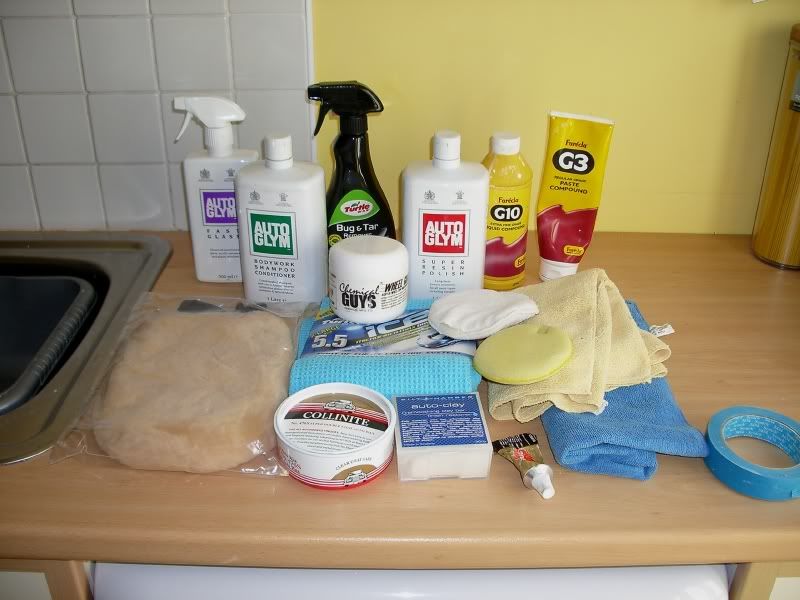
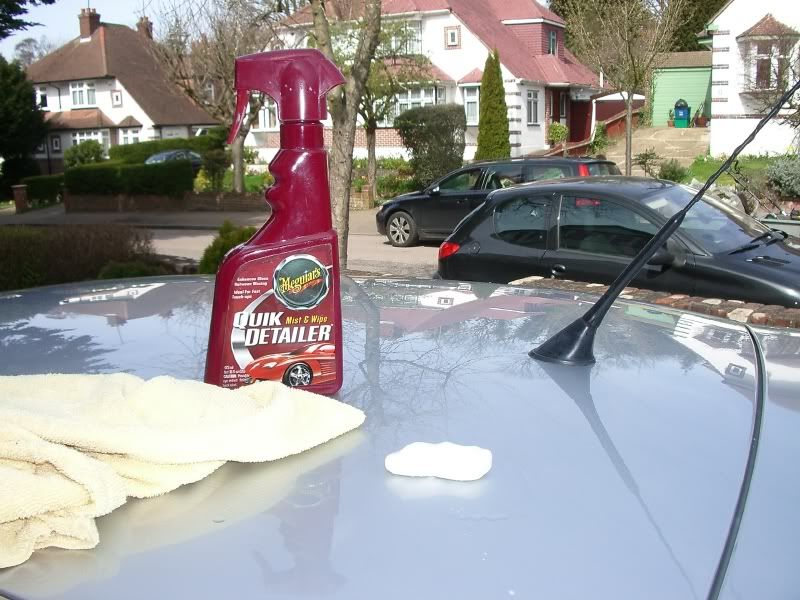
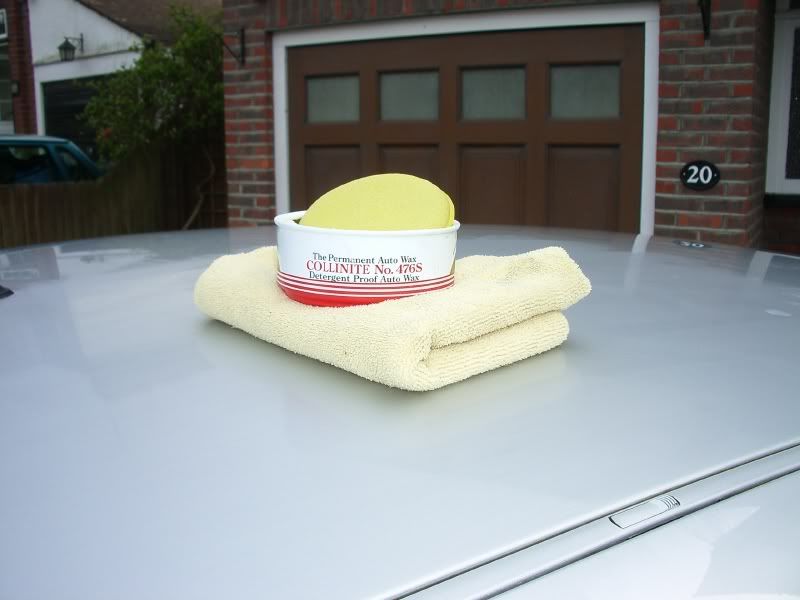
Here are the bits I am using, not exactly pro material but hopefully enough to get the job done cheaply.

IMGP3298a.jpg

Products im using are the Bilt Hamber Auto Clay, Turtle Wax tar remover/tyre gel/drying towl/water blade, Megs microfibre towls, Farecla G3 rubbing compound and G10 extra fine polish, autoglym shampoo/fast glass/super resin polish, Chemical guys wheel guard, Collinite 476s wax and Sonus wash mit.

The list of things to do;
1.) Pre wash with fairy liquid followed by tar remover on the worst affected areas
2.) Claybar all over
3.) Two stage polish
3.) Final wash to remove clay bar and polish residue
4.) Wax
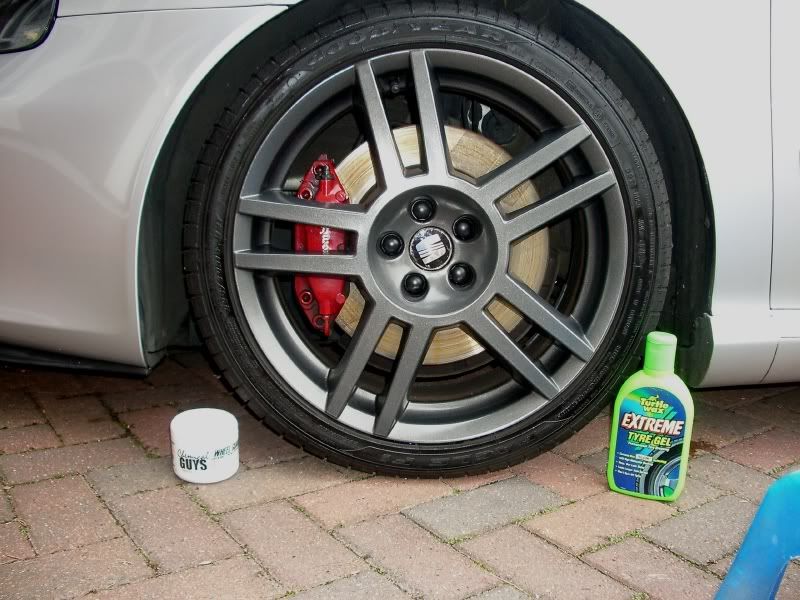
5.) Accessories - Wheel polish/guard, tyre gel on tyres and splitter, exhaust and window polish.
IMGP3299a.jpg

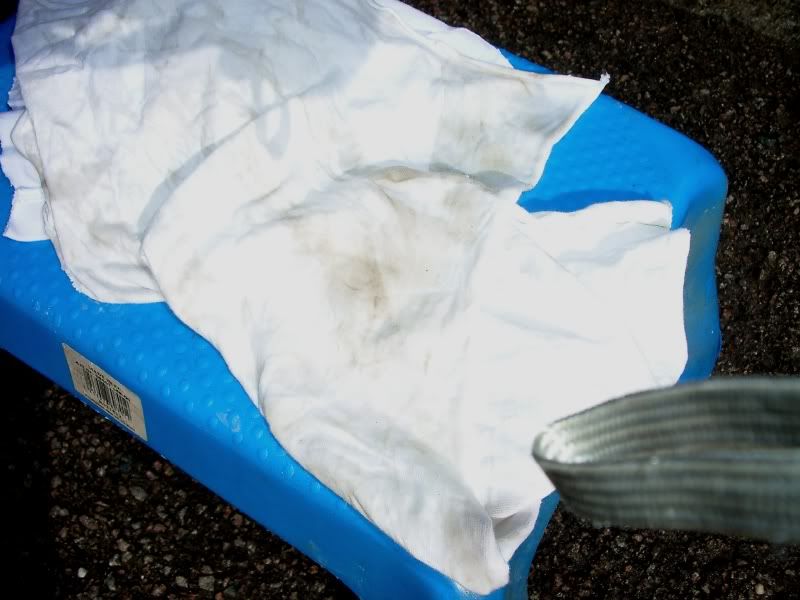
A lot of crap came off with the bug and tar remover and it felt easier to get the tar and orange particles off than the last time i tried a detail with the megs clay bar
IMGP3302a.jpg

Bilt Hamber clay was great, came in a nice size and can be used with water.
IMGP3303a.jpg

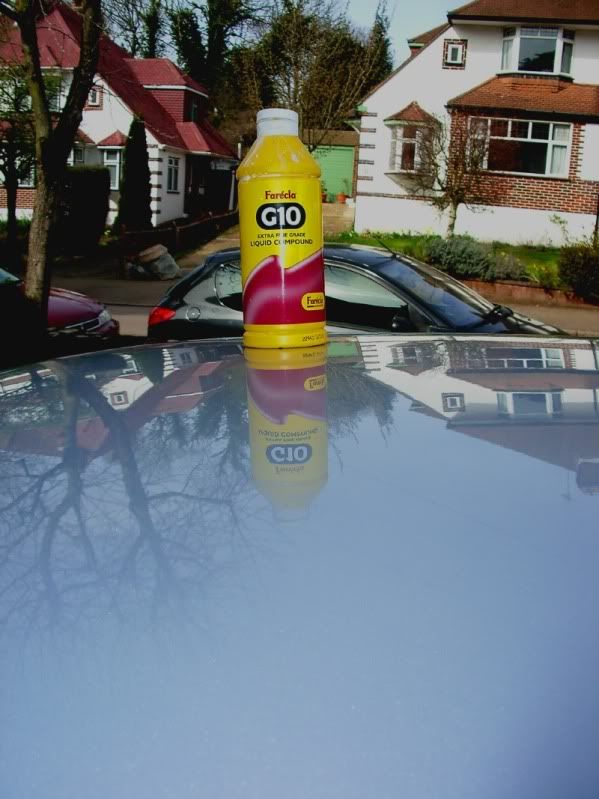
I was really careful during the polishing phase as i am using two agressive compounds. The first G3 shouldnt really be used for this job but i only used it for the very worst scratches to help level the paint out. Following on from the G3 the G10 can polish out the final smaller marks. SRP was then used to give the whole body a lift.
IMGP3307a.jpg

To get rid of all the polish i then gave the car another clean with autoglym shampoo this time and dried using a water blade and drying towel. Pic of the easy on and off collinite wax hazing.
IMGP3315a.jpg

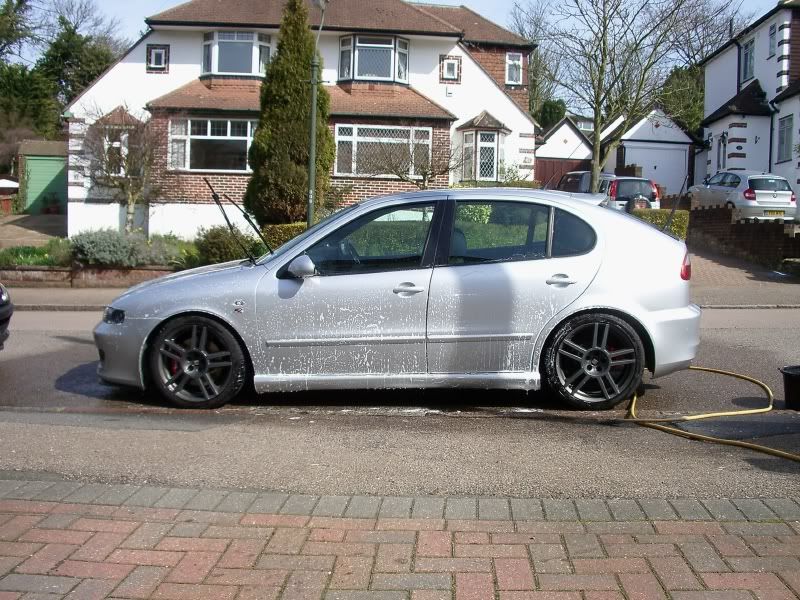
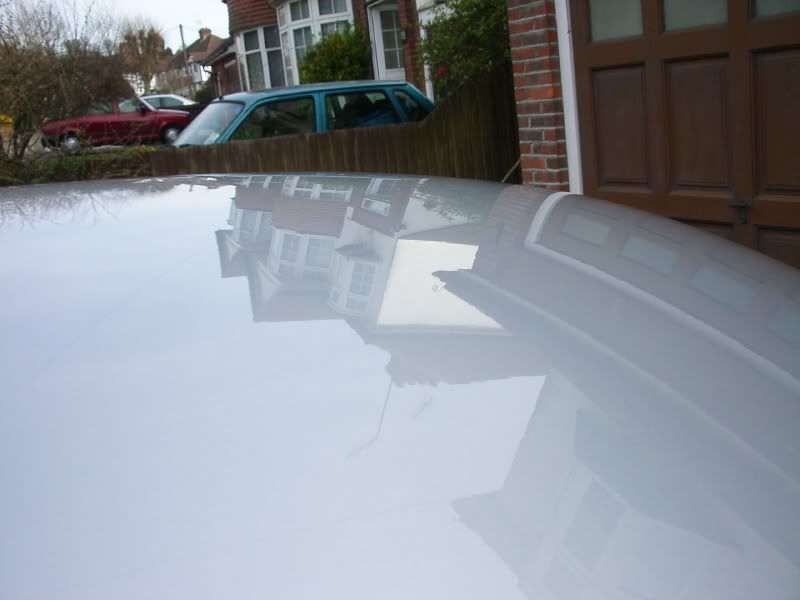
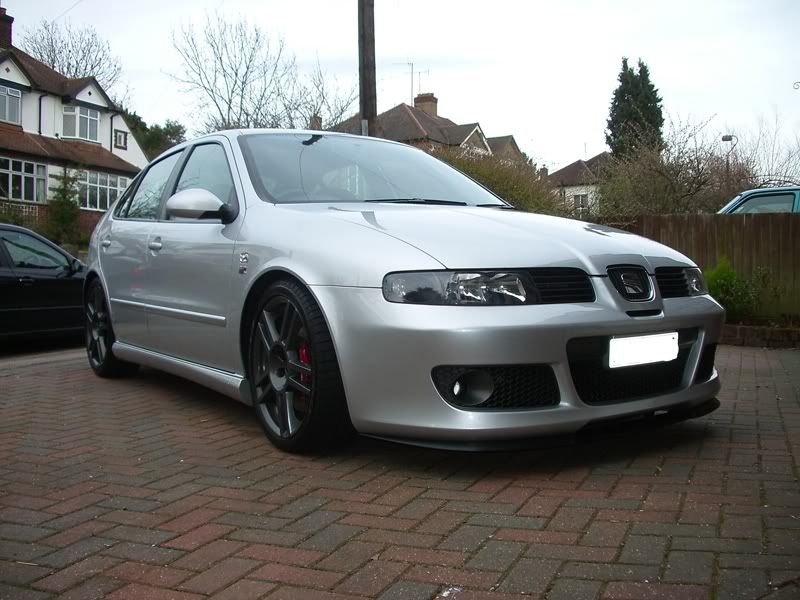
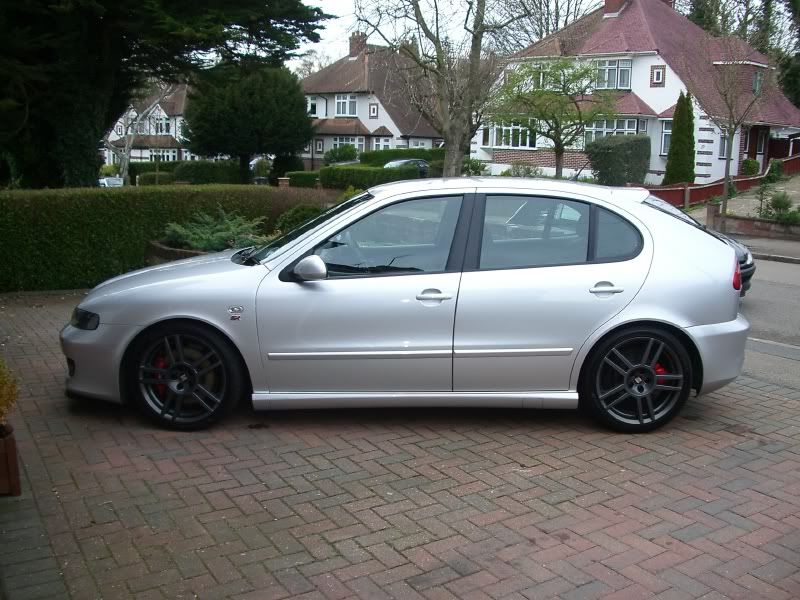
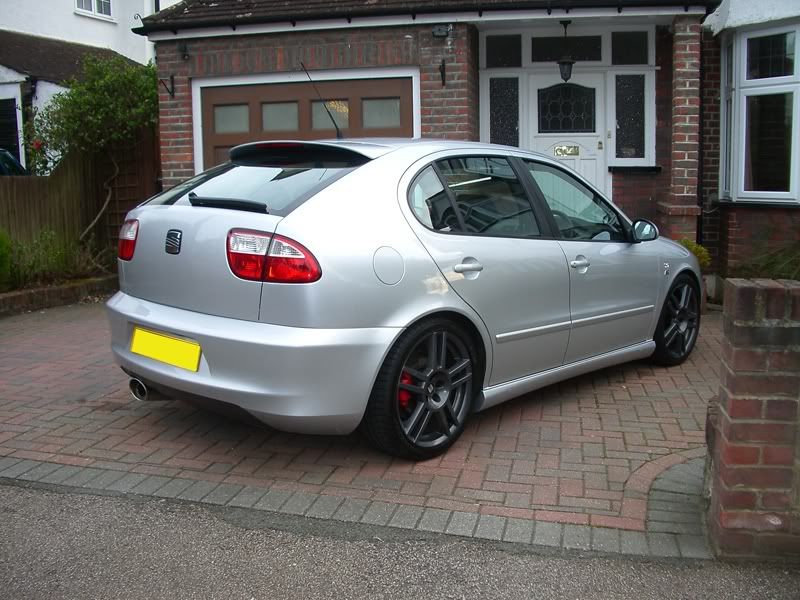
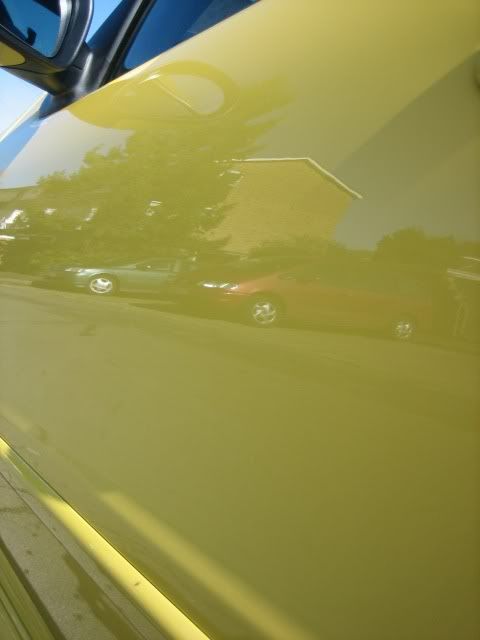
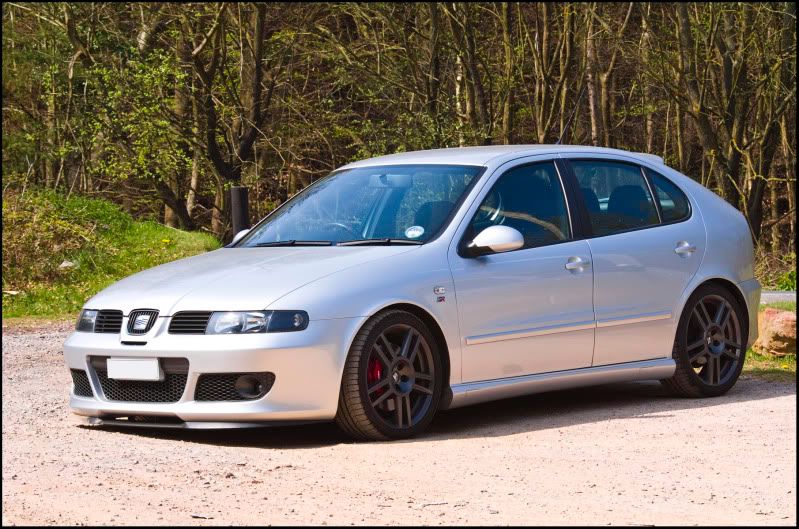
Post wax pic - silver is never the best for detailing results but it was looking far better than before with some nice straight reflections.
IMGP3317a.jpg

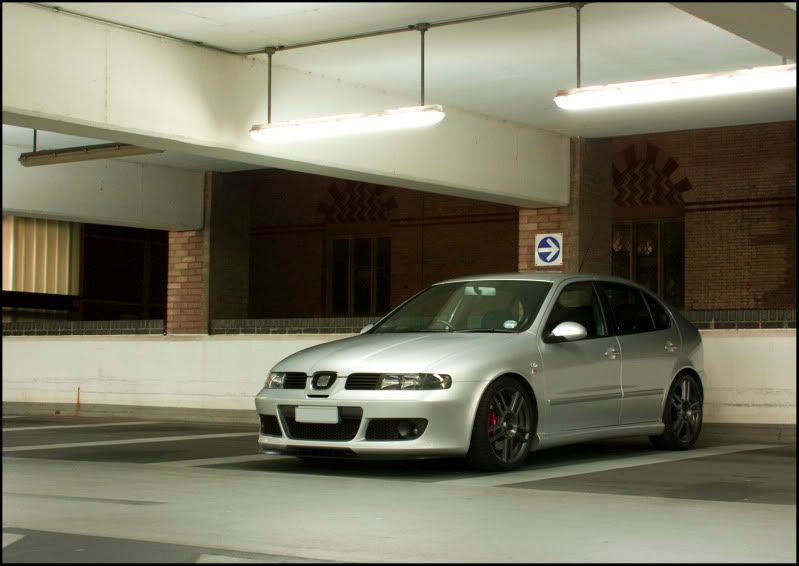
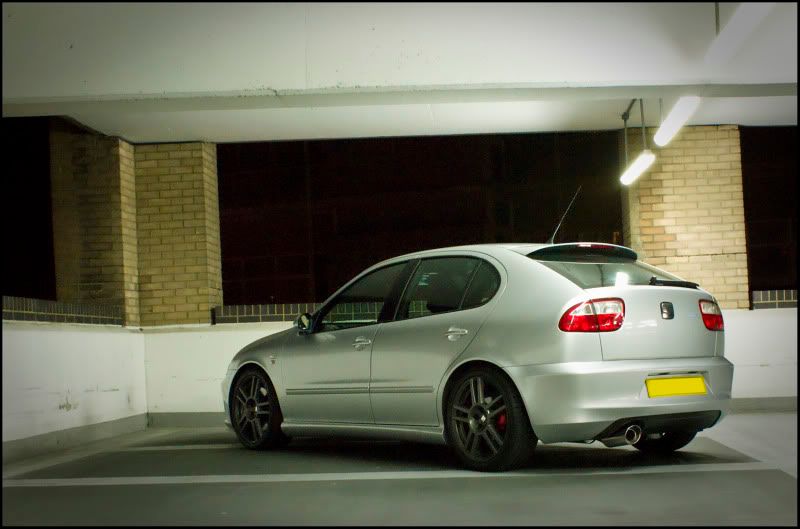
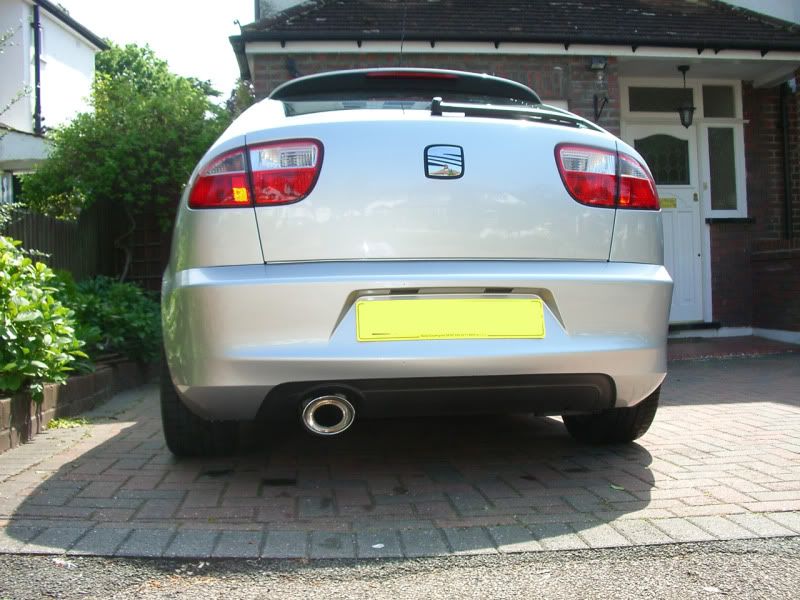
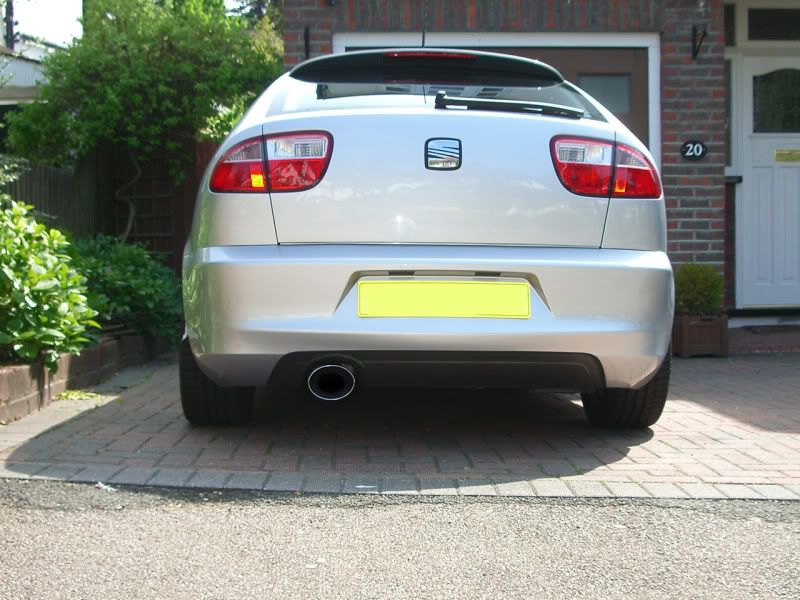
Final finish up on the non bodywork parts - Wheels had a quick polish then the tyes and splitter were treated along with a quick exhaust/window polish.
IMGP3319a.jpg
 
Last edited:

vwbassett

Joined the Dark Side
Aug 13, 2007
963
53
Surrey
Detail - Part 1 - Exterior Results

After a full day of my spin on this detailing lark i am very impressed with the results. Certainly not as spectacular as a dark coloured or even black car but the feel is like that of a glossy new car and there is barely an imperfection other than the dents and stone chips which obviously detailing wont sort out.
IMGP3322a.jpg

IMGP3320a.jpg

IMGP3323a.jpg


I cant highly enough recommend the Bilt Hamber Auto Clay having seen the recommendation in auto express as a 9 or 10 out of 10 product. Theres loads in the box 200g, its about £13 delivered and it ran superbly with the water and shampoo mix i had in the meguires spray bottle. It really effortlessly picked up all the crap on the paint much more effectively than the previous used Meguires clay which is twice as expensive so the job took half the time i imagined.

In the past I had used the Mequires clay bar kit and found the job very tedious and hard going which is probably why I dont do it very often and really detest the whole detailing idea. Therefore this time i wanted to try some other products like the bug and tar remover to make the claying easier. The turtle wax product definitely helped and then i only had to use the clay for the stubborn stuff.

Ive never used a drying towel but the water blade and drying towel combo worked superb, making very light work of drying and i didnt even need to ring out the towel but i did have to be careful not to catch it on edges like the badges.

Ive gone for the Sonus wash mitt as the last one lasted over a year and it is so much better than your average sponge although it doesnt sudd up as much.

Two products i didnt really get along with are the SRP as it seems like a filler rather than any sort of abrassive polish so after a few months the scratches come back. Second is the Chemical guys wheel guard, this strange orange past leaves crap everywhere and didnt seem to do more than a wash. However my wheels are matt lacquered and fairly new so maybe the results would be better on older, abused, gloss alloys.

Most my bits were from cleanyourcar.co.uk who id highly recommend for ease of ordering and fast delivery. I think the Bilt Hamber clay can only be bought direct through bilthamber.com but definitely worth it.
 
Last edited:

vwbassett

Joined the Dark Side
Aug 13, 2007
963
53
Surrey
Cheers guys, Darren whats this red mist like wax/sealant something else? and how much does it go for.

Went out for a few more pics (as if i needed anymore :)), didnt turn out half as good as i hoped but here they are.
DSC01437web.jpg

DSC01449web.jpg
 

vwbassett

Joined the Dark Side
Aug 13, 2007
963
53
Surrey
Following on from the rather crap car park photos ive taken a slightly nicer one.
DSC01479a.jpg


Whilst off this afternoon I finally got round to the job i've been thinking about for a while - painting the inner tip of the piper exhaust.
Ive used no primer or anything to hopefully make it easy to clean up should i want to go back.
IMGP3376.jpg

IMGP3379.jpg

Im thinking its a better, what you all think?

Staying on the exhaust lines im going to get butchering that rear exhaust hanger to allow it to hang a little more to the right. It was fine before the warranty replacement but always looks on the piss now[:@]
 

DannyC87

Rubbing is Racing :-)
Mar 4, 2008
3,459
0
Looks soo much better. I'm not a fan of tailpipes where you can see the small exit inside the tip..
 

vwbassett

Joined the Dark Side
Aug 13, 2007
963
53
Surrey
Cheers guys, think il leave it as it is then although il probably have to redo it soon as its likely to flake having rushed and using no primer to make it easily reversible.